Cumlminating Task
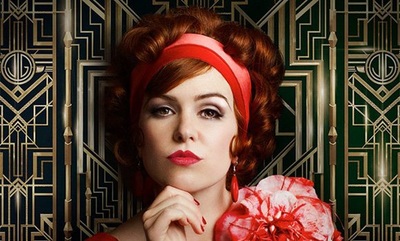
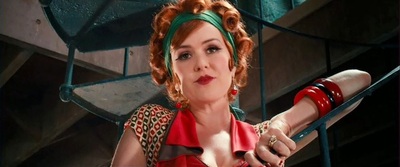
You are hired by your client (Ms. Paradisi's class) to design, set up and shoot a cover for a movie poster that will be released this summer.
The culminating activity is a summative assignment that encompasses various activities and information that you have learned throughout the semester.
In groups of three you will be shooting a character from a movie that will be assigned. You will be collaborating with a group of 2-3 students from the Cosmetology class where your character will be made up and featured in a movie poster. During the collaboration you will meet three (3) times with your Cosmetology class group to discuss and plan the final result of your layout.
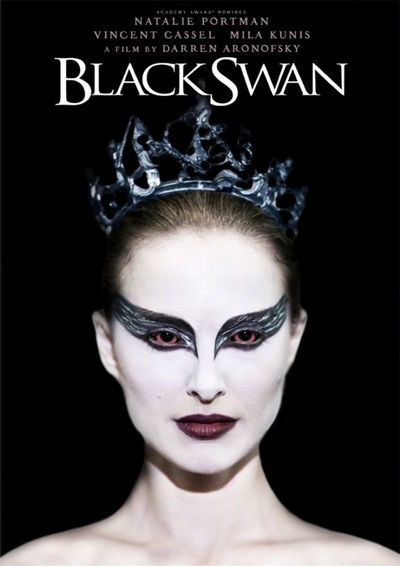
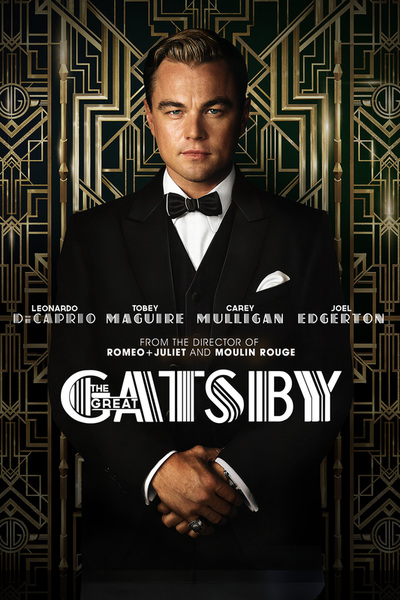
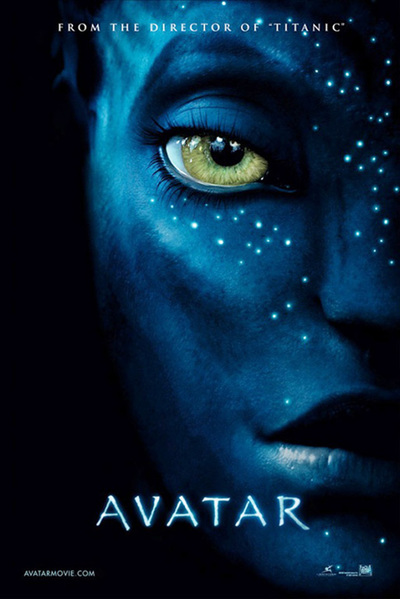
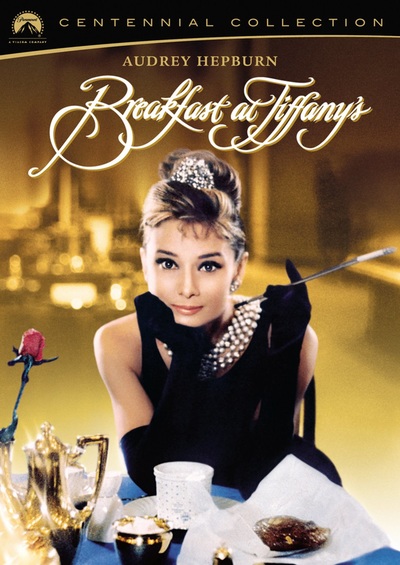
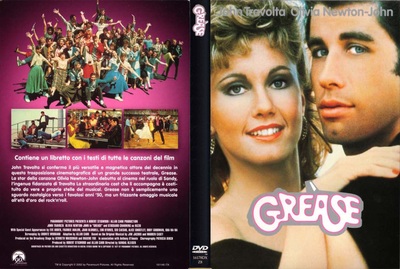
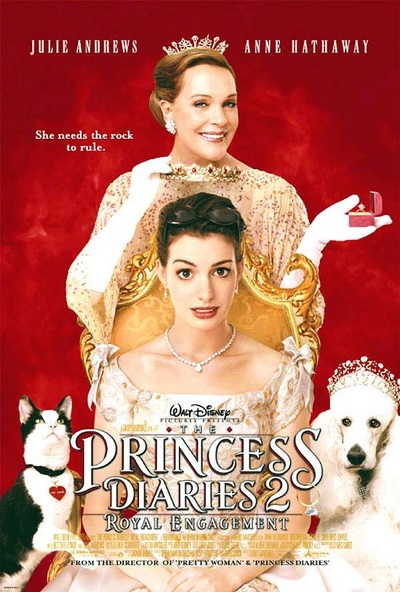
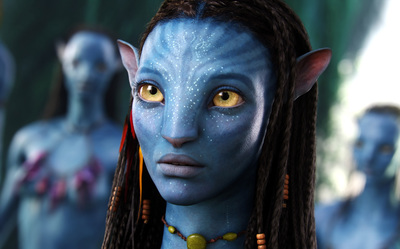
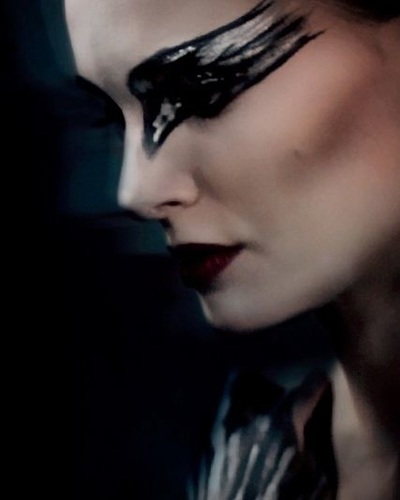
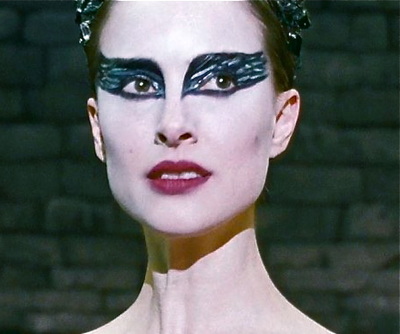
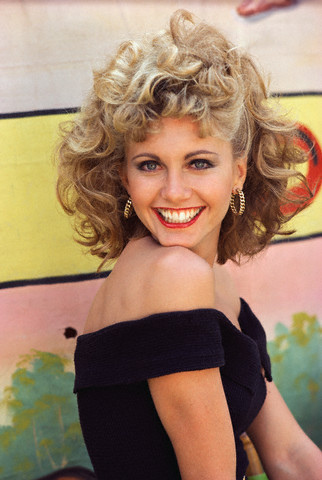
Movies to Choose From
Characters
Each Student is RESPONSIBLE TO HAND IN...
- 10 of your best photos from your shoot
- A final image of a tutorial of your choosing
- 1 final movie poster in PhotoShop with the chosen groups background in place with text
- A final image of a tutorial of your choosing
- 1 final movie poster in PhotoShop with the chosen groups background in place with text
setting up Master Canvas in Photoshop
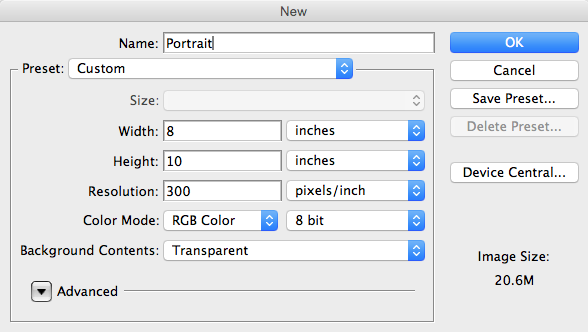
Once you've taking your photos and downloaded to your z: drive into a folder in your culminating called final shots. You are ready to set-up your final canvas in PhotoShop with the following specs:
Step 1
Now that you have your master canvas set-up its time to drag in your background. Make sure you don't stretch or distort it when making it bigger to fill your canvas.
Step 2
- Open your chosen final image in PhotoShop from the multitude of the ones you've shot.
- Now is the time to adjust the levels to make sure your lights, midtones and darks are correct -> image, adjustments, levels.
- Look over your model (zoom in) to see if there are any glaring mistakes you will need to correct using the clone stamp tool.
- Once your adjusting of your image is complete you are ready to bring in your model to the final canvas. You may use the tool of your choice but I would still recommend the polygonal lasso tool. This will give you the most control in any situation. Once you have your model fully selected, copy and paste it into your master canvas.
Refining Your model - Pick a Tutorial
You will need to run through at least one of the following tutorials depending on you final mood of your image, you will need to decipher which tutorial will give you the desired look you're after. They are as follows:
Glamour Tutorial: Softer feel with lots of light on model. No harsh shadows.
Dodge & Burn Tutorial: Edgier feel. Used with rebelling themes or something that is more harsh than glamour.
Sharpen Tutorial: Darker mood result. Evil looking image with high contrasting shadows will result with this tutorial.
FIRST - run through your selected tutorial with the image provided. When complete save the image as TutorialFinal.jpg and put in your culminating folder.
SECOND - using your final model shot; run through again the same tutorial using your model shot to get the desired effect to be used in your movie poster.
Glamour Tutorial
Using the photo below (beauty_portrait_original.jpg) complete the Glamour tutorial. Then when complete; do the same effect to your final image.You will need to download the image (beauty_portrait_original.jpg) below to use with this tutorial. You may follow along with the video or use the document that follows the video as your guide. Please use earphones while listening to the tutorial.
| beauty_portrait_original.jpg |
Dodge & Burn Tutorial
Using the photo below (model.jpg) complete the Dodge/Burn tutorial. Then when complete; do the same effect to your final image. You may follow along with the video or use the document that follows the video as your guide. Please use earphones while listening to the tutorial.
| model.jpg |
| lesson_1d_dodge__burn.pdf |
Sharpen Tutorial
Using the photo below (hooded_guy.jpg) complete the Sharpen tutorial. Then when complete; do the same effect to your final image. You may follow along with the video or use the document that follows the video as your guide. Please use earphones while listening to the tutorial.
| hooded_guy.jpg |
| lesson_1di_sharpen.pdf |
Final Image
When you are completed your editing save your file as: PortraitFinal.jpg.
Hand in the following:
- 10 best photos taken (save in a folder called: 10 Best)
- A .jpg of your tutorial using the provided model (save in a folder called: Tutorial)
- Your final movie poster saved as a .psd and .jpg (save in a folder called: Portrait)

