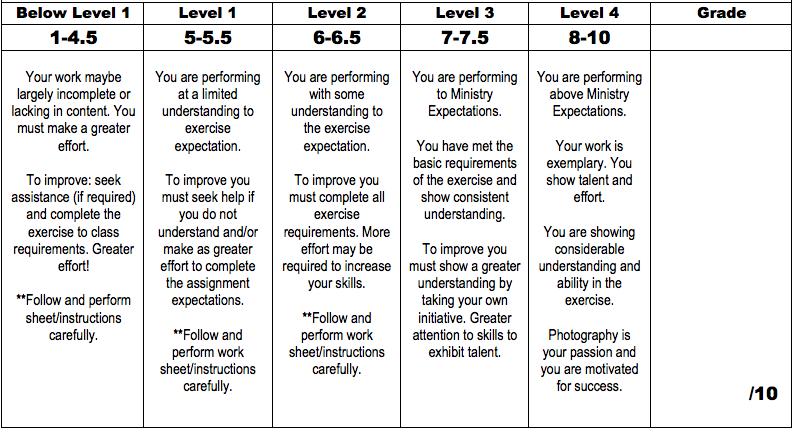
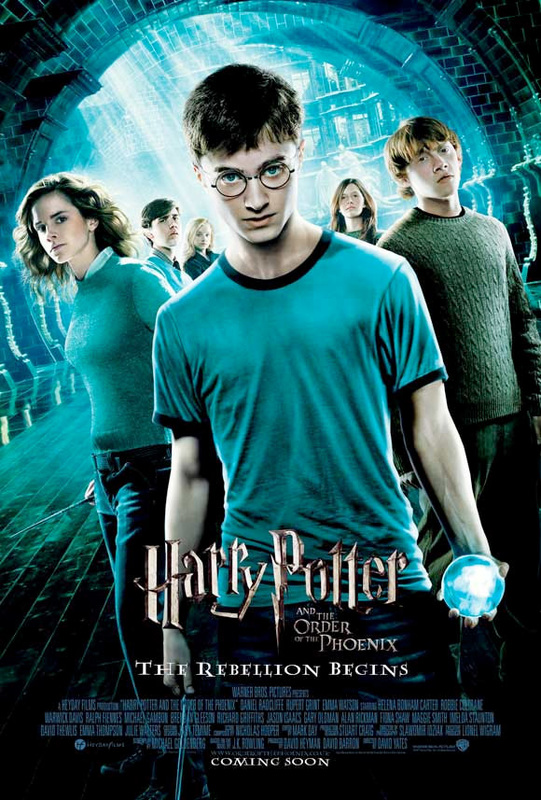
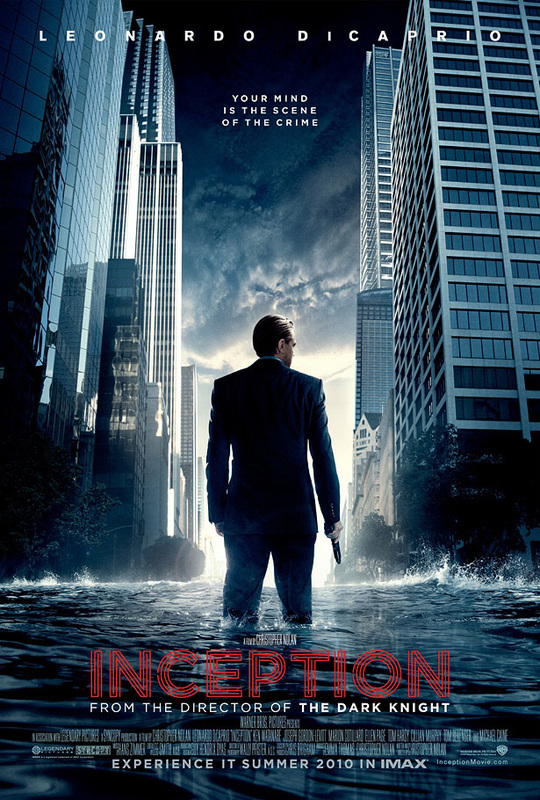
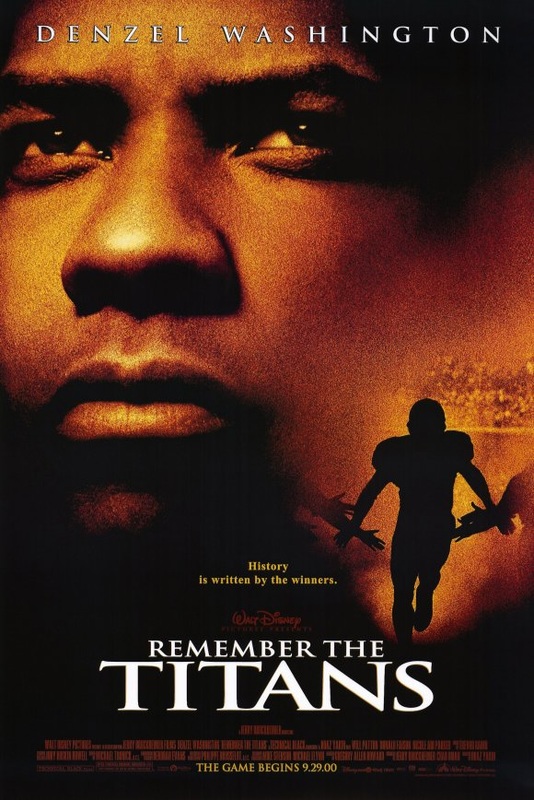
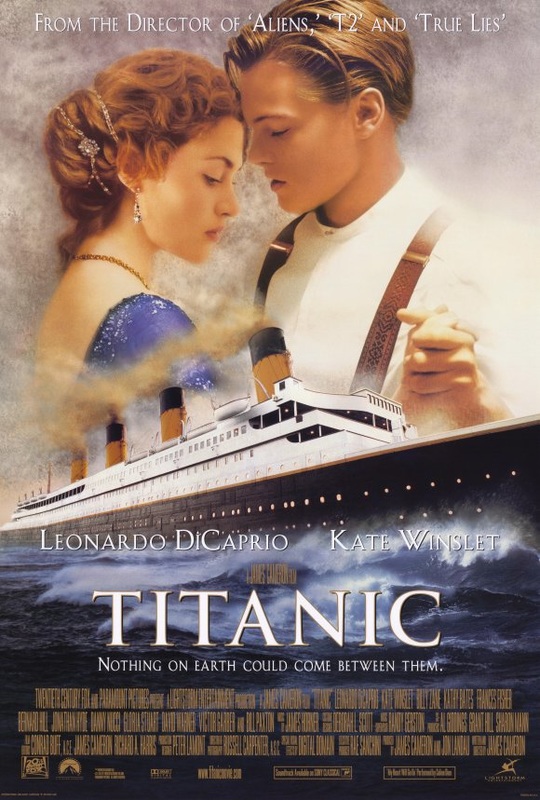
Cumlminating Task
This culminating activity is a summative assignment that encompasses various activities and information that you have learned throughout the semester. Read through the information below and make sure to include all items from the "What's Required" section.
Questions You Should Ask Yourself...
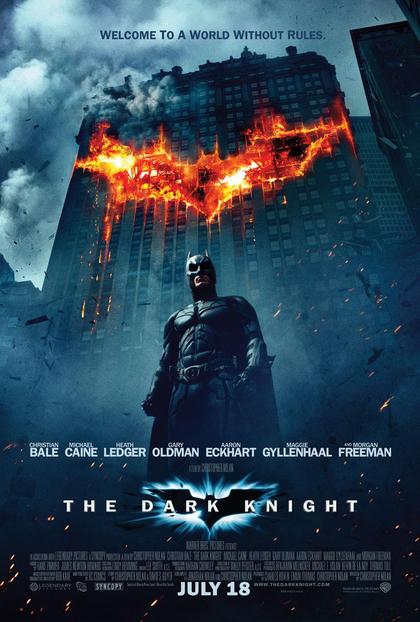
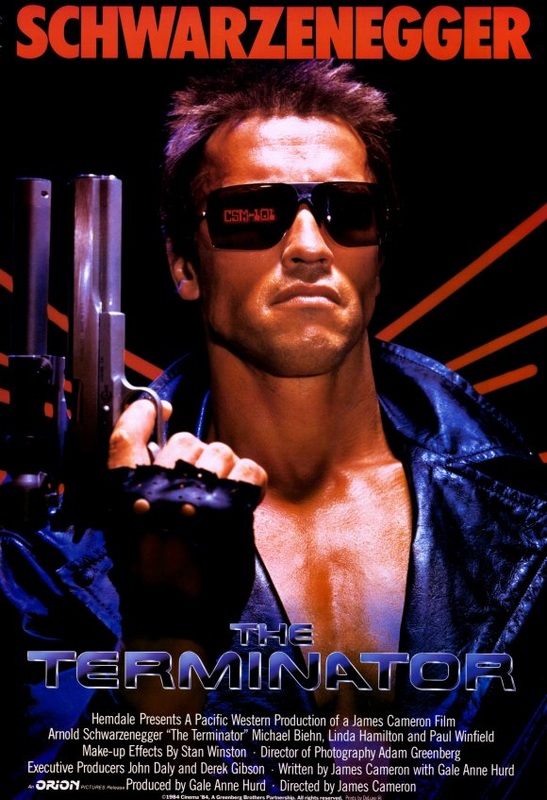
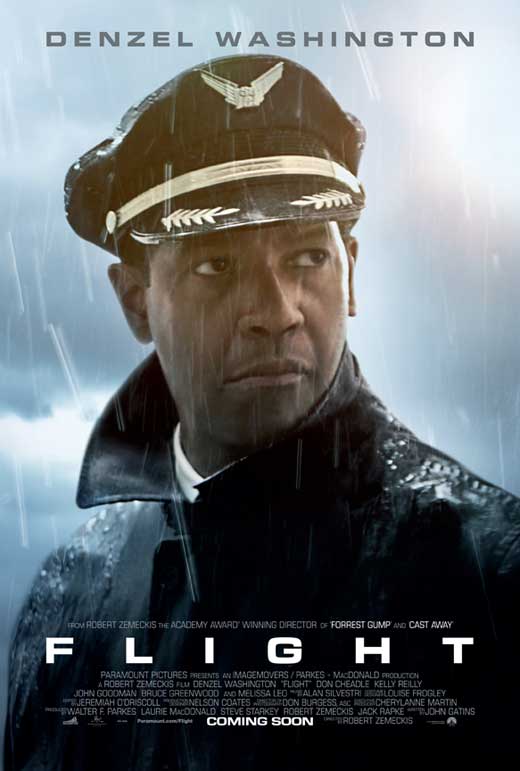
1. What is the general theme/mood you want to create?
2. What types of colours would you like to include?
4. Will you need props to reinforce your overall idea?
5. Will you need special backgrounds?
2. What types of colours would you like to include?
4. Will you need props to reinforce your overall idea?
5. Will you need special backgrounds?
What's required
When collecting your research make sure you only download LARGE images from google (if you don't remember how - please ask). You will need to have the following sections organized in your presentation:
- Rough: Sketch 1 rough to formulate your ideas - show me to discuss when done.
- Background Images: Download High Rez (large images) from google.
- Props: Will you need to download other items to help create your poster?
- Lighting Techniques: Use a technique on your model(s) that would match your theme.
- Supporting Actors: Add at least 3 other students from the class as your supporting actors.
- Show Date: When will your movie be in theatres? Add a date which indicates this.
- Fonts: Use fonts that suit your movie theme and will compliment the design.
- Credits: Use the file provided on our website to use/edit for your bottom credits (install the font as well that is provided)


Step 1
Create a rough sketch of the layout for your movie poster. Include things like model(s) position, props, backgrounds, special effects. This will be your plan moving forward. Make sure to think things through to make sure your ideas are feasible to create in a school environment.
Step 2
Here are the specs to set-up your final canvas in PhotoShop with the following specs:
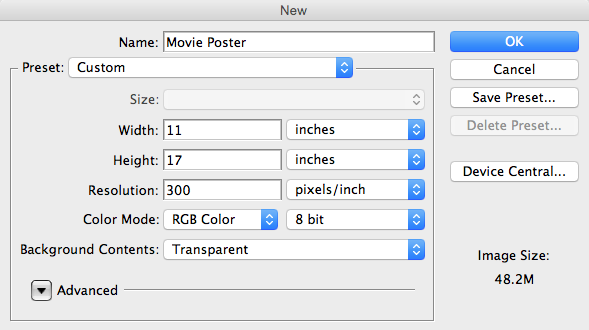
Now that you have your master canvas set-up its time build your background; first drag in your background. Make sure you don't stretch or distort it when making it bigger to fill your canvas.
Step 3
Add any props or effects that will improve your poster. Also move in your credits file (make sure to install the font before hand) and update them with students from STM.
Step 4
- Open your chosen final image in PhotoShop from the multitude of the ones you've shot.
- Now is the time to adjust the levels to make sure your lights, midtones and darks are correct -> image, adjustments, levels.
- Look over your model (zoom in) to see if there are any glaring mistakes you will need to correct using the clone stamp tool.
- Once your adjusting of your image is complete you are ready to bring in your model to the final canvas. You may use the tool of your choice but I would still recommend the polygonal lasso tool. This will give you the most control in any situation. Once you have your model fully selected, copy and paste it into your master canvas.
Step 5
Drop in the credits file and install the font:

| steeltongs.ttf |
| basic_credit_block.psd |
Additional Resource
Rubric