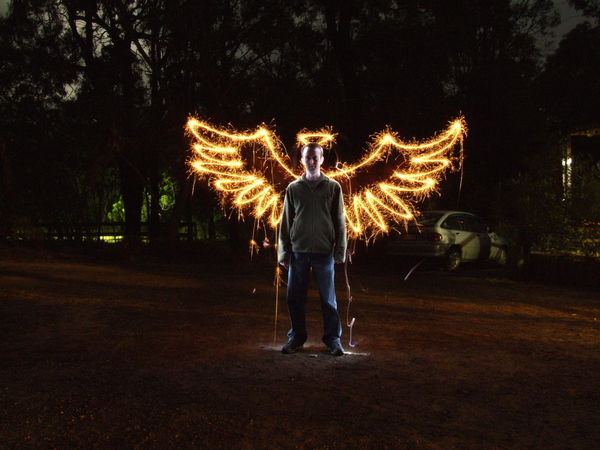
Painting with Light
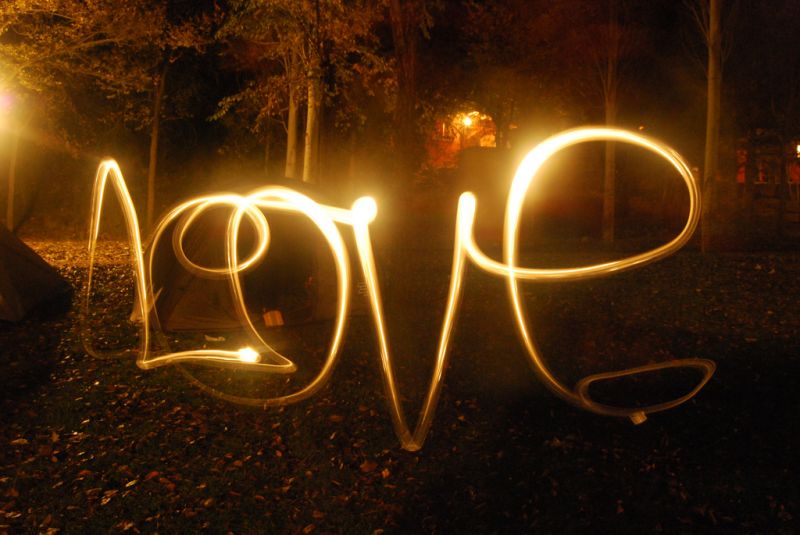
Light painting is a photographic technique in which exposures are made by moving a hand-held light source or by moving the camera. The term light painting also encompasses images lit from outside the frame with hand-held light sources. Light Painting Photography can be traced back to the year 1914 when Frank Gilbreth, along with his wife Lillian Moller Gilbreth, used small lights and the open shutter of a camera to track the motion of manufacturing and clerical workers.


Work Sheet
| painting_with_light_planning_sheet.pdf |
Steps involved
Step 1:
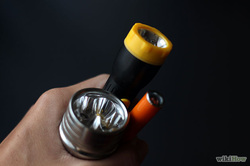
Get a flashlight, glow stick, or something that provides colored or non-colored light.
Get a flashlight, glow stick, or something that provides colored or non-colored light.

Step 2:
Go into a totally dark room (we will use the studio for this). Take your tripod with you.
Go into a totally dark room (we will use the studio for this). Take your tripod with you.

Step 3:
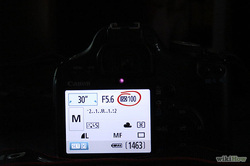
Set your camera to Manual mode, and make the shutter speed 30 seconds(looks like this on the screen for 30"), or have your partner help and set it to BULB mode. BULB mode allows for the shutter to stay open for as long as the trigger is pushed.
Set your camera to Manual mode, and make the shutter speed 30 seconds(looks like this on the screen for 30"), or have your partner help and set it to BULB mode. BULB mode allows for the shutter to stay open for as long as the trigger is pushed.
Step 4:
Set your ISO to one hundred.
Set your ISO to one hundred.
Step 5:
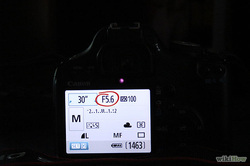
Set your Aperture (or f/stop) to 5.6
Set your Aperture (or f/stop) to 5.6
Camera Settings
Let's start off with the following camera settings (you will need to adjust these settings depending on the distance of your subject to the lens etc):
- Manual Mode
- ISO - 100
- Shutter Speed - 15-20 secs
- FStop - F 5.6 (or lower)
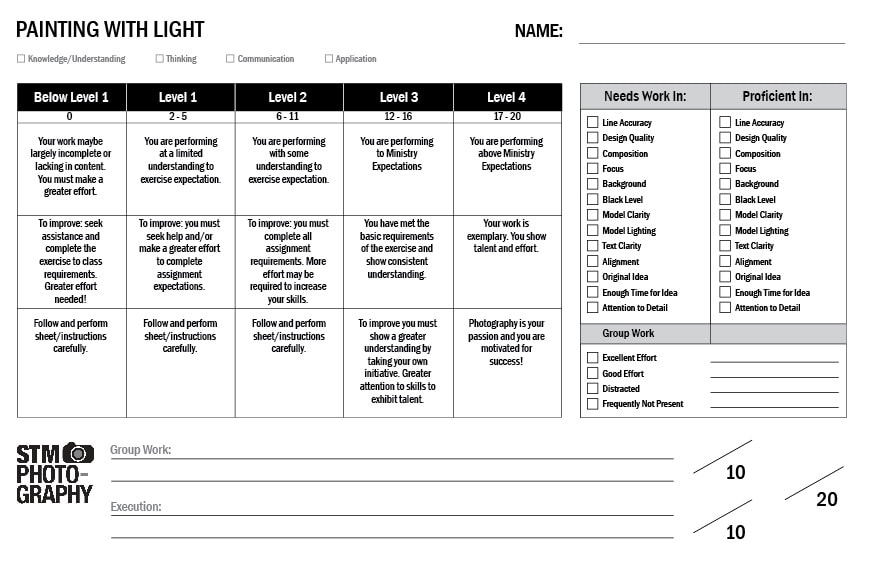
Rubric