Portraits & Textures
One incredibly useful, but often overlooked uses for textures is to enhance portraits. Typically you might think of portraits as being soft in light and hues, but often just the addition of a textured overlay can punch the colors and contrast in very interesting ways. Lets take a quick look at some examples.
You can use a portrait of something you've already taken with good high resolution as well as a grunge texture with a high resolution that you can download from the internet.
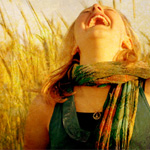
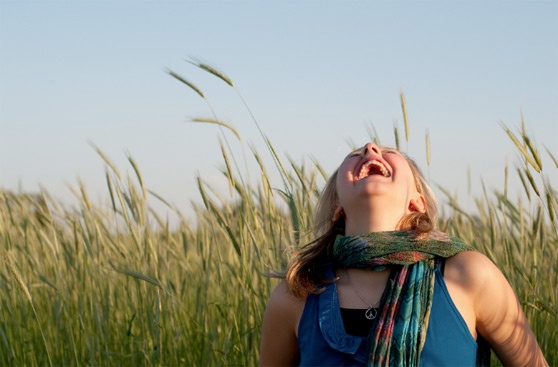
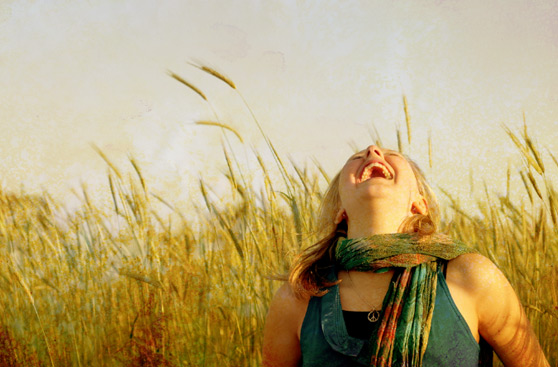
Here is the original portrait that I used:
You can use a portrait of something you've already taken with good high resolution as well as a grunge texture with a high resolution that you can download from the internet.
Here is the original portrait that I used:
One thing to note is that the original image has a lot of cooler tones, and the textures that we’re applying have very warm orange/yellow tones, so we’ll be adding a lot of warmth to the image.
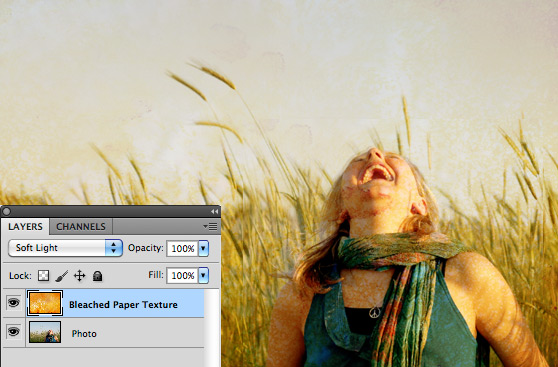
Grab one of the bleached paper textures and drag it to a new layer above the portrait. Set the textures blending mode to Soft Light.
Grab one of the bleached paper textures and drag it to a new layer above the portrait. Set the textures blending mode to Soft Light.
You’ll immediately notice that there will be somethings you don’t want. Distracting elements or too much texture over skin tones.
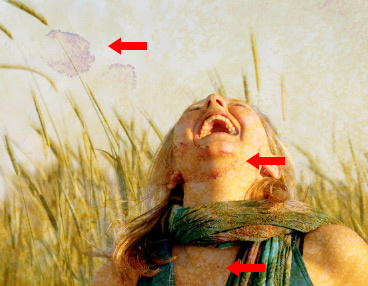
To remedy this, you can select a color from the original texture. Doesn’t matter too much which one, just a light color from the general area of the subjects face
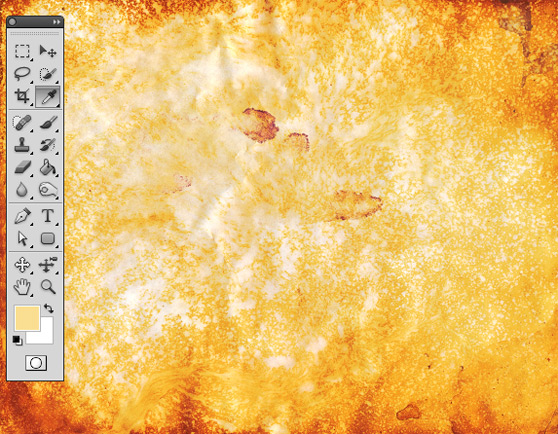
Then with a soft brush color that area of the texture to essentially erase the texture and replace it with solid color.
Next I’m going to add another texture from the Grunge set to further enhance the contrast a bit.
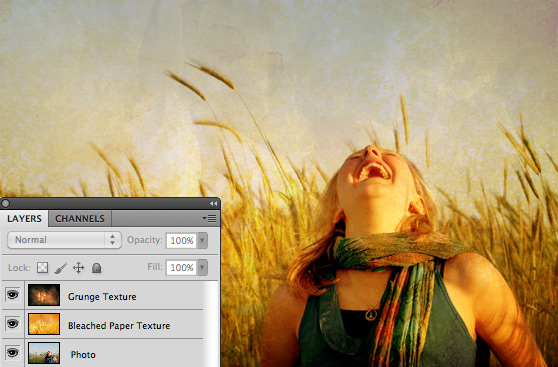
And there you have it...Simple steps to to make your ordinary portrait extraordinary.