Cumlminating Task
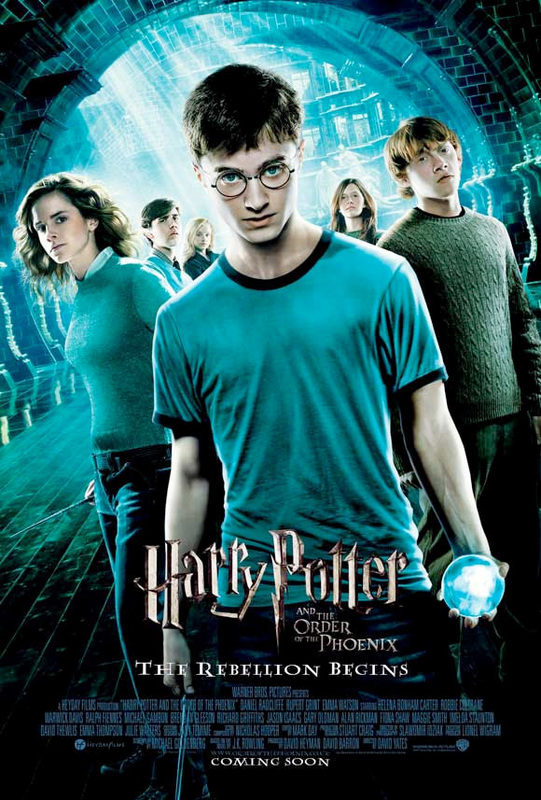
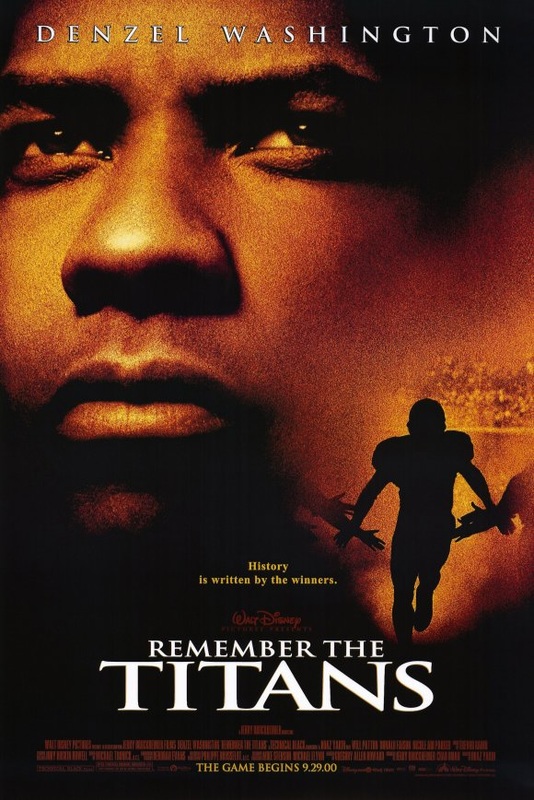
You are hired by your client (Ms. Paradisi's class) to design, set up and shoot a cover for a movie poster that will be released this summer.
The culminating activity is a summative assignment that encompasses various activities and information that you have learned throughout the semester.
In groups of three you will be shooting a character from a movie that will be assigned. You will be collaborating with a group of 2-3 students from the Cosmetology class where your character will be made up and featured in a movie poster. During the collaboration you will meet three (3) times with your Cosmetology class group to discuss and plan the final result of your layout.
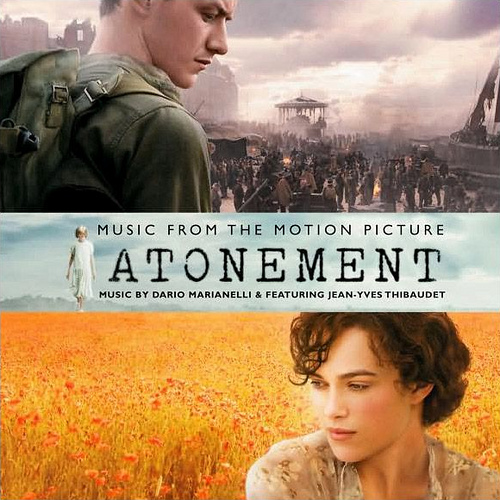
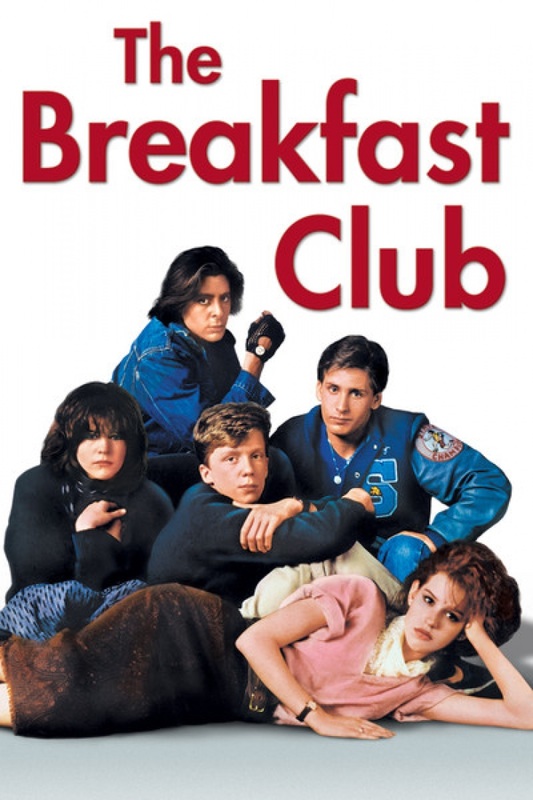
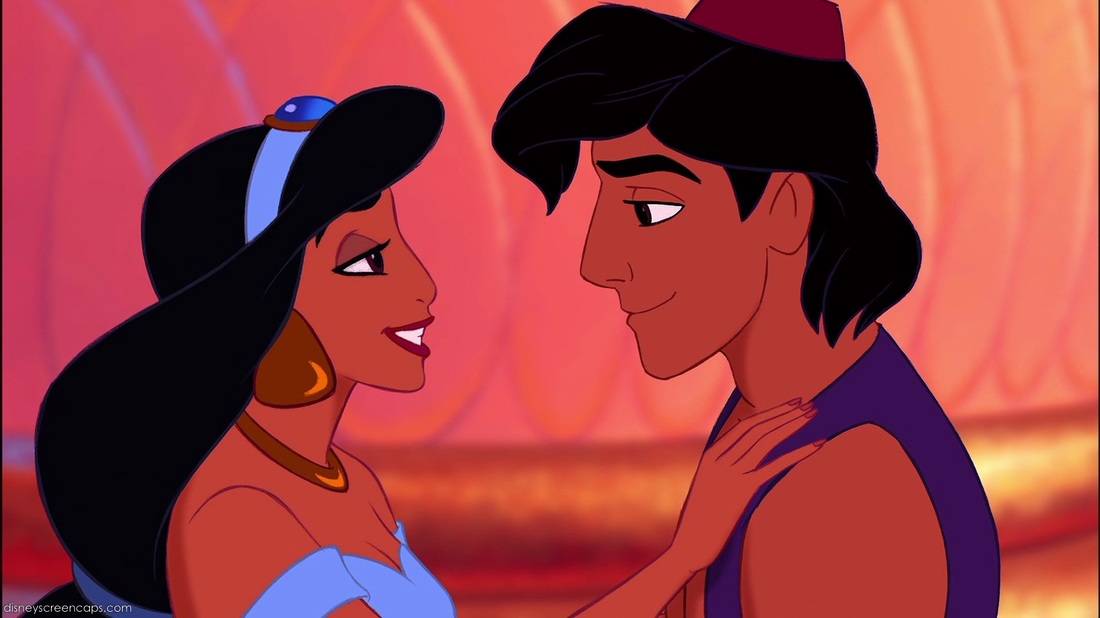
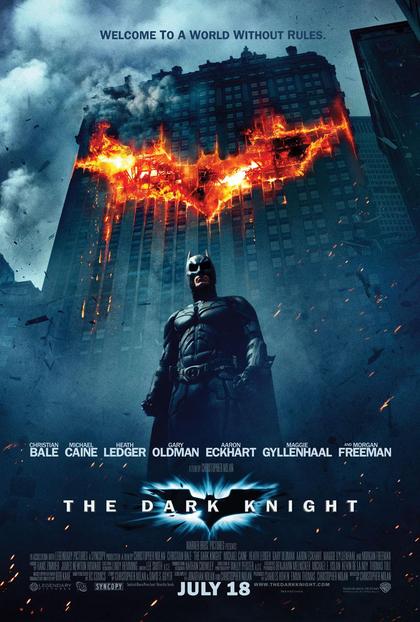
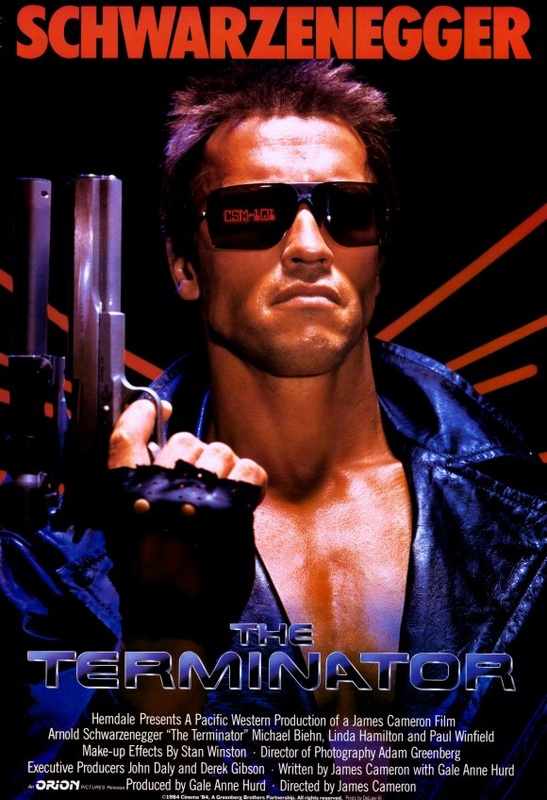
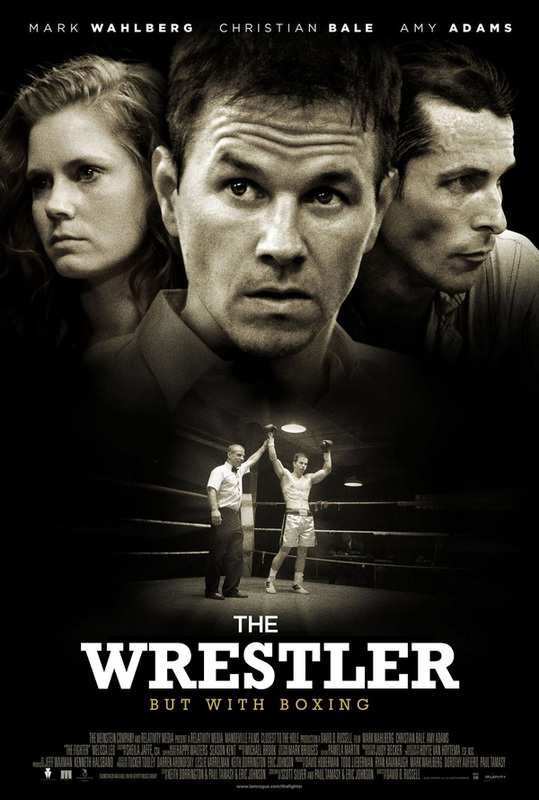
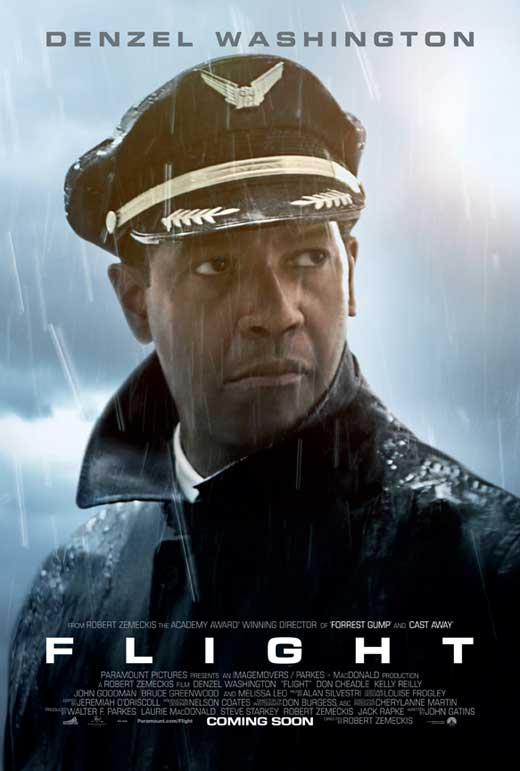
Movies to Choose From


Characters


Meeting dates
|
May 13 - May 15
May 20 - May 22 June 9 |
Meeting #1: Cosmetology introduces themes and ideas to Photography
Meeting #2: Photography provides photo examples, colour, type or shot, font type and lighting techniques Meeting #3: Cosmetology provides photography group with PowerPoint and make final preparations for presentation |
Wednesday May 13, 2015
Cosmetology introduces themes and ideas to Photography
Cosmetology introduces themes and ideas to Photography
1st Session 12:30 pm - 12:50 pm:
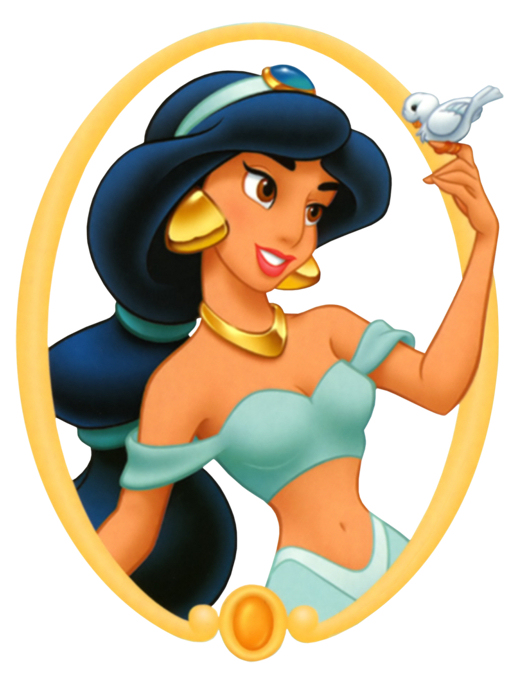
Aladdin Group
2nd Session 1:10 pm - 1:30 pm
Frozen Group
Aladdin Group
2nd Session 1:10 pm - 1:30 pm
Frozen Group
Thursday May 14, 2015
Cosmetology introduces themes and ideas to Photography
Cosmetology introduces themes and ideas to Photography
1st Session 12:30 pm - 12:50 pm:
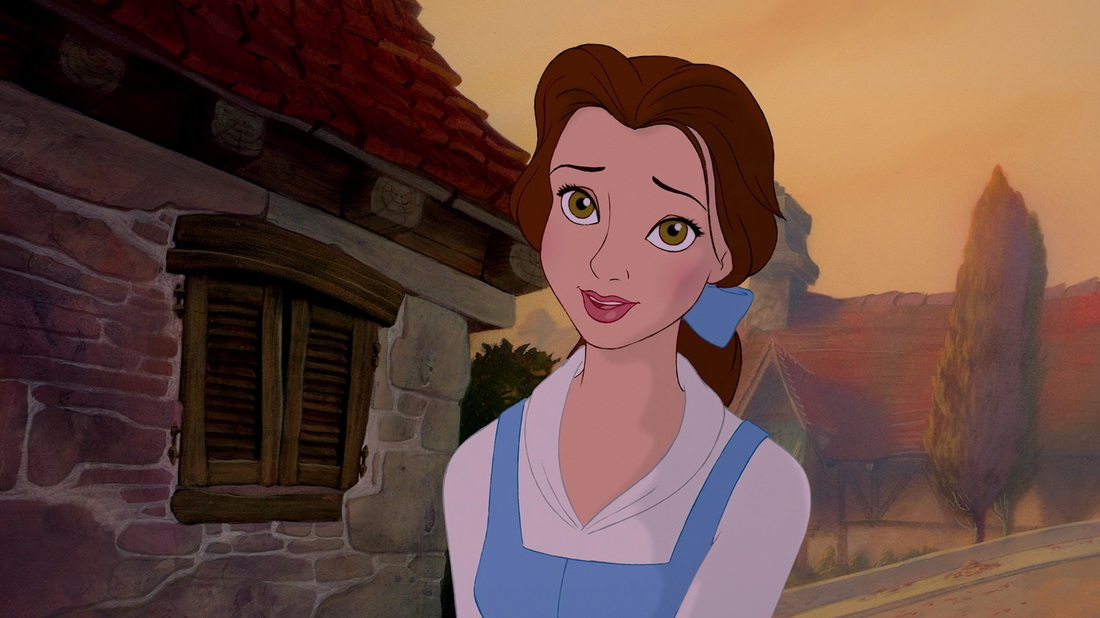
Beauty and the Beast Group
2nd Session 1:10 pm - 1:30 pm
Warm Bodies Group
Beauty and the Beast Group
2nd Session 1:10 pm - 1:30 pm
Warm Bodies Group
Friday May 15, 2015
Cosmetology introduces themes and ideas to Photography
Cosmetology introduces themes and ideas to Photography
1st Session 12:20 pm - 12:40 pm:
Hairspray Group
2nd Session 12:50 pm - 1:10 pm
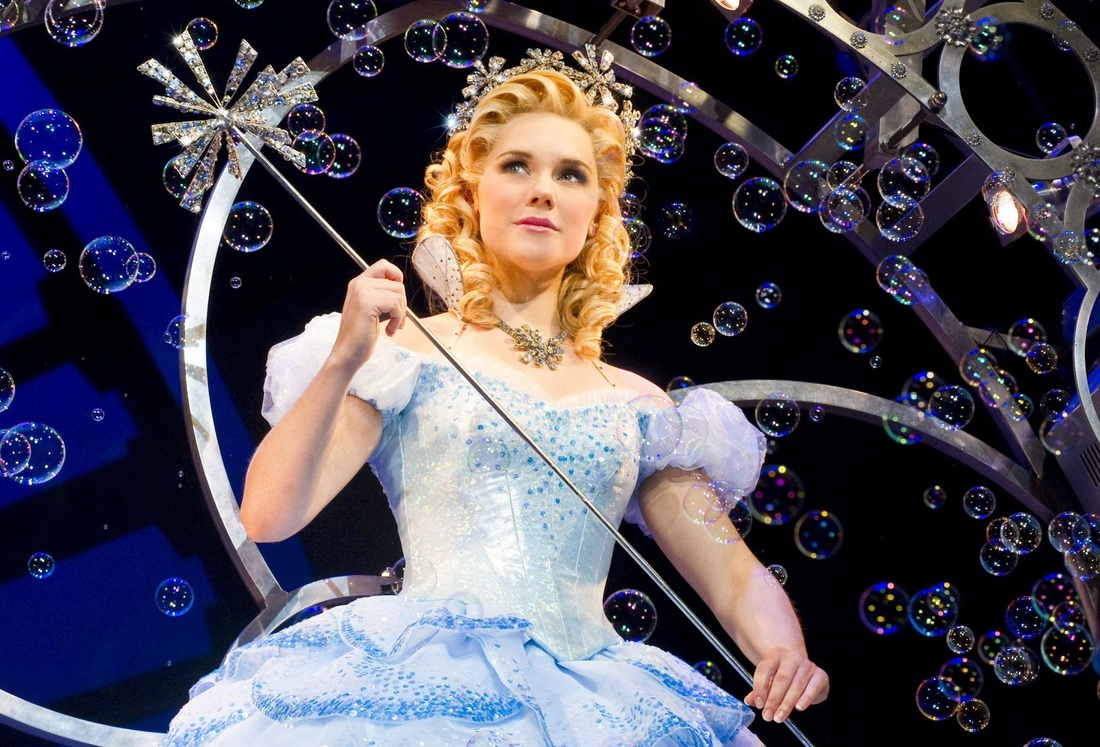
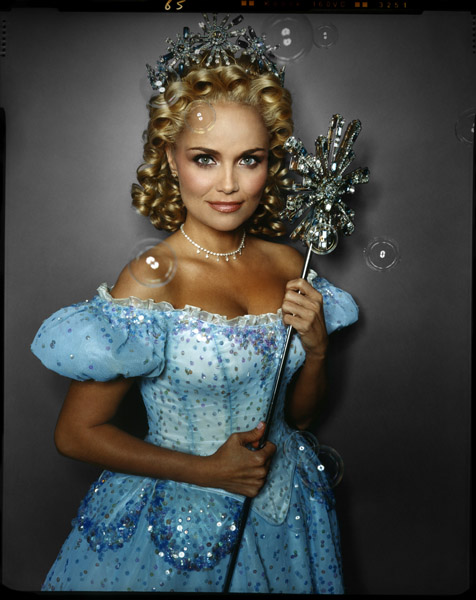
Wicked Group
3rd Session 1:15 pm - 1:35 pm
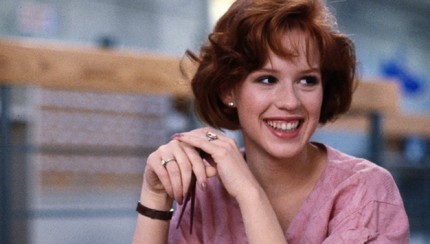
Breakfast Club Group
Hairspray Group
2nd Session 12:50 pm - 1:10 pm
Wicked Group
3rd Session 1:15 pm - 1:35 pm
Breakfast Club Group
Sample Probing Questions
1. What is the general theme/mood you want to create?
2. What types of colours would you like to include?
3. Will we be highlighting facial expressions or a certain style and texture?
4. Will you need props to reinforce your overall idea?
5. Will you need special backgrounds?
2. What types of colours would you like to include?
3. Will we be highlighting facial expressions or a certain style and texture?
4. Will you need props to reinforce your overall idea?
5. Will you need special backgrounds?
Meeting #2: Photography Leads the meeting
Now its your turn to present your finding from the information you gathered from meeting #1. This is an important step because this will see if you are on the right track. Its time to do your research and gather LOTS of examples of: background images, colour examples, font choices, posing samples and lighting techniques that you feel would work well with the chosen theme.
Whats required
You will present your finding by method of a PowerPoint presentation. Please use a provided template of your choosing when starting your PPT. When collecting your research make sure you only download LARGE images from google (if you don't remember how - please ask). You will need to have the following sections organized in your presentation:
Give yourself time to rehearse! Make sure you practice as a group and assign sections for each of you to cover. When talking about your findings describe and expand on why you think what you found would be a good choice to use in the final piece. Make notes and rehearse within your group so that when it comes time for the real thing your group sounds polished.
When you are done your presentation show me ASAP.
- Background Images: Show at least 5 backgrounds that are High Rez (large images) to choose from.
- Sample Poses: Show at least 5 poses similar to what your client described that are High Rez (large images).
- Lighting Techniques: Include 4 lighting samples that show mood that would match your theme.
- Colour Samples: Show at least 2 samples of the chosen colours your client specified.
- Fonts: Include 5 fonts to be used in your poster typography.
Give yourself time to rehearse! Make sure you practice as a group and assign sections for each of you to cover. When talking about your findings describe and expand on why you think what you found would be a good choice to use in the final piece. Make notes and rehearse within your group so that when it comes time for the real thing your group sounds polished.
When you are done your presentation show me ASAP.
MEETING #2 Dates
Wednesday May 20, 2015
Photography shows Cosmetology their findings
Photography shows Cosmetology their findings
1st Session 12:30 pm - 12:50 pm:
Beauty & the Beast
2nd Session 1:10 pm - 1:30 pm
Aladdin
Beauty & the Beast
2nd Session 1:10 pm - 1:30 pm
Aladdin
Thursday May 21, 2015
Photography shows Cosmetology their findings
Photography shows Cosmetology their findings
1st Session 12:30 pm - 12:50 pm:
Breakfast Club
2nd Session 1:10 pm - 1:30 pm
Warm Bodies
Breakfast Club
2nd Session 1:10 pm - 1:30 pm
Warm Bodies
Friday May 22, 2015
Photography shows Cosmetology their findings
Photography shows Cosmetology their findings
1st Session 12:20 pm - 12:40 pm:
Hercules
2nd Session 12:50 pm - 1:10 pm
Wicked Group
3rd Session 1:15 pm - 1:35 pm
Frozen
Hercules
2nd Session 12:50 pm - 1:10 pm
Wicked Group
3rd Session 1:15 pm - 1:35 pm
Frozen
FINAL Photo Shoot Day 1&2
Now is the time to take all your knowledge of what the client portrayed to you and your knowledge of your practice shoot days and apply it to the real thing! Be careful not to get caught up in the set up - start shooting as fast as you can so you can take advantage of the majority of the period. When shooting make sure you take a multitude of pictures with varying light and poses.
Use more than enough light; especially if your background image is of a bright outside shot - your models exposure should match his/her surroundings if not it will look fake!
Use more than enough light; especially if your background image is of a bright outside shot - your models exposure should match his/her surroundings if not it will look fake!
Each student is must hand in...
- 10 of your best photos from your shoot
- 1 final movie poster in PhotoShop with the chosen groups background in place with text
- 1 final movie poster in PhotoShop with the chosen groups background in place with text


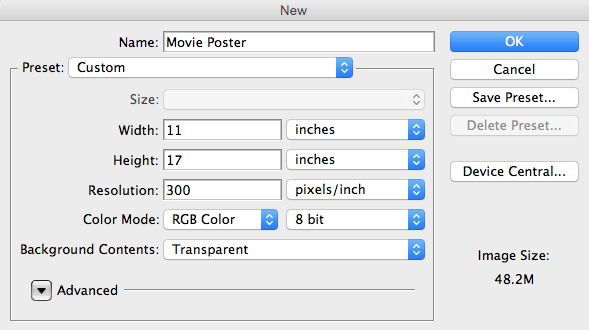
setting up master canvas in photoshop
Once you've taking your photos and downloaded to your z: drive into a folder in your culminating called final shots. You are ready to set-up your final canvas in PhotoShop with the following specs:
step 1
Now that you have your master canvas set-up its time to drag in your background. Make sure you don't stretch or distort it when making it bigger to fill your canvas.
step 2
- Open your chosen final image in PhotoShop from the multitude of the ones you've shot.
- Now is the time to adjust the levels to make sure your lights, midtones and darks are correct -> image, adjustments, levels.
- Look over your model (zoom in) to see if there are any glaring mistakes you will need to correct using the clone stamp tool.
- Once your adjusting of your image is complete you are ready to bring in your model to the final canvas. You may use the tool of your choice but I would still recommend the polygonal lasso tool. This will give you the most control in any situation. Once you have your model fully selected, copy and paste it into your master canvas.
refining your model
Depending on you final mood of your image, you will need to decipher which
tutorial will give you the desired look you are after:
Glamour: Softer feel with lots of light on model. No harsh shadows.
Dodge & Burn: Edgier feel. Used with rebelling themes or something that is more harsh than glamour.
Sharpen: Darker mood result. Evil looking image with high contrasting shadows will result with this tutorial.
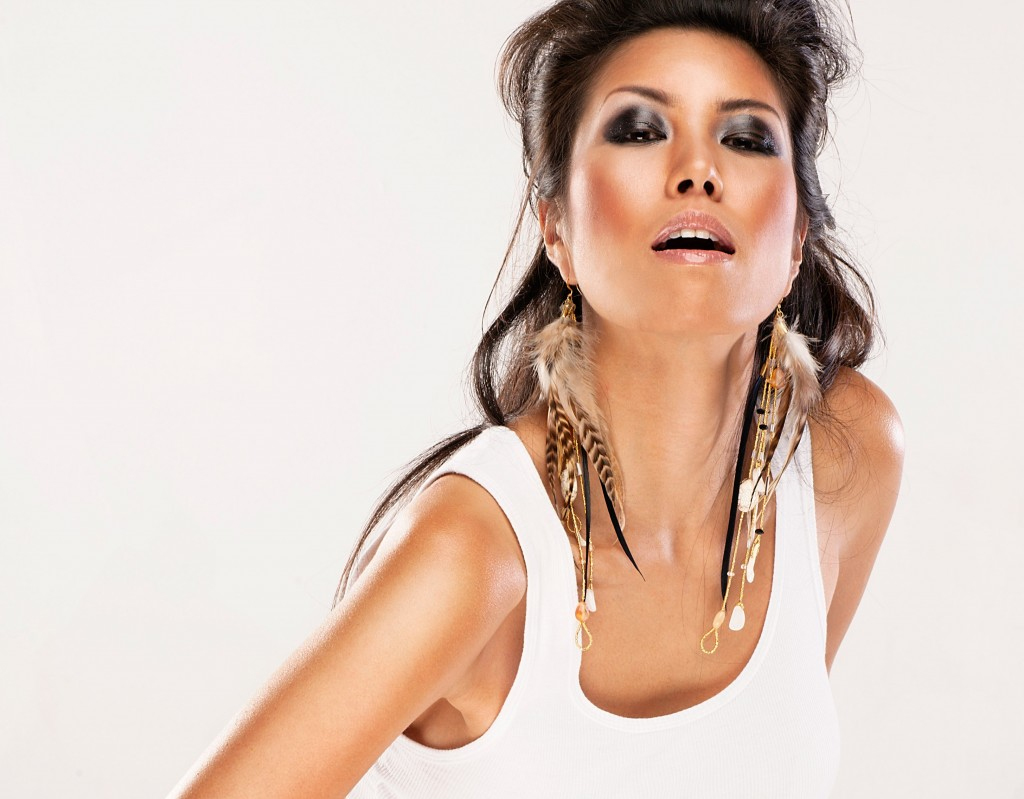
Glamour Tutorial
You will need to download the image below to use with this tutorial. You may follow along with the video or use the document that follows the video as your guide. Please use earphones while listening to the tutorial.
| beauty_portrait_original.jpg |
Dodge & Burn Tutorial
Using the photo below complete the Dodge/Burn tutorial. Then when complete; do the same effect to your final image.
| model.jpg |
| lesson_1d_dodge__burn.pdf |
Sharpen Tutorial
To complete; download the image below:
| hooded_guy.jpg |
| lesson_1di_sharpen.pdf |
Final Image
When you are completed your editing save your file as Model Final.jpg.
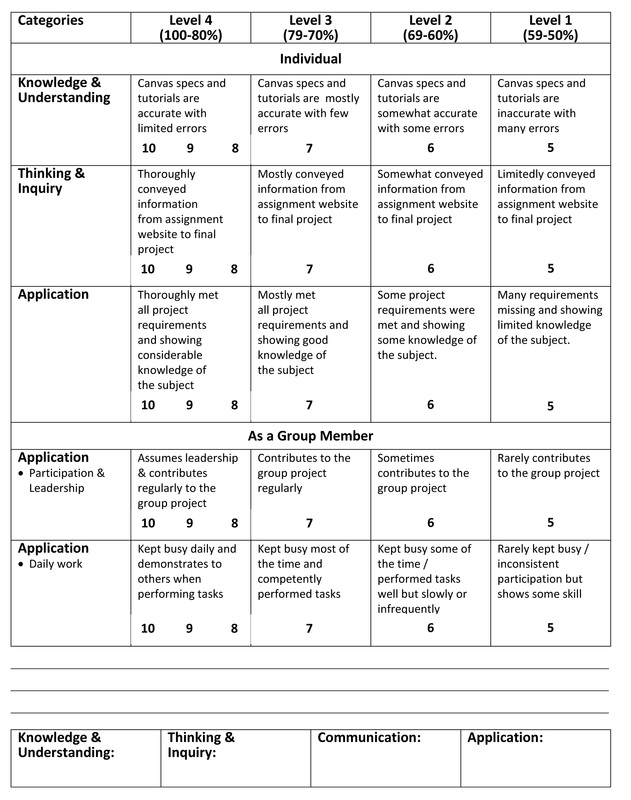
Rubric