Aquatic Surreal Scene Tutorial
Resources used in this tutorial
|
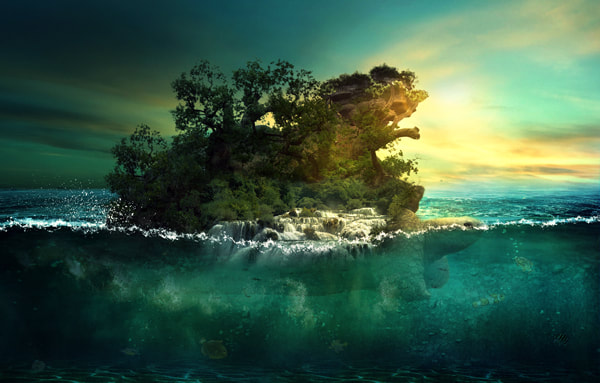
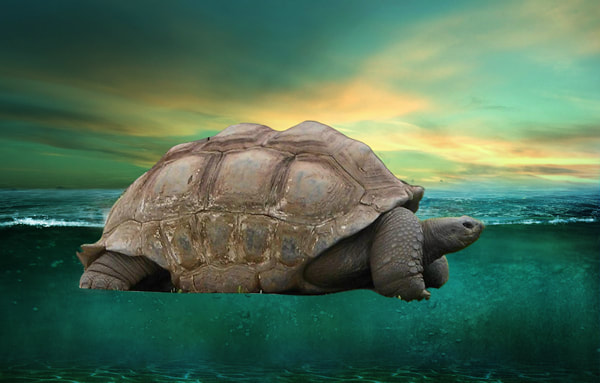
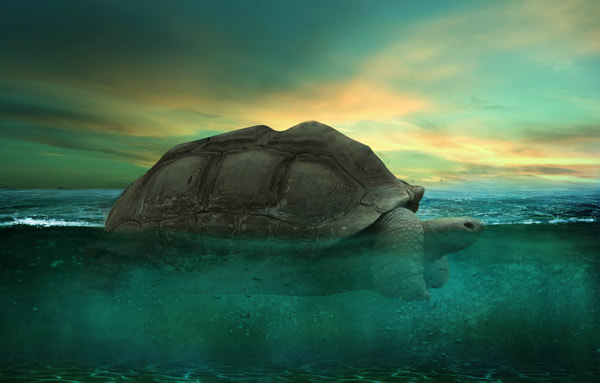
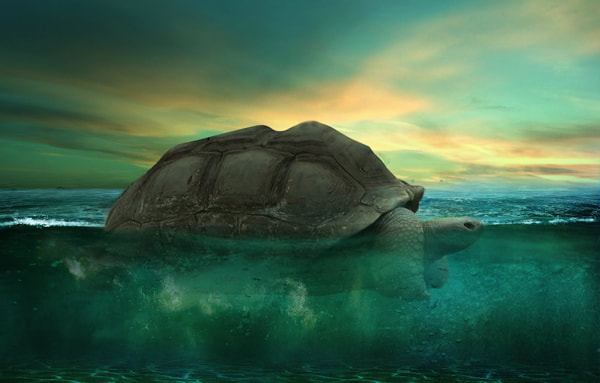
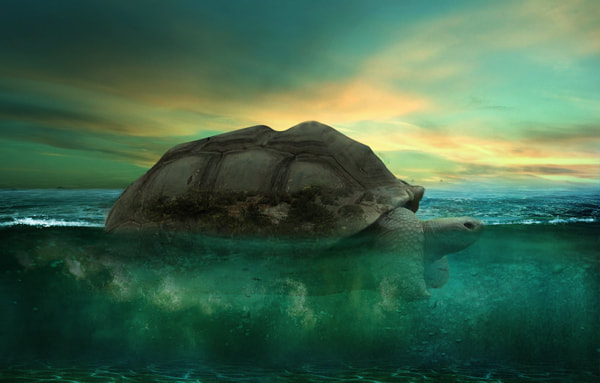
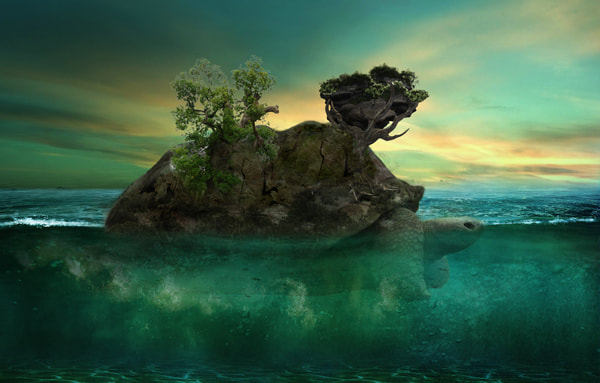
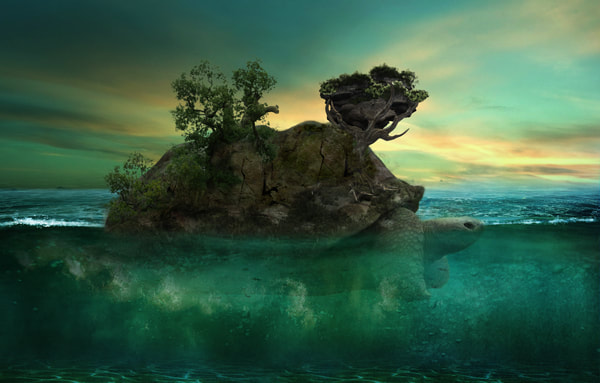
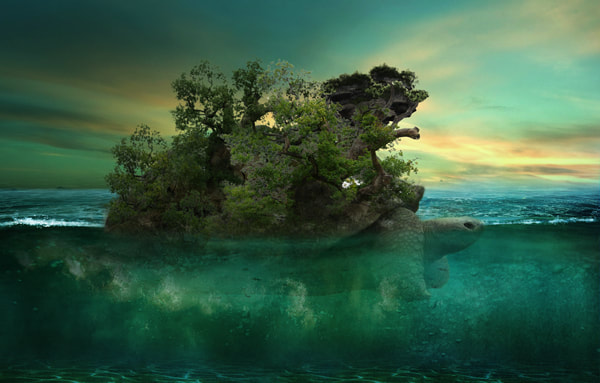
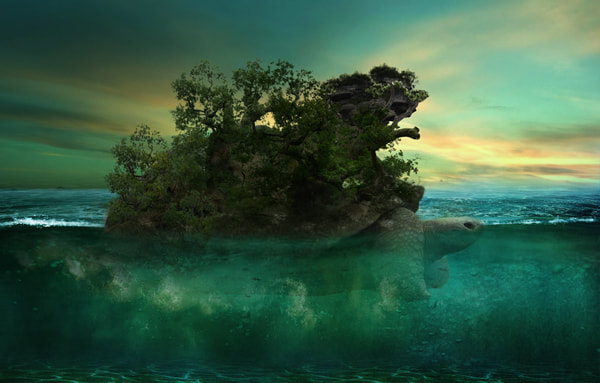
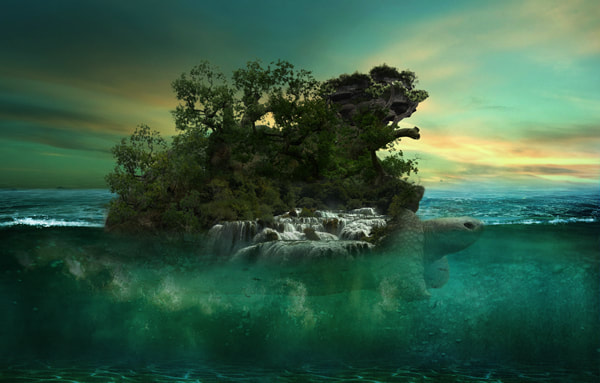
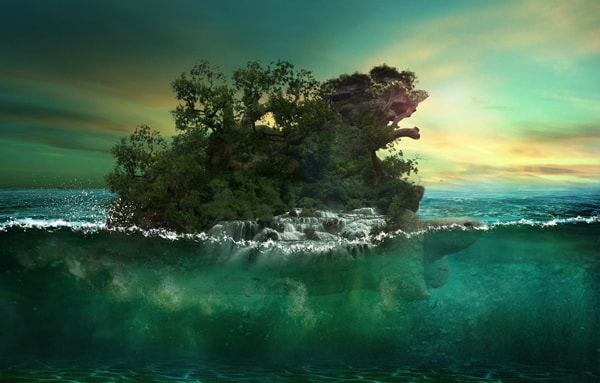
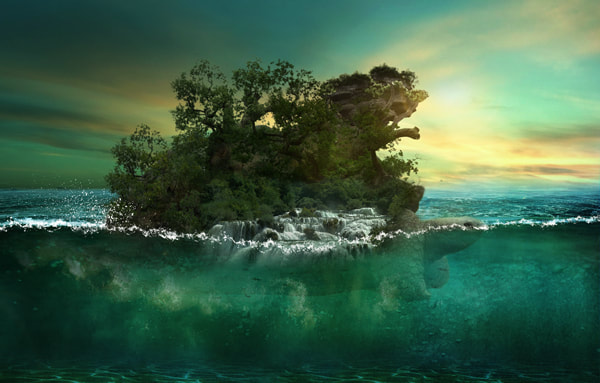
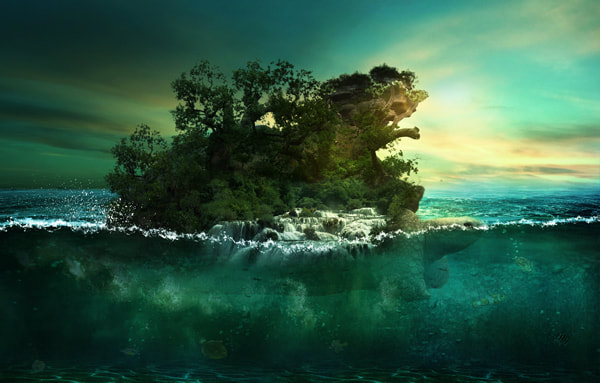
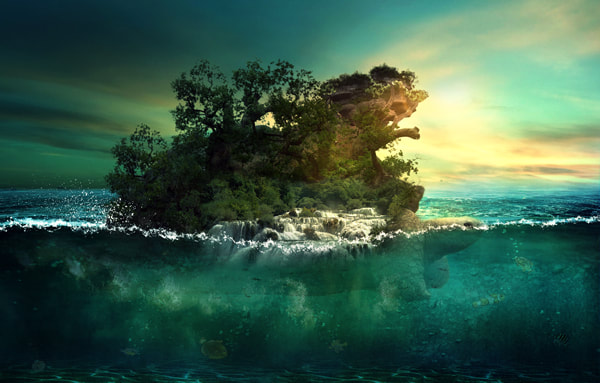
In this tutorial, I’ll show how you can combine different stock images to create this cohesive and unified scene of an aquatic Giant tortoise. You’ll also learn how to manipulate trees, stones, waterfalls and textures to create an island on the tortoise. Finally, we’ll add lighting effects and adjust the colour of our entire scene.
Let’s get started | ||||||||||||||||||||||||||||||||||
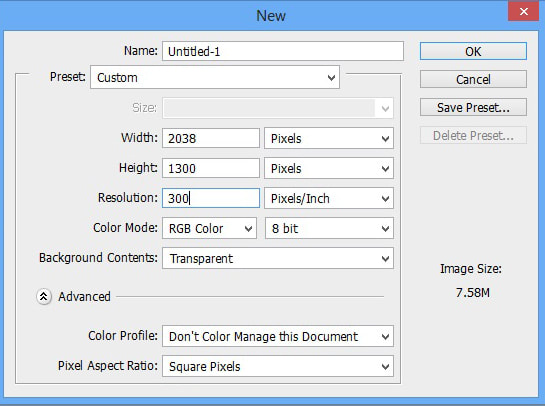
Step 1
Create a new document by selecting File > New and set the setting as shown in the image below.
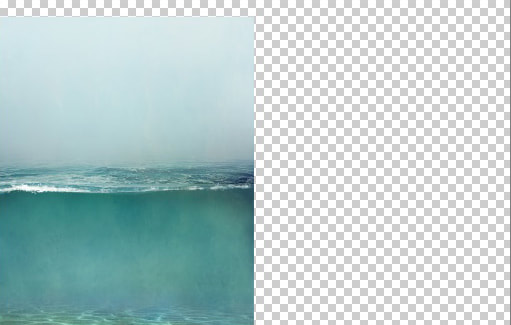
Step 2
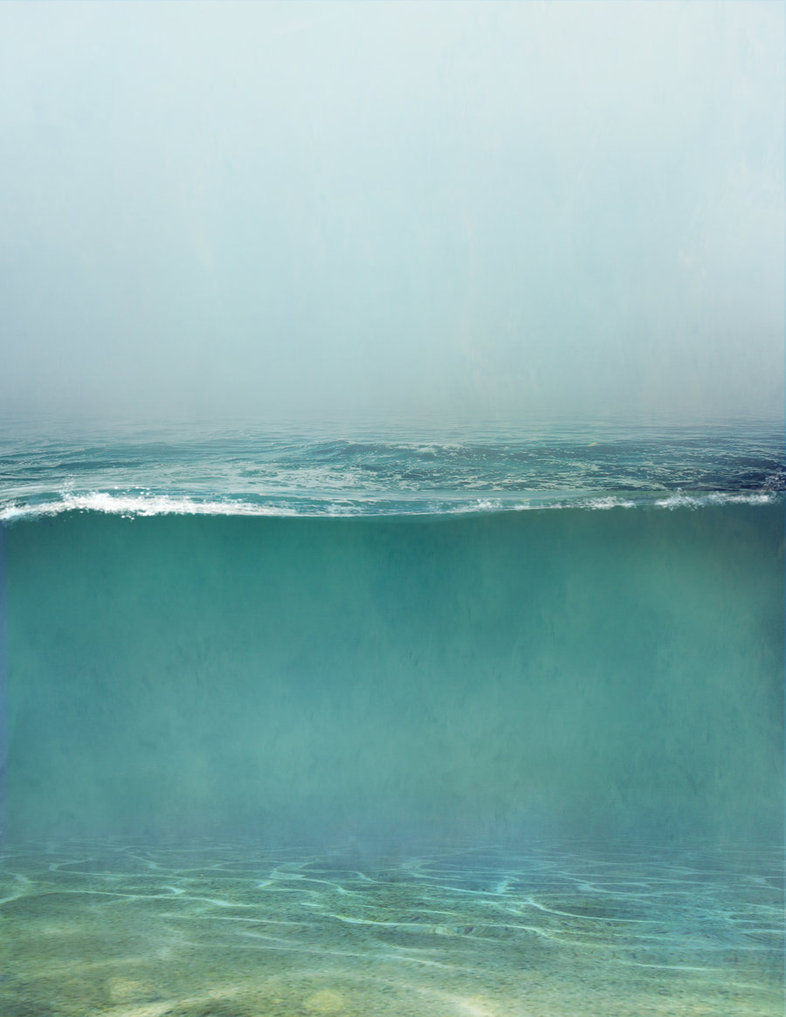
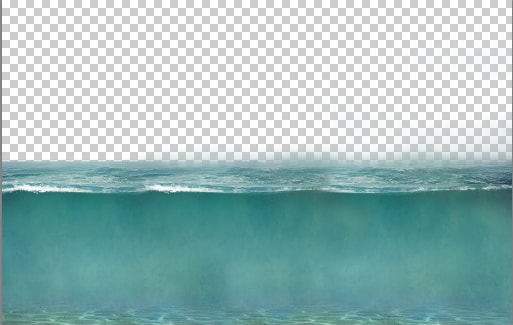
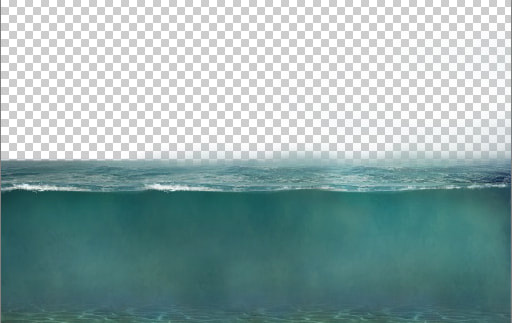
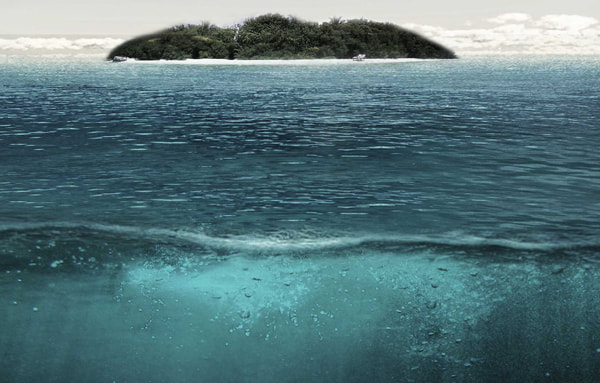
Now, place the underwater image by selecting File > Place. Place it as shown in the image below.
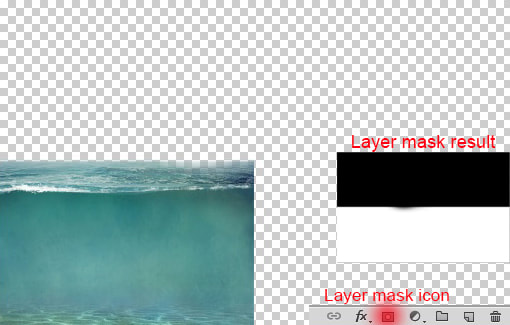
Step 3
Add a layer mask to it by clicking on the second button on the layer panel at bottom right side. Grab the brush tool by pressing (B) on the keyboard. Use a soft round basic black brush to hide the upper part of underwater as shown in the image below. You can see the result below.
Step 4
Duplicate the underwater layer and move it to the right as shown in the image below.

Step 5
Place the underwater image again but this time in the center of the main document as shown in the image below.
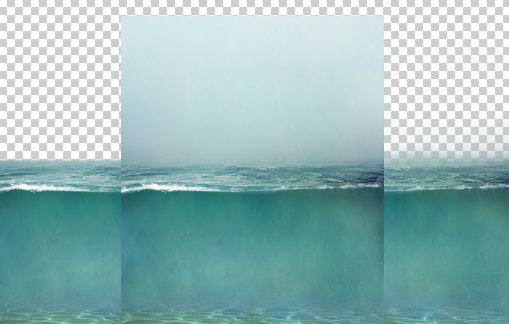
Add a layer mask to it and use a soft round basic black brush to hide it’s parts to blend it properly to the scene. Here are the results. Now select all the underwater layer then press (Ctrl+E) on keyboard to merge all three layer into a single layer.
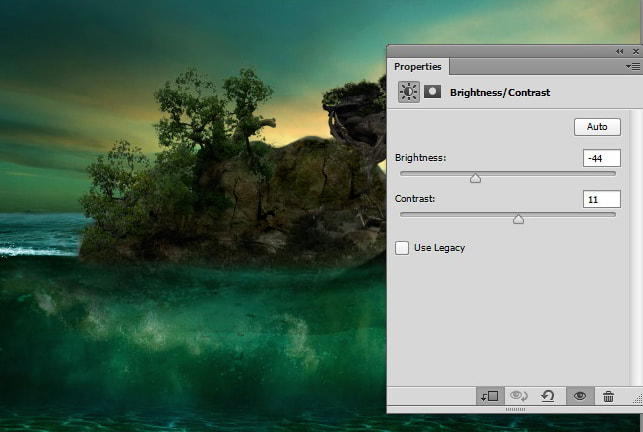
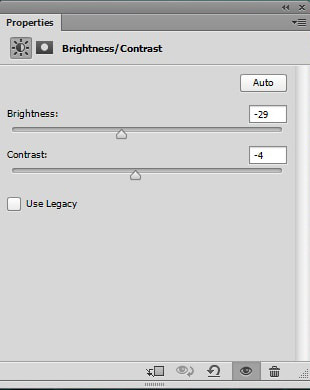
Step 6
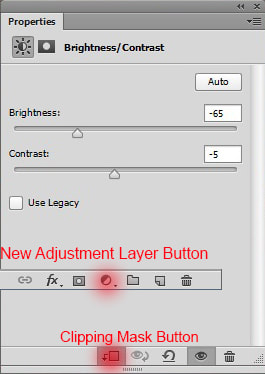
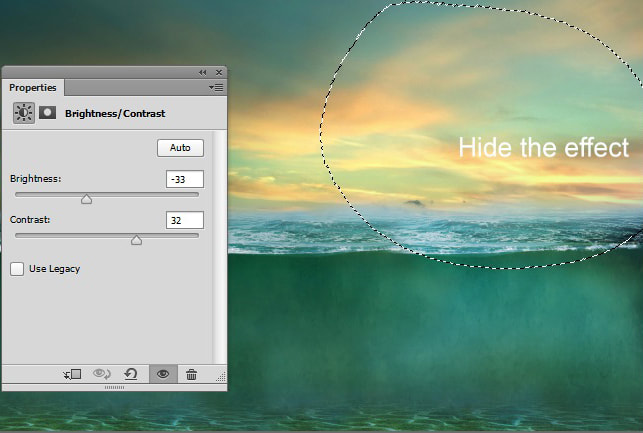
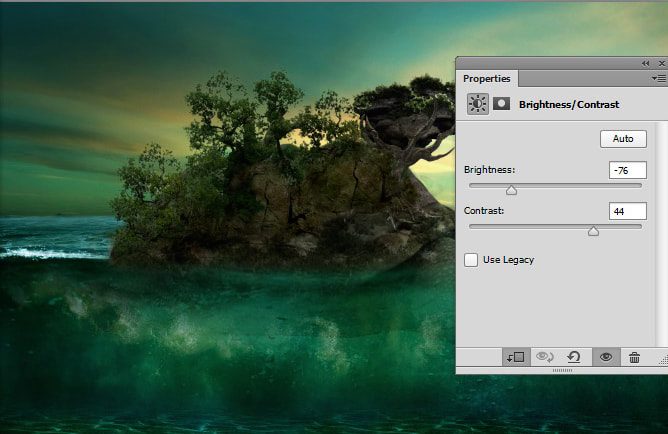
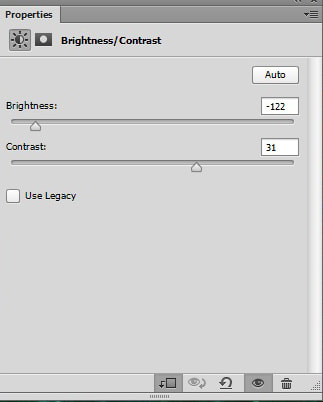
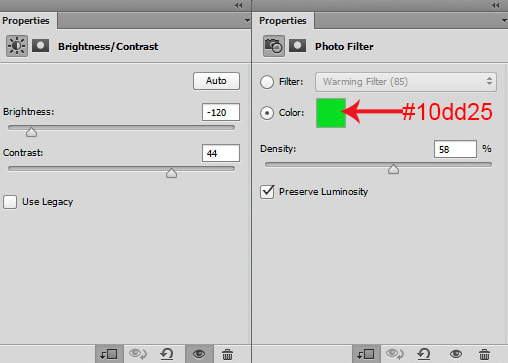
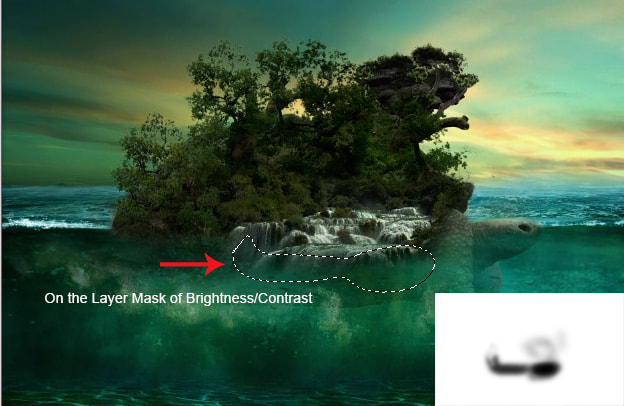
Now, add a Brightness/Contrast adjustment layer as clipping mask to the underwater layer (see the image below for New Adjustment layer button and clipping mask button). Set the setting as shown in the image below.
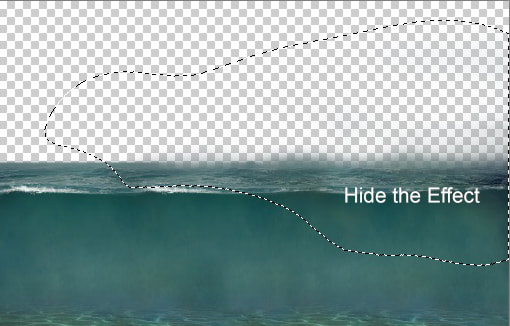
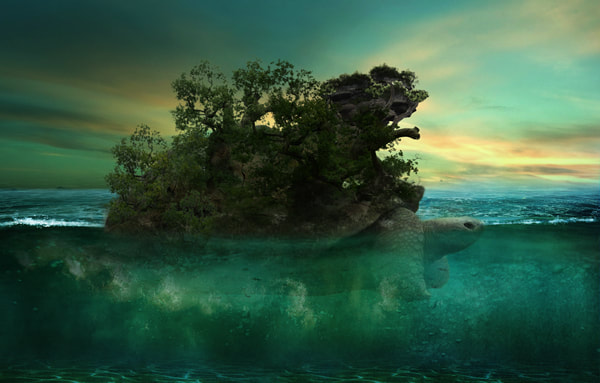
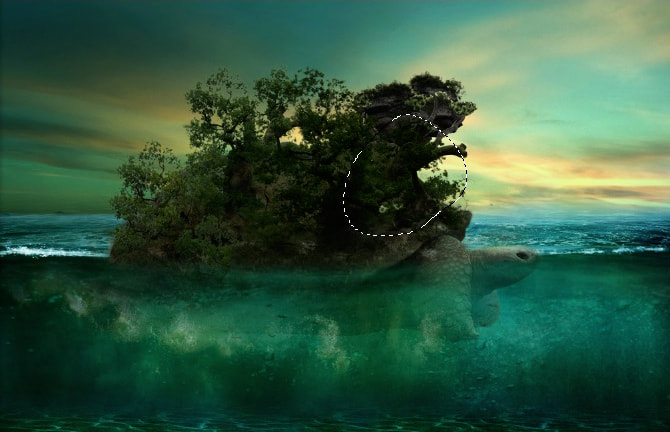
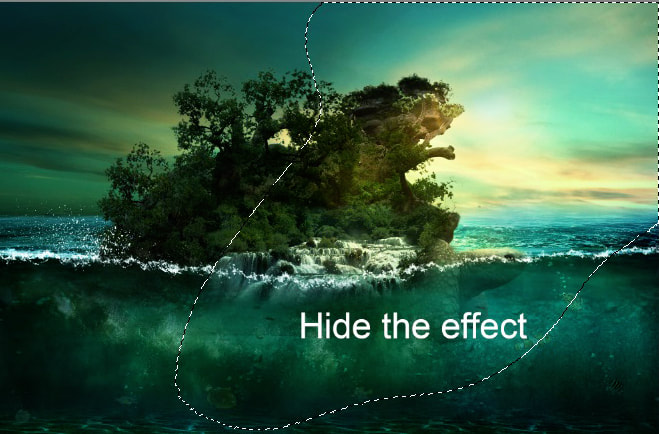
On the layer mask of Brightness/Contrast Adjustment layer I hided the selected effect as shown in the image below.
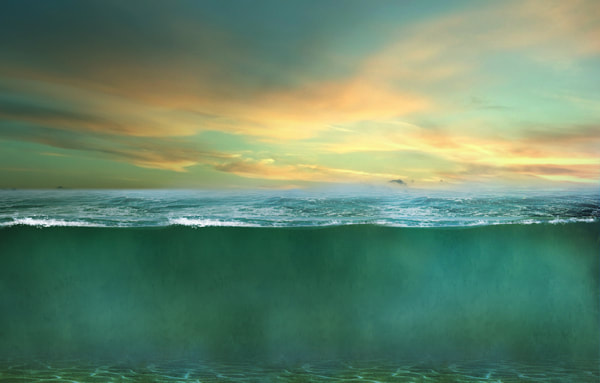
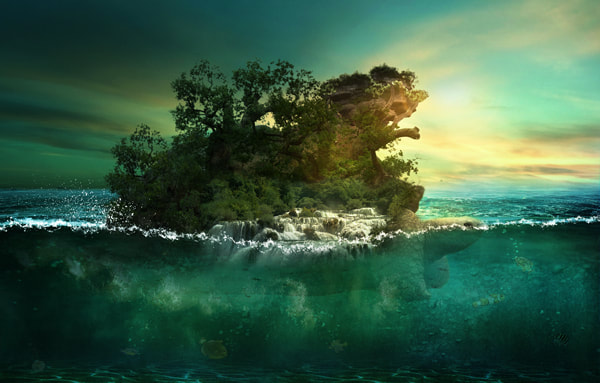
Here are the results so far.
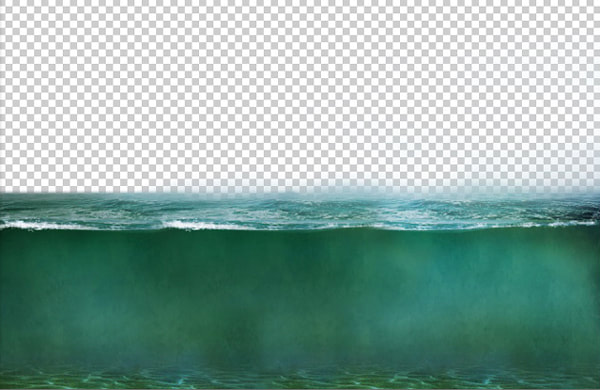
Step 7
Now, add a Curves adjustment layer to the underwater layer as shown in the image below.
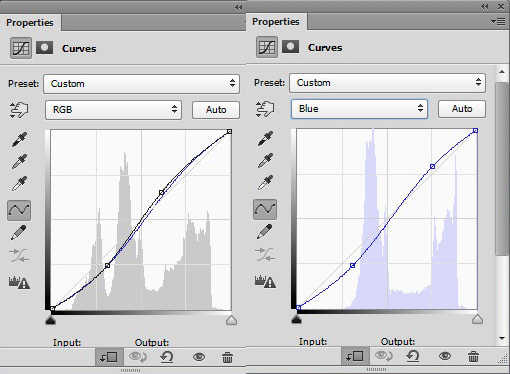
Here are the results.
Step 8
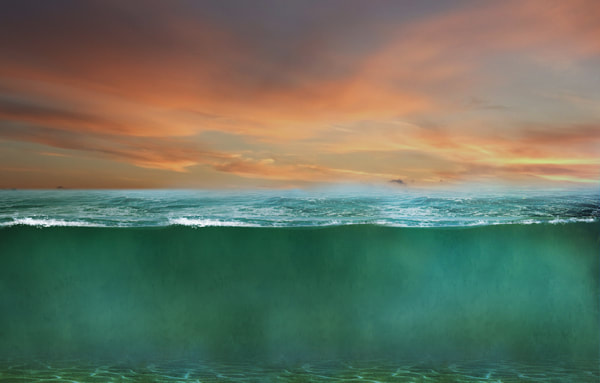
Now, place the sky below the underwater layer.
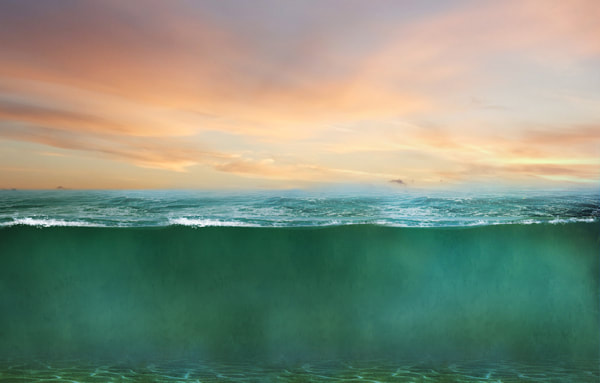
Step 9
Now, add a Curves and Exposure adjustment layer to the sky image. Set the setting as shown in the image.
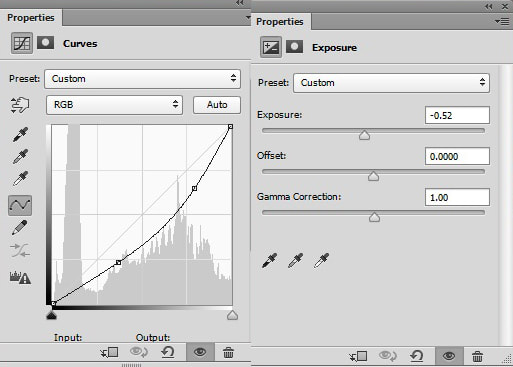
Here are the results.
Step 10
On the layer mask of Exposure adjustment layer I hided the selected effect as shown in the image below.
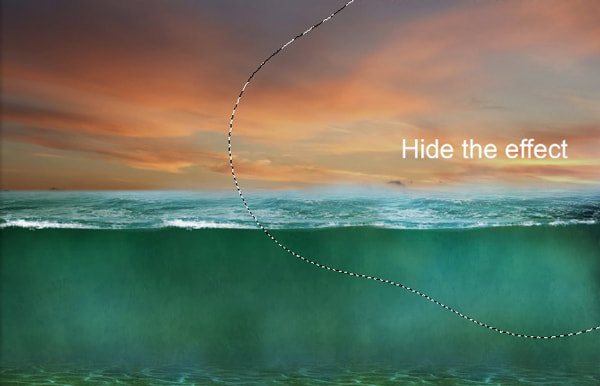
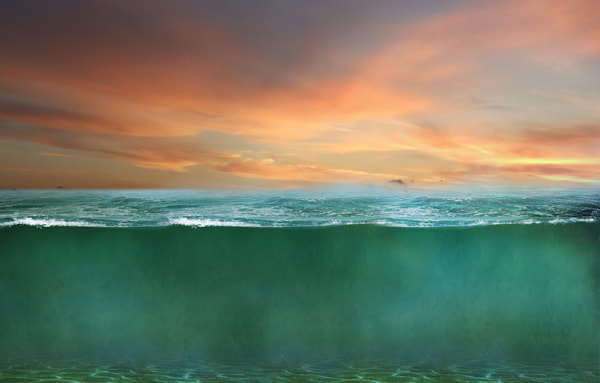
Here are the results.
Step 11
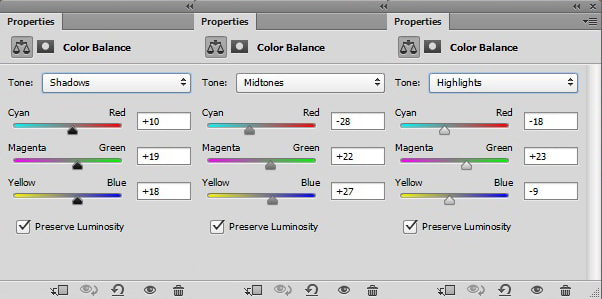
Add a Color Balance adjustment layer to the sky as shown in the image below.
Here are the results.
Step 12
Add a Brightness/Contrast adjustment layer to the sky. On the layer mask of Brightness I hided the selected effect as shown in the image below.
Here are the results so far.
Step 13
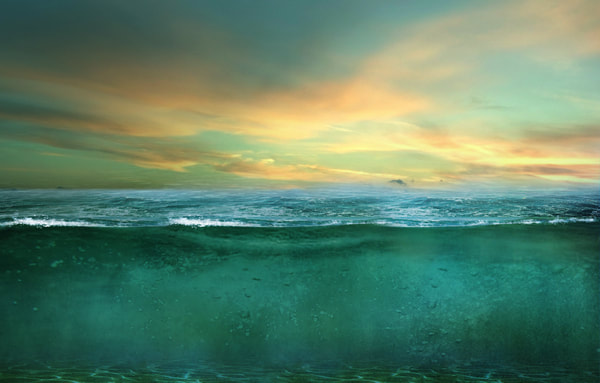
Now, place the underwater 1 image above the underwater layer and activate the Free Transform tool by pressing (CTRL + T) on keyboard. Resize it, so it can cover the entire scene.
Step 14
Add a layer mask to it and using a soft round basic black brush hide the selected part as shown in the image below.
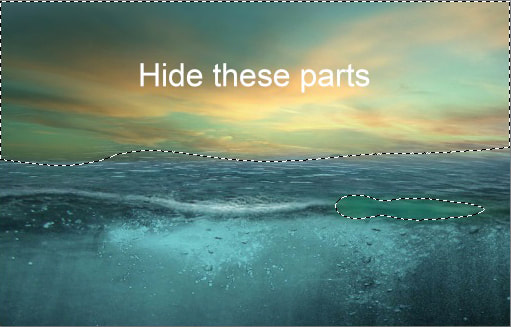
Change the blend mode of underwater 1 to soft light. Here are the results.
Step 15
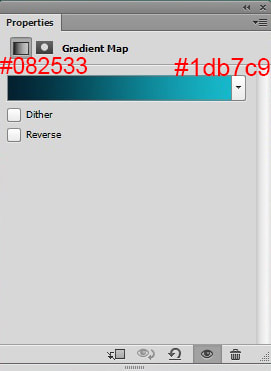
Add a Gradient Map adjustment layer above the underwater 1 without clipping it. Set the setting as shown in the image below.
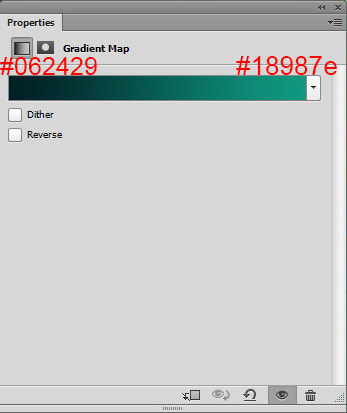
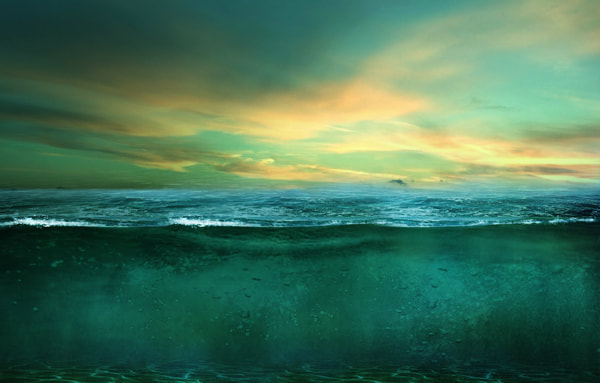
Change the blend mode of Gradient Map to soft light and reduce the opacity to 69%. Here are the results.
Step 16
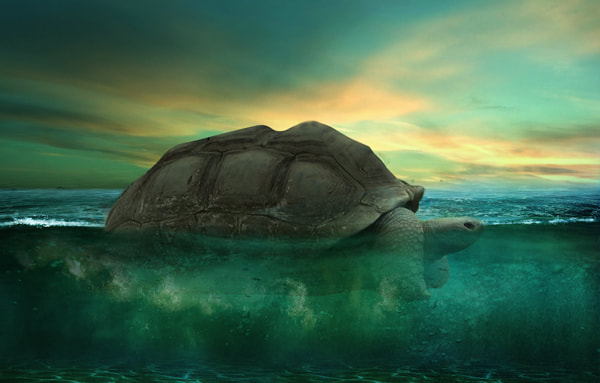
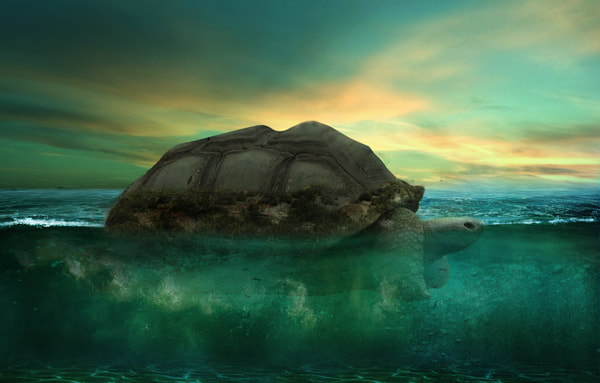
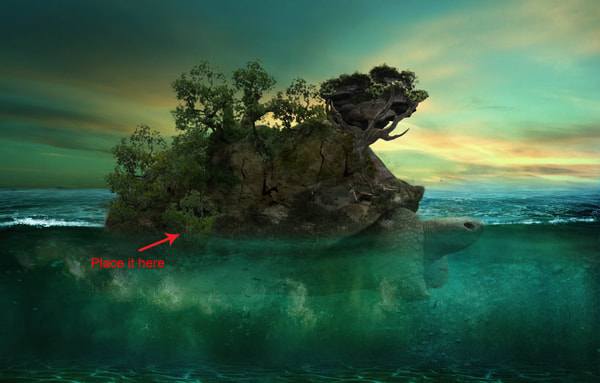
Extract the tortoise using your favorite selection tool then place it to the main document as shown in the image below.
Step 17
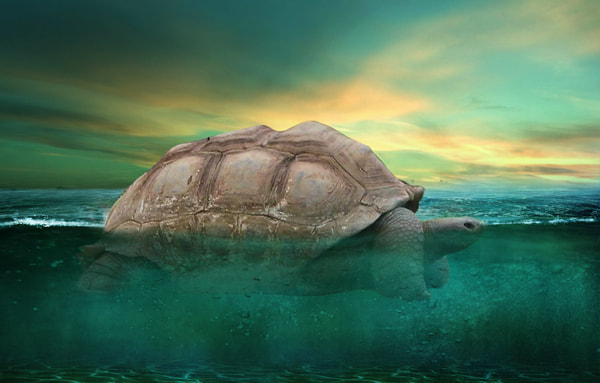
Add a layer mask to tortoise and partially hide the underwater area of the tortoise by painting in the layer mask about 30% opacity and flow with soft round basic black brush.
Step 18
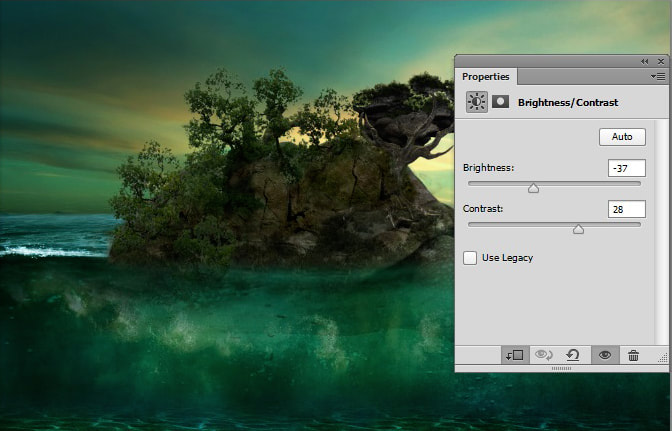
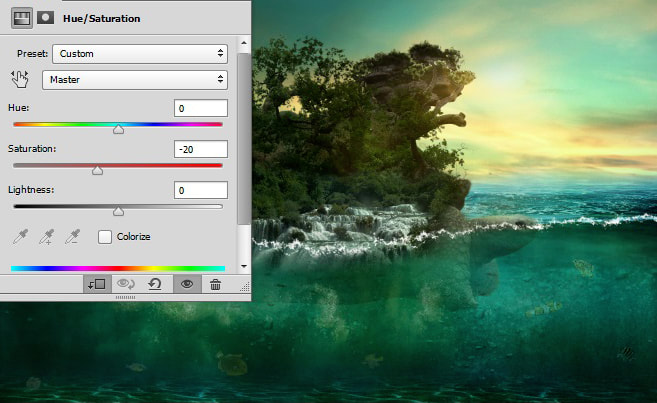
Add a Hue/Saturation and Brightness/Contrast Adjustment layer to the tortoise to blend it the scene.
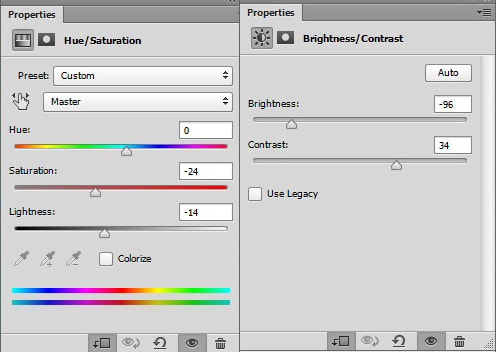
Here are the results.

On the layer mask of both adjustment layers I hided the selected effect.
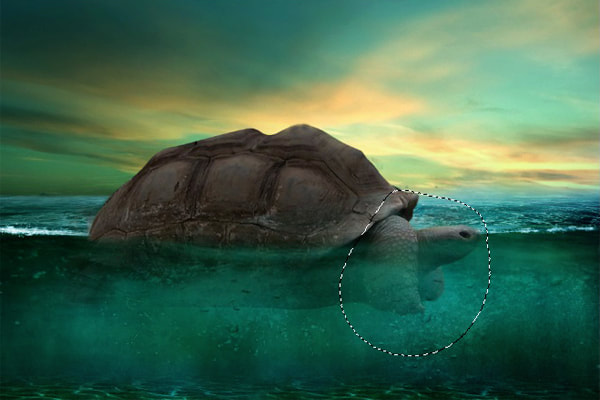
Here are the results.

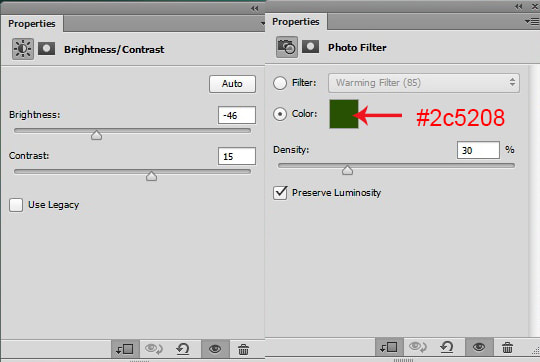
Step 19
Add a Photo Filter adjustment layer to the tortoise and set the setting as shown in the image below.

Reduce the opacity of Photo Filter to 80% and here are the results.
Step 20
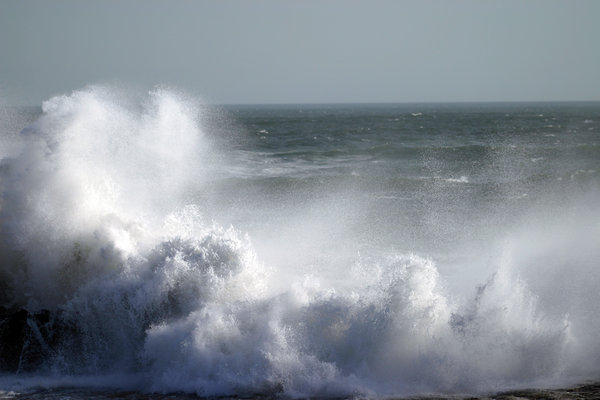
In this step, we’ll add water waves to the scene. Place the water waves image to the main document as shown in the image below.
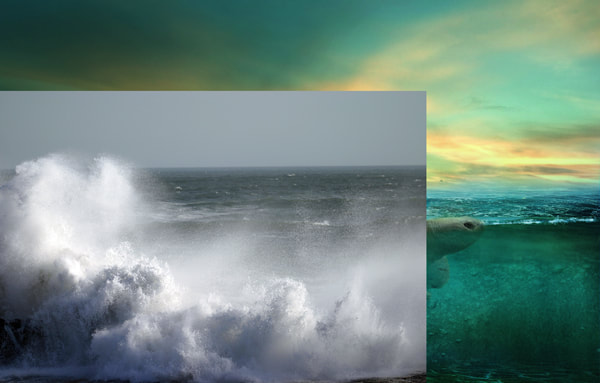
Step 21
Add a layer mask to the water waves and hide the parts of water waves as shown in the image below using a soft round basic black brush.
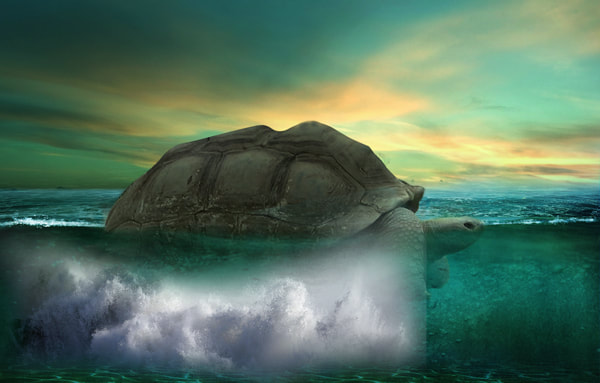
Now, change the blend mode of water waves to hard light and reduce the opacity to 50%. Here are the results.
Step 22
To blend the water waves to the scene I added the Brightness/Contrast and Curves adjustment layer to it.

Here are the results.
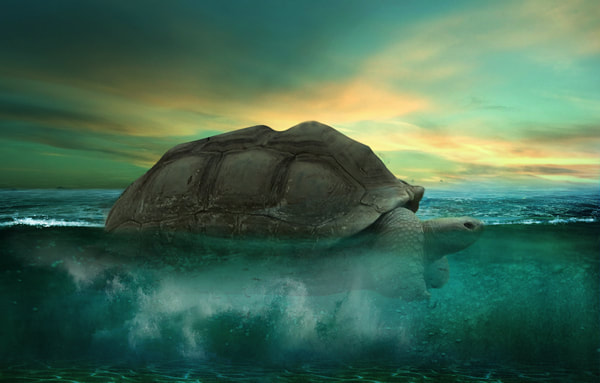
Step 23
Now, duplicate the water waves layer two times including Brightness/Contrast and Curves adjustments layer. Position it in different places like shown in the image below to get more water waves inside the underwater. Here are the results.
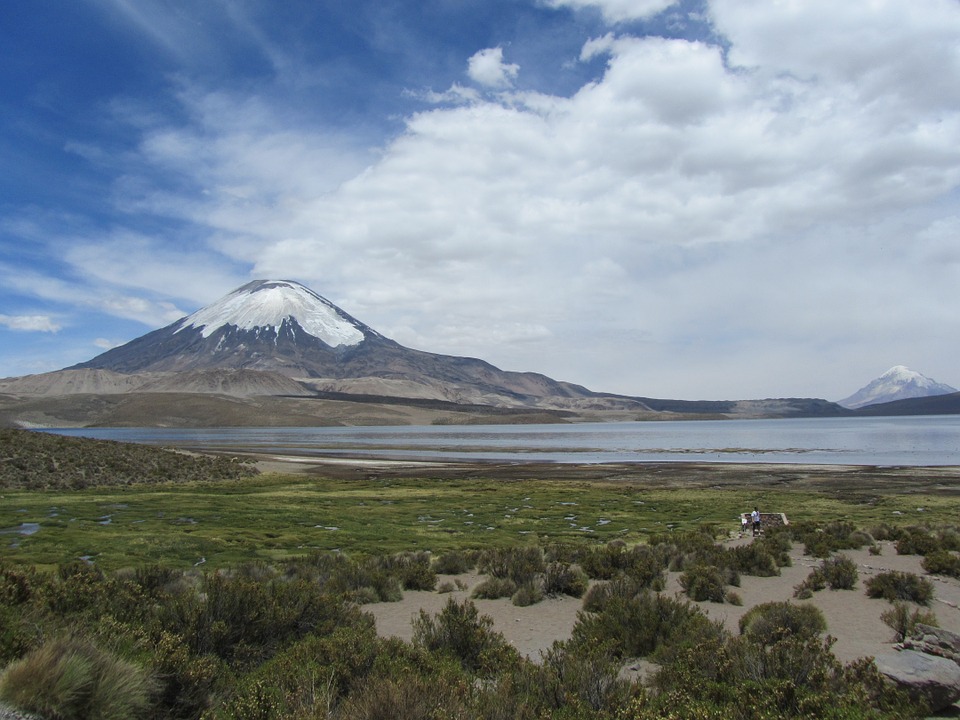
Step 24
Add the Volcano image to the main document as indicated below. We only need the selected parts (see the image below) of volcano not the rest of.
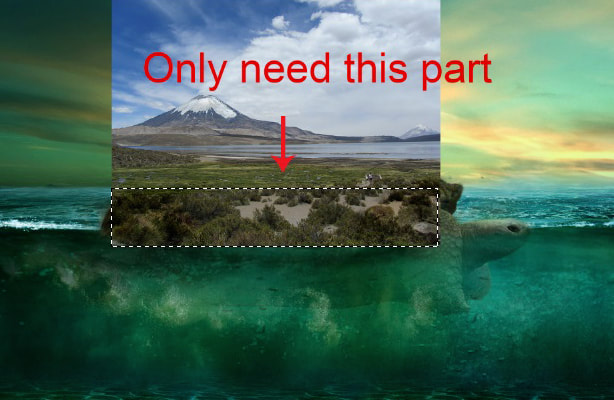
Add a layer mask to it and hide the unwanted part to blend it to the tortoise.
Step 25
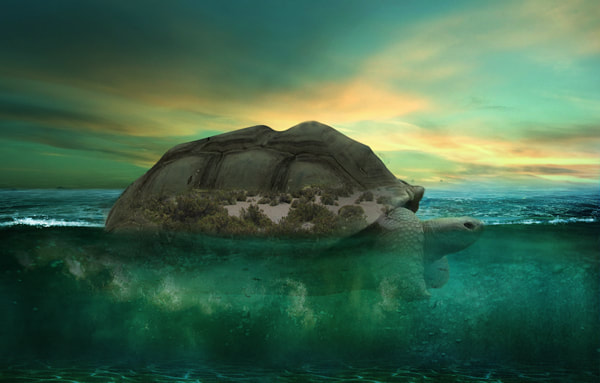
Set the blend mode of volcano to hard light. Here are the results.
Step 26
Now, duplicate the volcano layer two times and place it to left and right to cover the tortoise parts (don’t forget to use the layer mask) as shown in the image below.
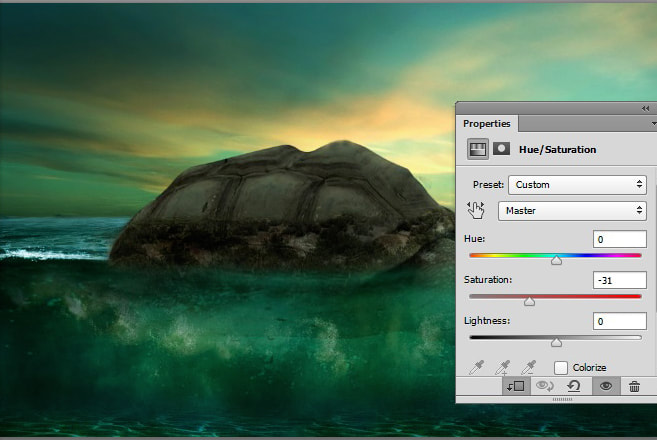
Step 27
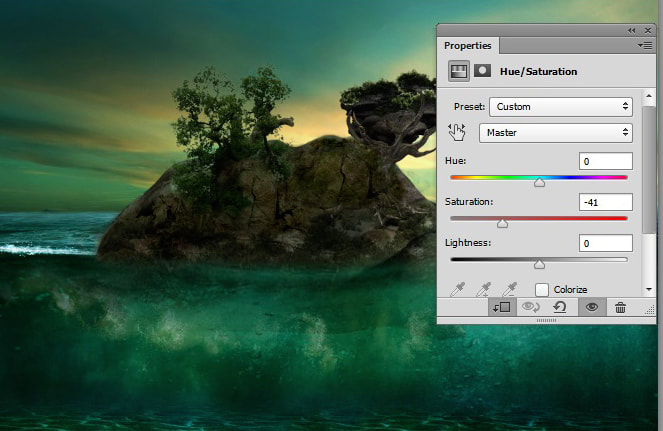
Now, select all the valcano layer and then press (Ctrl+G) to group them. Name this group ‘Island’. Then add a Hue/Saturation adjustments layer to the Island group. Set the setting as shown in the image below. You can see the results below.
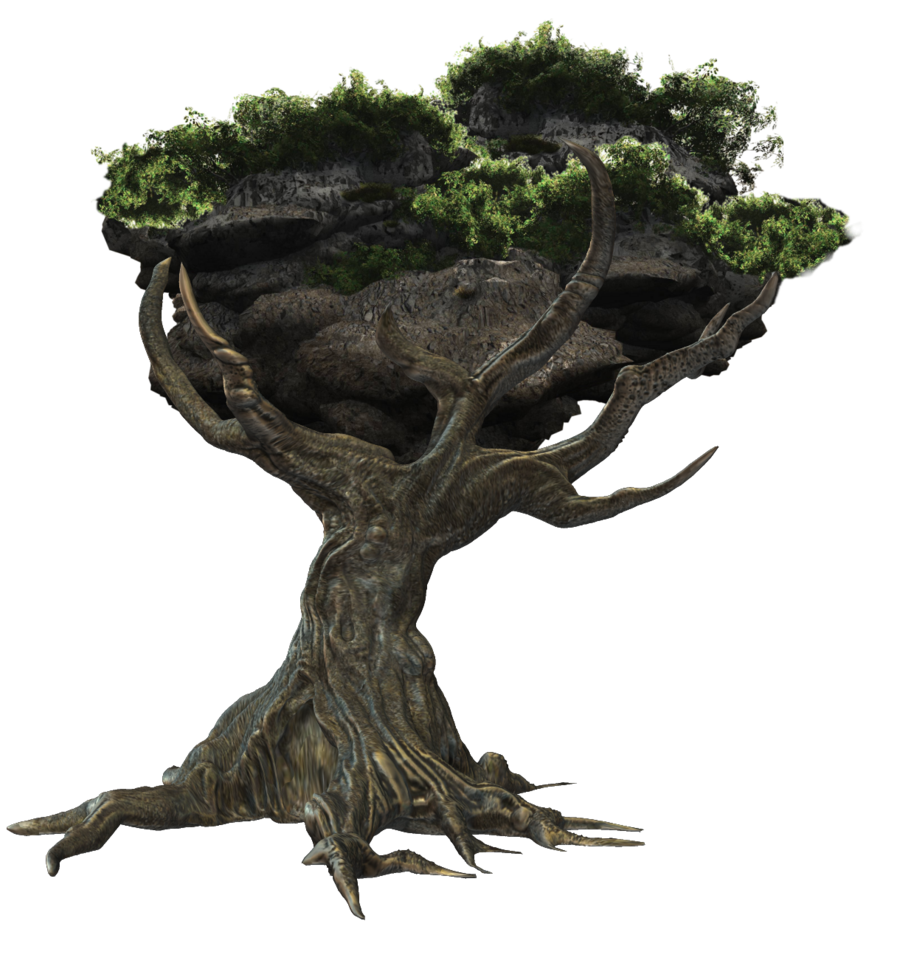
Step 28
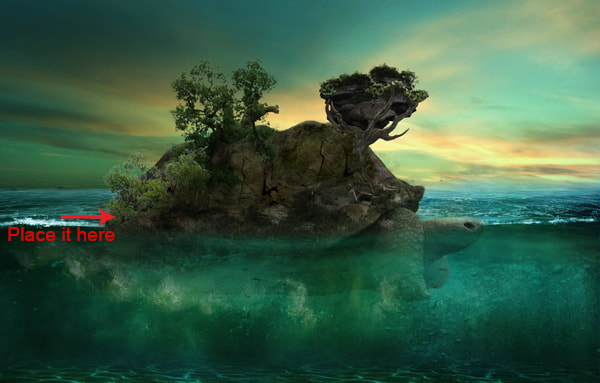
Place the tree image to the main canvas.

Step 29
Add a Brightness/Contrast and Photo Filter to the tree. Set the setting as indicated by below image.
Here are the results.

On the layer mask of Brightness/Contrast adjustments layer I hided the selected part as shown in the image below to brighten the right part of the tree.

Step 30
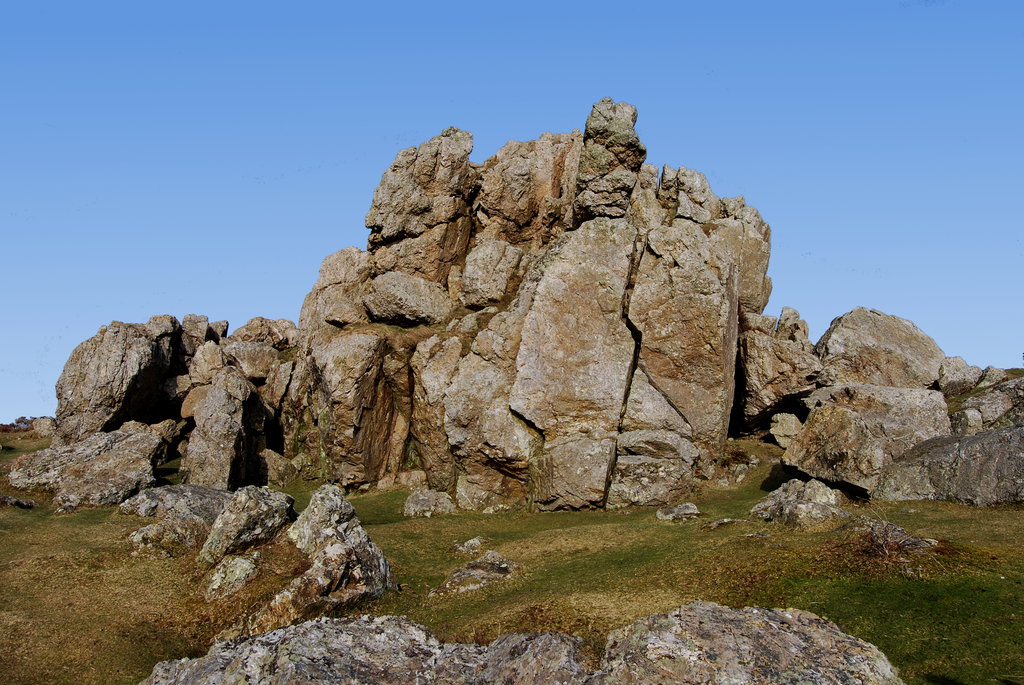
Place the stone image to the main document as shown in the image below.
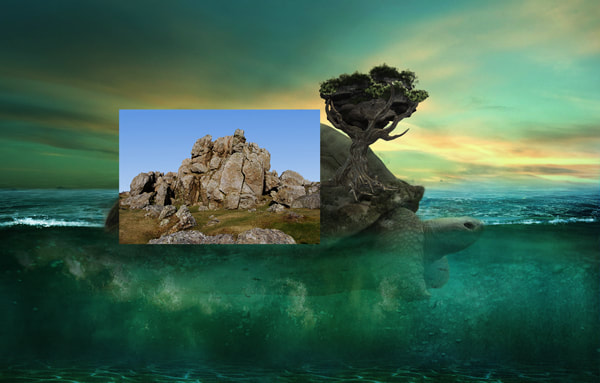
Add a layer mask to the stone. Use a soft round brush tool to hide the unwanted parts as shown in the image below.
Step 31
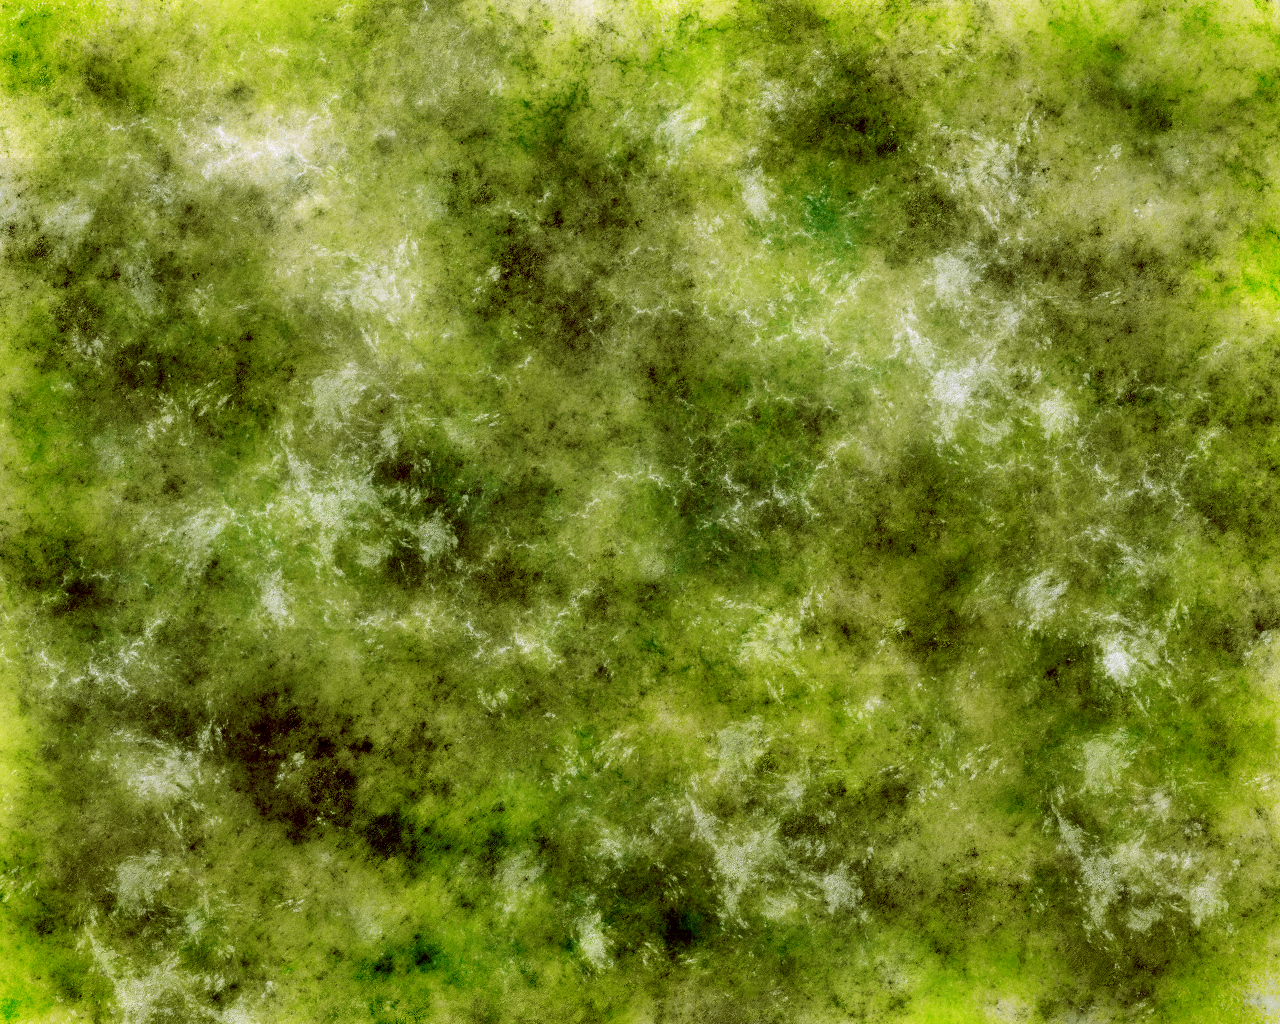
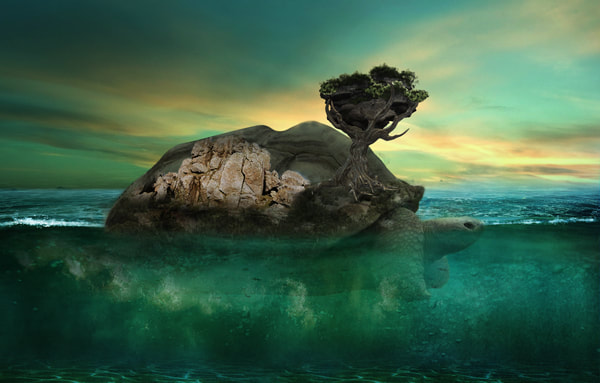
Add Moss texture to the stone. Clip it to the stone layer then change the blend mode to Multiply. Reduce the opacity to 70%. Here are the results.
Step 32
Add the following adjustment layer to the stone.
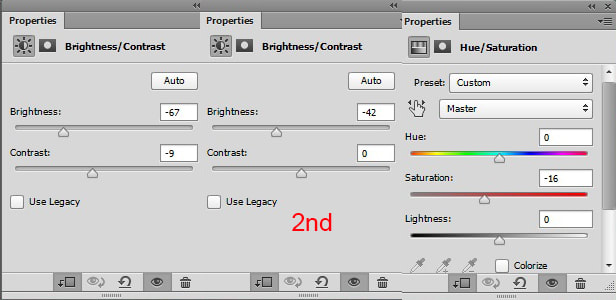
Reduce the opacity of 2nd Brightness/Contrast adjustments layers to 53%. Here are the results. Now, select all the stone layers and group them then name this group ‘Stone’.

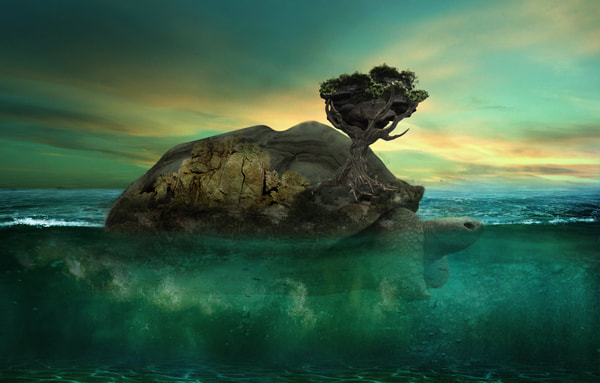
Step 33
Duplicate the stone group and move it to the right as shown in the image below. Here are the results.

Step 34
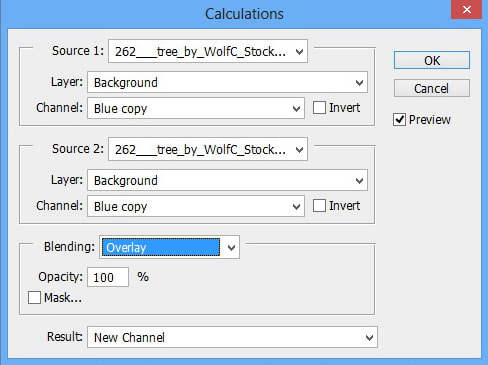
In this step we’ll extract the tree 1 using Calculation technique. Open the tree 2 image in Photoshop. Goto Window > Channel. Choose the blue channel duplicate it by right clicking on it then choose duplicate channel. After that Goto Image > Calculation (Make sure that duplicated blue channel is selected). Then set the setting as shown in the image below. You can experiment with any blend mode but most of the situation the Overlay and Multiply blend mode works best.
After using the Calculation, there will be an Alpha channel below the Blue Copy channel. Choose the Alpha Channel then load the selection by holding the Ctrl/Cmd key and then click on the thumbnail of Alpha channel. Go back to the RGB layer and add a layer mask to the tree 1.
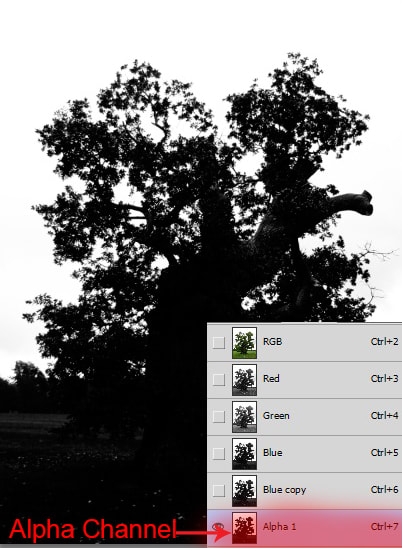
Here are the results after extracting the tree 1.
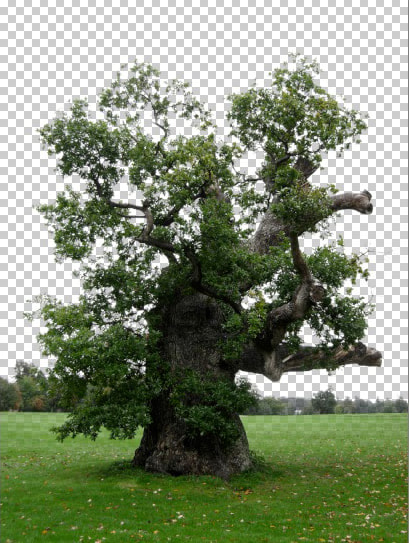
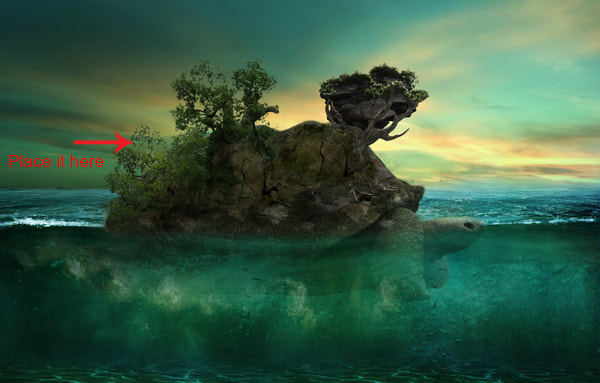
Step 35
Now, place the extracted tree 1 to the main document. Add a layer mask to it and hide the unwanted part using soft round black brush. Here are the results.
As you can see we have so many rough edges on tree 1. We need to fix this. To fix it I added a blending option effect to the tree. Here are the values for blending options.

As you can see by applying a blending option effect all the hard and rough edges have gone. We have pretty much decent results.

Step 36
I reduced the saturation of tree 1 by applying Hue/Saturation adjustment layer to it.
Step 37
Duplicate the tree 1 layer and move it to the left as shown in the image below. Don’t forget to hide the unwanted parts.
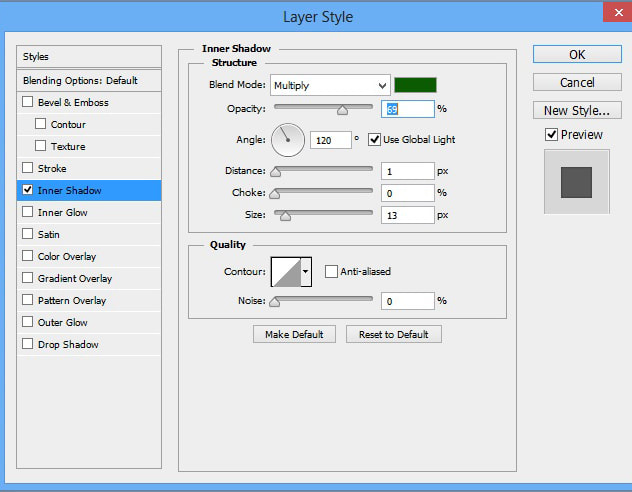
Add a Blending Options effect to this layer again. Note that I have used same color for Inner Shadow used in previous step only the angle, distance, opacity are slightly different. Here are the setting.
Add Brightness/Contrast adjusment layer to it. Here are the values.
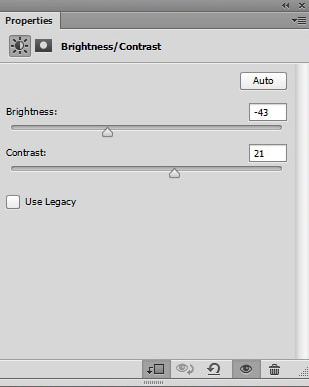
Here are the results.
Step 38
Duplicate the tree 1 again and place it, with the same Blending Option setting in previous step, as indicated by below. Here are the results.
I added a Brightness/Contrast adjustment layer to it. Set the setting as shown in the image below and here are the results.
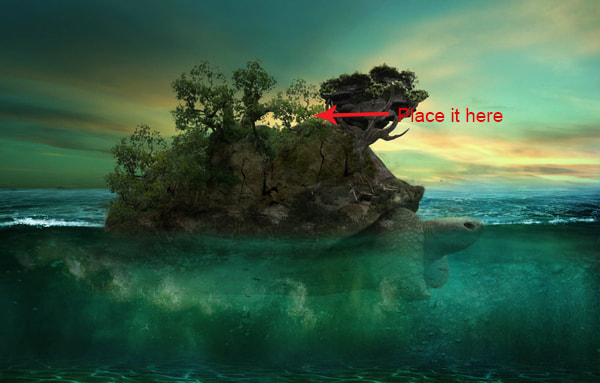
Step 39
Duplicate the tree 1 layer again and place it, with the same blending option effect in previous step, as shown in the image below.
I added again a Brightness/Contrast adjustment layer to it. Here are the results.
Step 40
Duplicate it again and place it as shown in the image below. I have used the same color for inner shadow but this time I have changed the Opacity to 49%, Distance to 0, choke to 9 and size to 6.
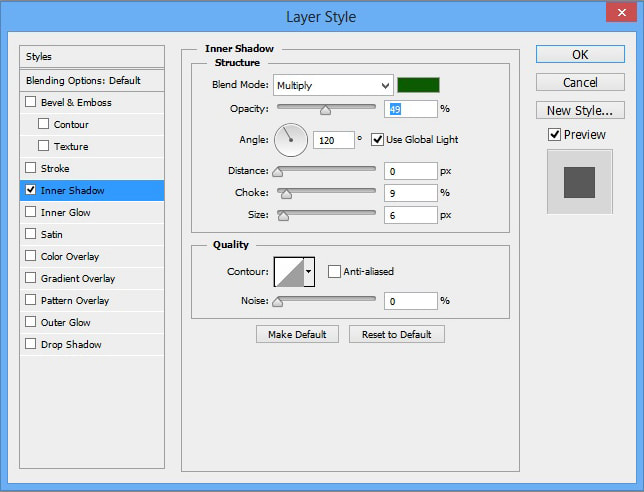
Here are the results.
Add a Brightness/Contrast adjustment layer and set the setting as shown in the image.
Step 41
Now, extract the tree 1 again for last time. Use the free tranform tool by pressing (Ctrl+T) on keyboard to resize it then place it as shown in the image below. Don’t forget to hide the unwanted parts using layer mask. Here are the results.
Step 42
Add a blending options effect to it and this time overall setting are changed. You can see it below.

Here are the results.

Step 43
Add a Brightness/Contrast adjustments layer to it. Set the values as shown in the image below.
Here are the results.
Step 44
On the layer mask of Brightness/Contrast adjustment layer I hided the selected effect as shown in the image below.
Here are the results. Select all the tree 1 layer and group them then name this group ‘Tree 1′.
Step 45
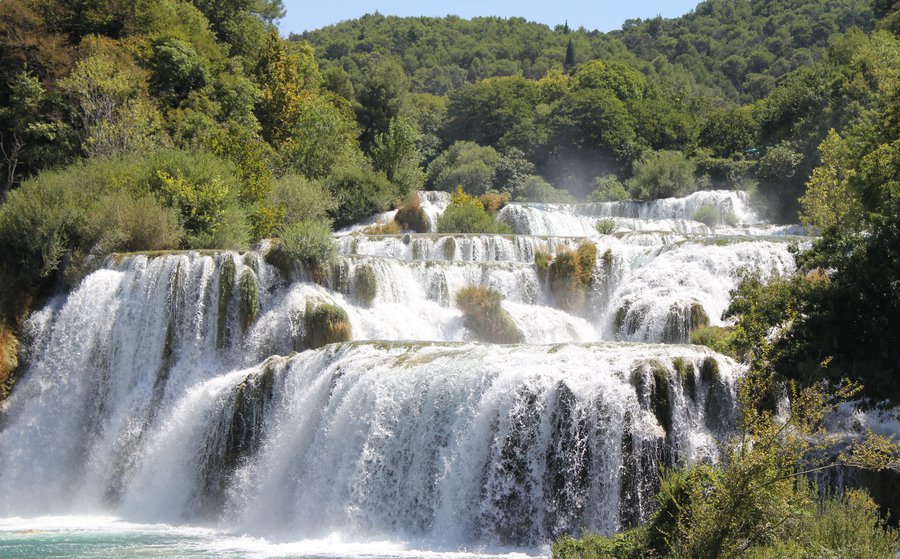
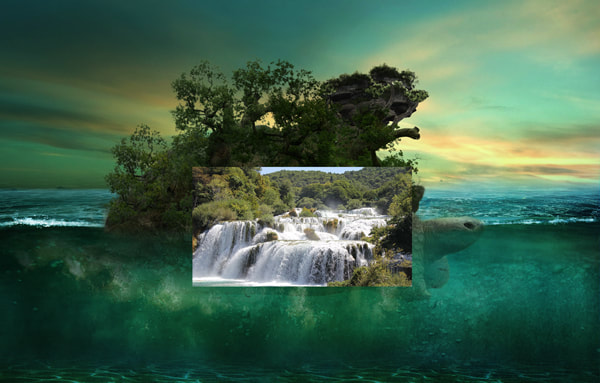
Add the Waterfall to the main document and place it as shown in the image below. Don’t forget to resize it using free transform tool.
Step 46
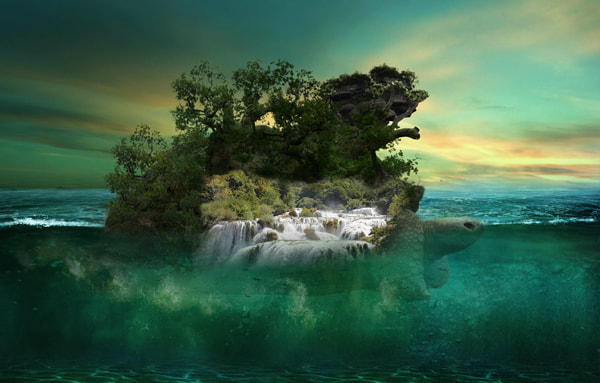
Add a layer mask to the waterfall and hide the unwanted parts of waterfall using soft round basic black brush. Here are the results.
Step 47
Add a Brightness/Contrast adjustment layer to the waterfall. Set the setting as shown in the image below.
Reduce the opacity of Photo Filter to 60%. Here are the results.
Step 48
On the layer mask of Brightness/Contrast adjustment layer I hided the selected effect as shown in the image below.
On the layer mask of Photo Filter adjustment layer I hided the selected effect as shown in the image below.
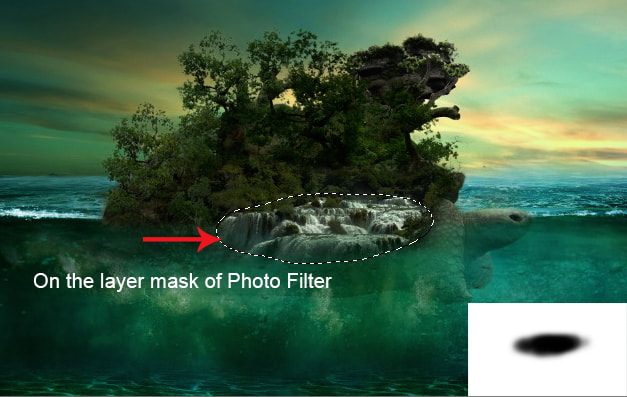
Here are the results.

Step 49
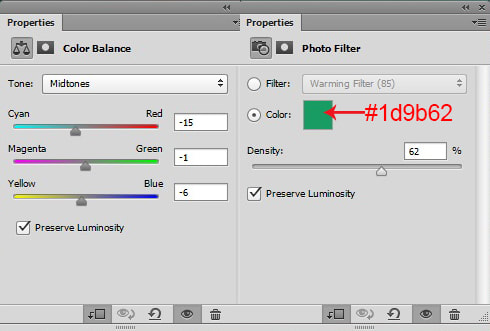
Add a Color Balance and Photo Filter Adjustment layer to the waterfall. Here are the values of these adjustment layers.
On the layer mask of Photo Filter I hided the selected effect.
Here are the results. Select all the waterfall layers and group them. Name this group ‘Waterfall’.

Step 50
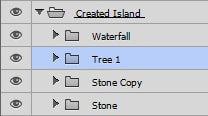
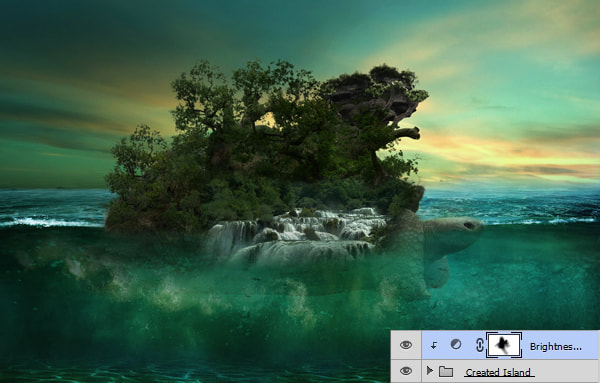
Select all the tree 1, stone and waterfall groups. Group them into a new group and name it ‘Created Island’.
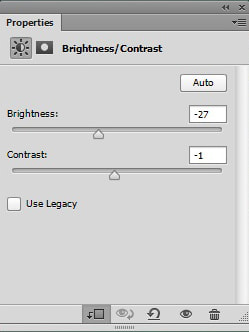
Add a Brightness/Contrast adjustment to the Created Island group. Set the setting as shown in the image below.
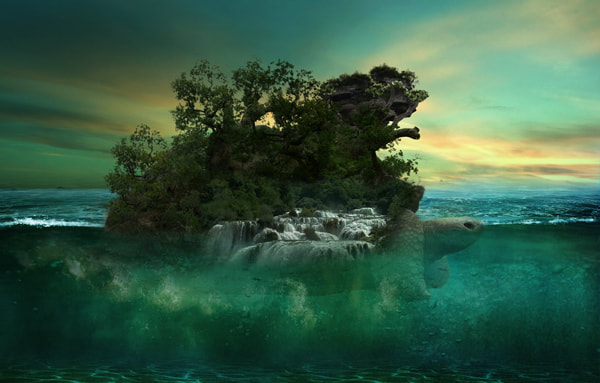
Here are the results.
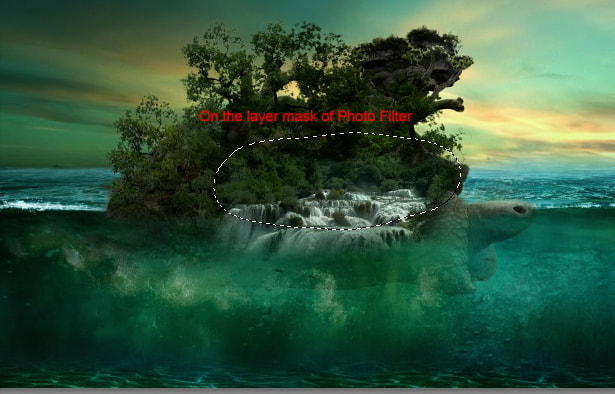
Step 51
Hide the selected the effect on layer mask of Brightness/Contrast adjustment as shown in the image below.
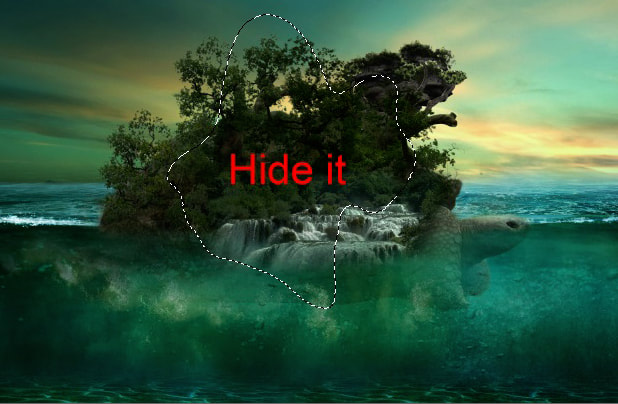
Here are the results.
Step 52
Load the Water Splash brush in Photoshop. Use the water 07 brush to create a waterline like shown in the image below. I have used 7 layers to create this waterline.

Step 53
Below the waterfall I created another waterline. Then use warp tool to alter the shape of waterline as shown in the image below.
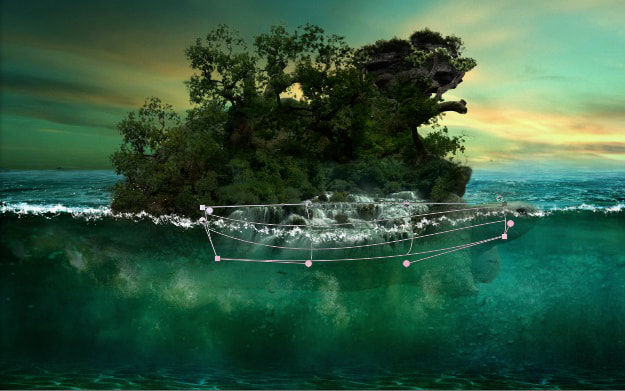
Here are the results.
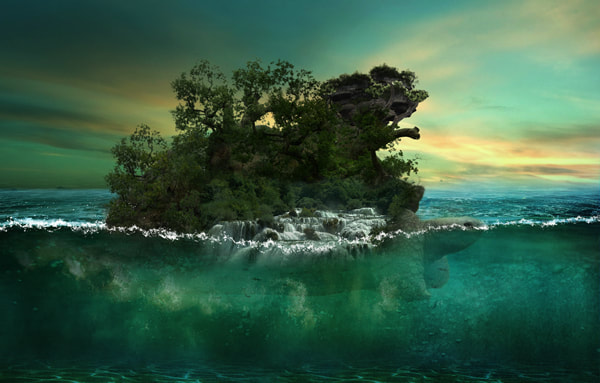
Step 54
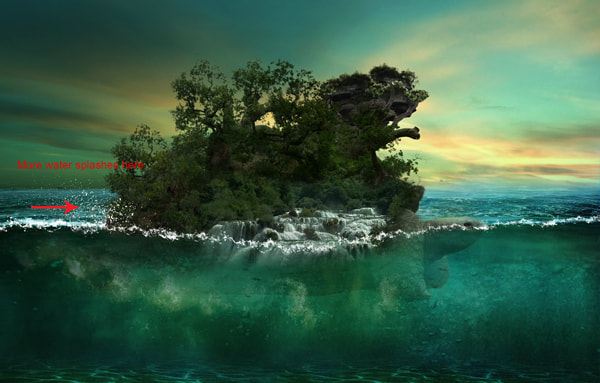
I added some more water splashes as shown in the image below using water splash brushes.
Step 55
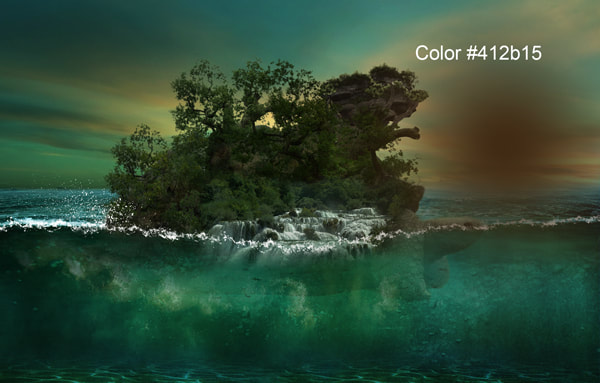
Now, we’ll add the lighting effects to the scene. I created a new layer by pressing (Ctrl+Shift+N) on keyboard then grab the brush tool and change your foreground color to #412b15. Set the opacity and flow to 100% with the size to 900 pixels then paint a big stroke as shown in the image below.
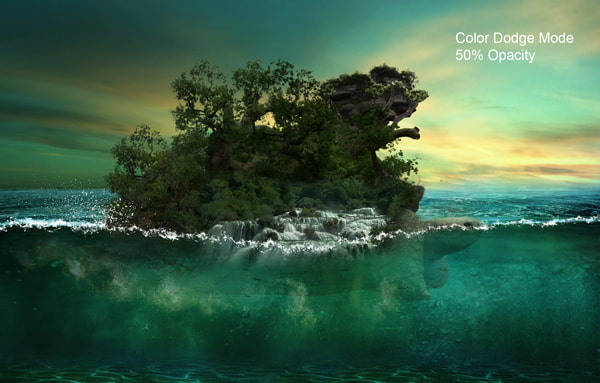
Change the blend mode of this layer to Color Dodge and reduce the opacity to 50%. Here are the results.
Step 56
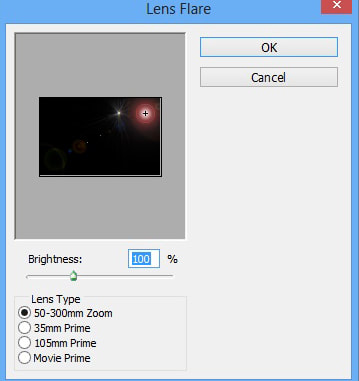
Now, again create a new layer then fill it with black color. Add a Lens Flare Filter to it by selecting Filter > Render > Lens Flare. Then set the setting as shown in the image below. .
Here are the results on layer.
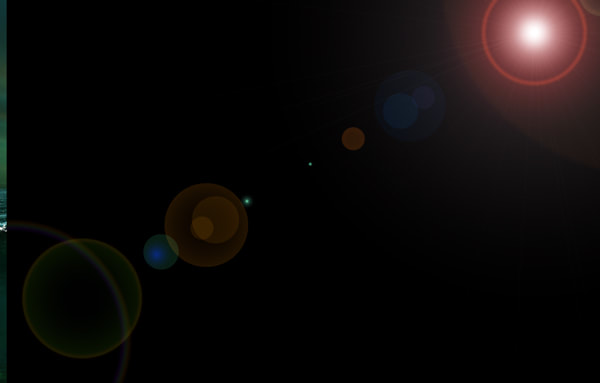
Move it as shown in the image below.
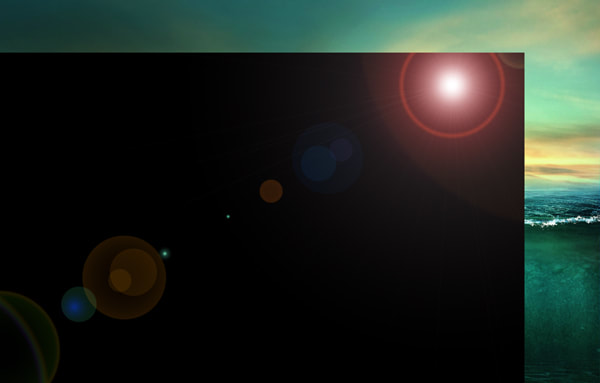
Step 57
Set the blend mode of Lens Flare to screen. Don’t forget to hide the unwanted parts using layer mask because we’ll only need the Lens Flare as a light source. Here are the results.
Step 58
Add a Level and Hue/Saturation adjustment layer to lens flare as shown in the image below.
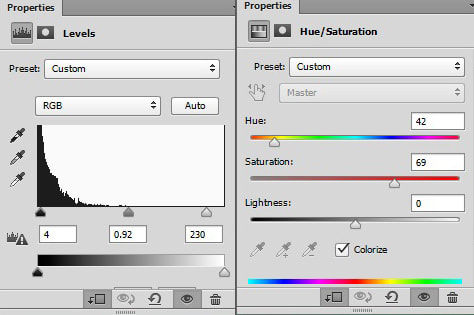
Here are the results.
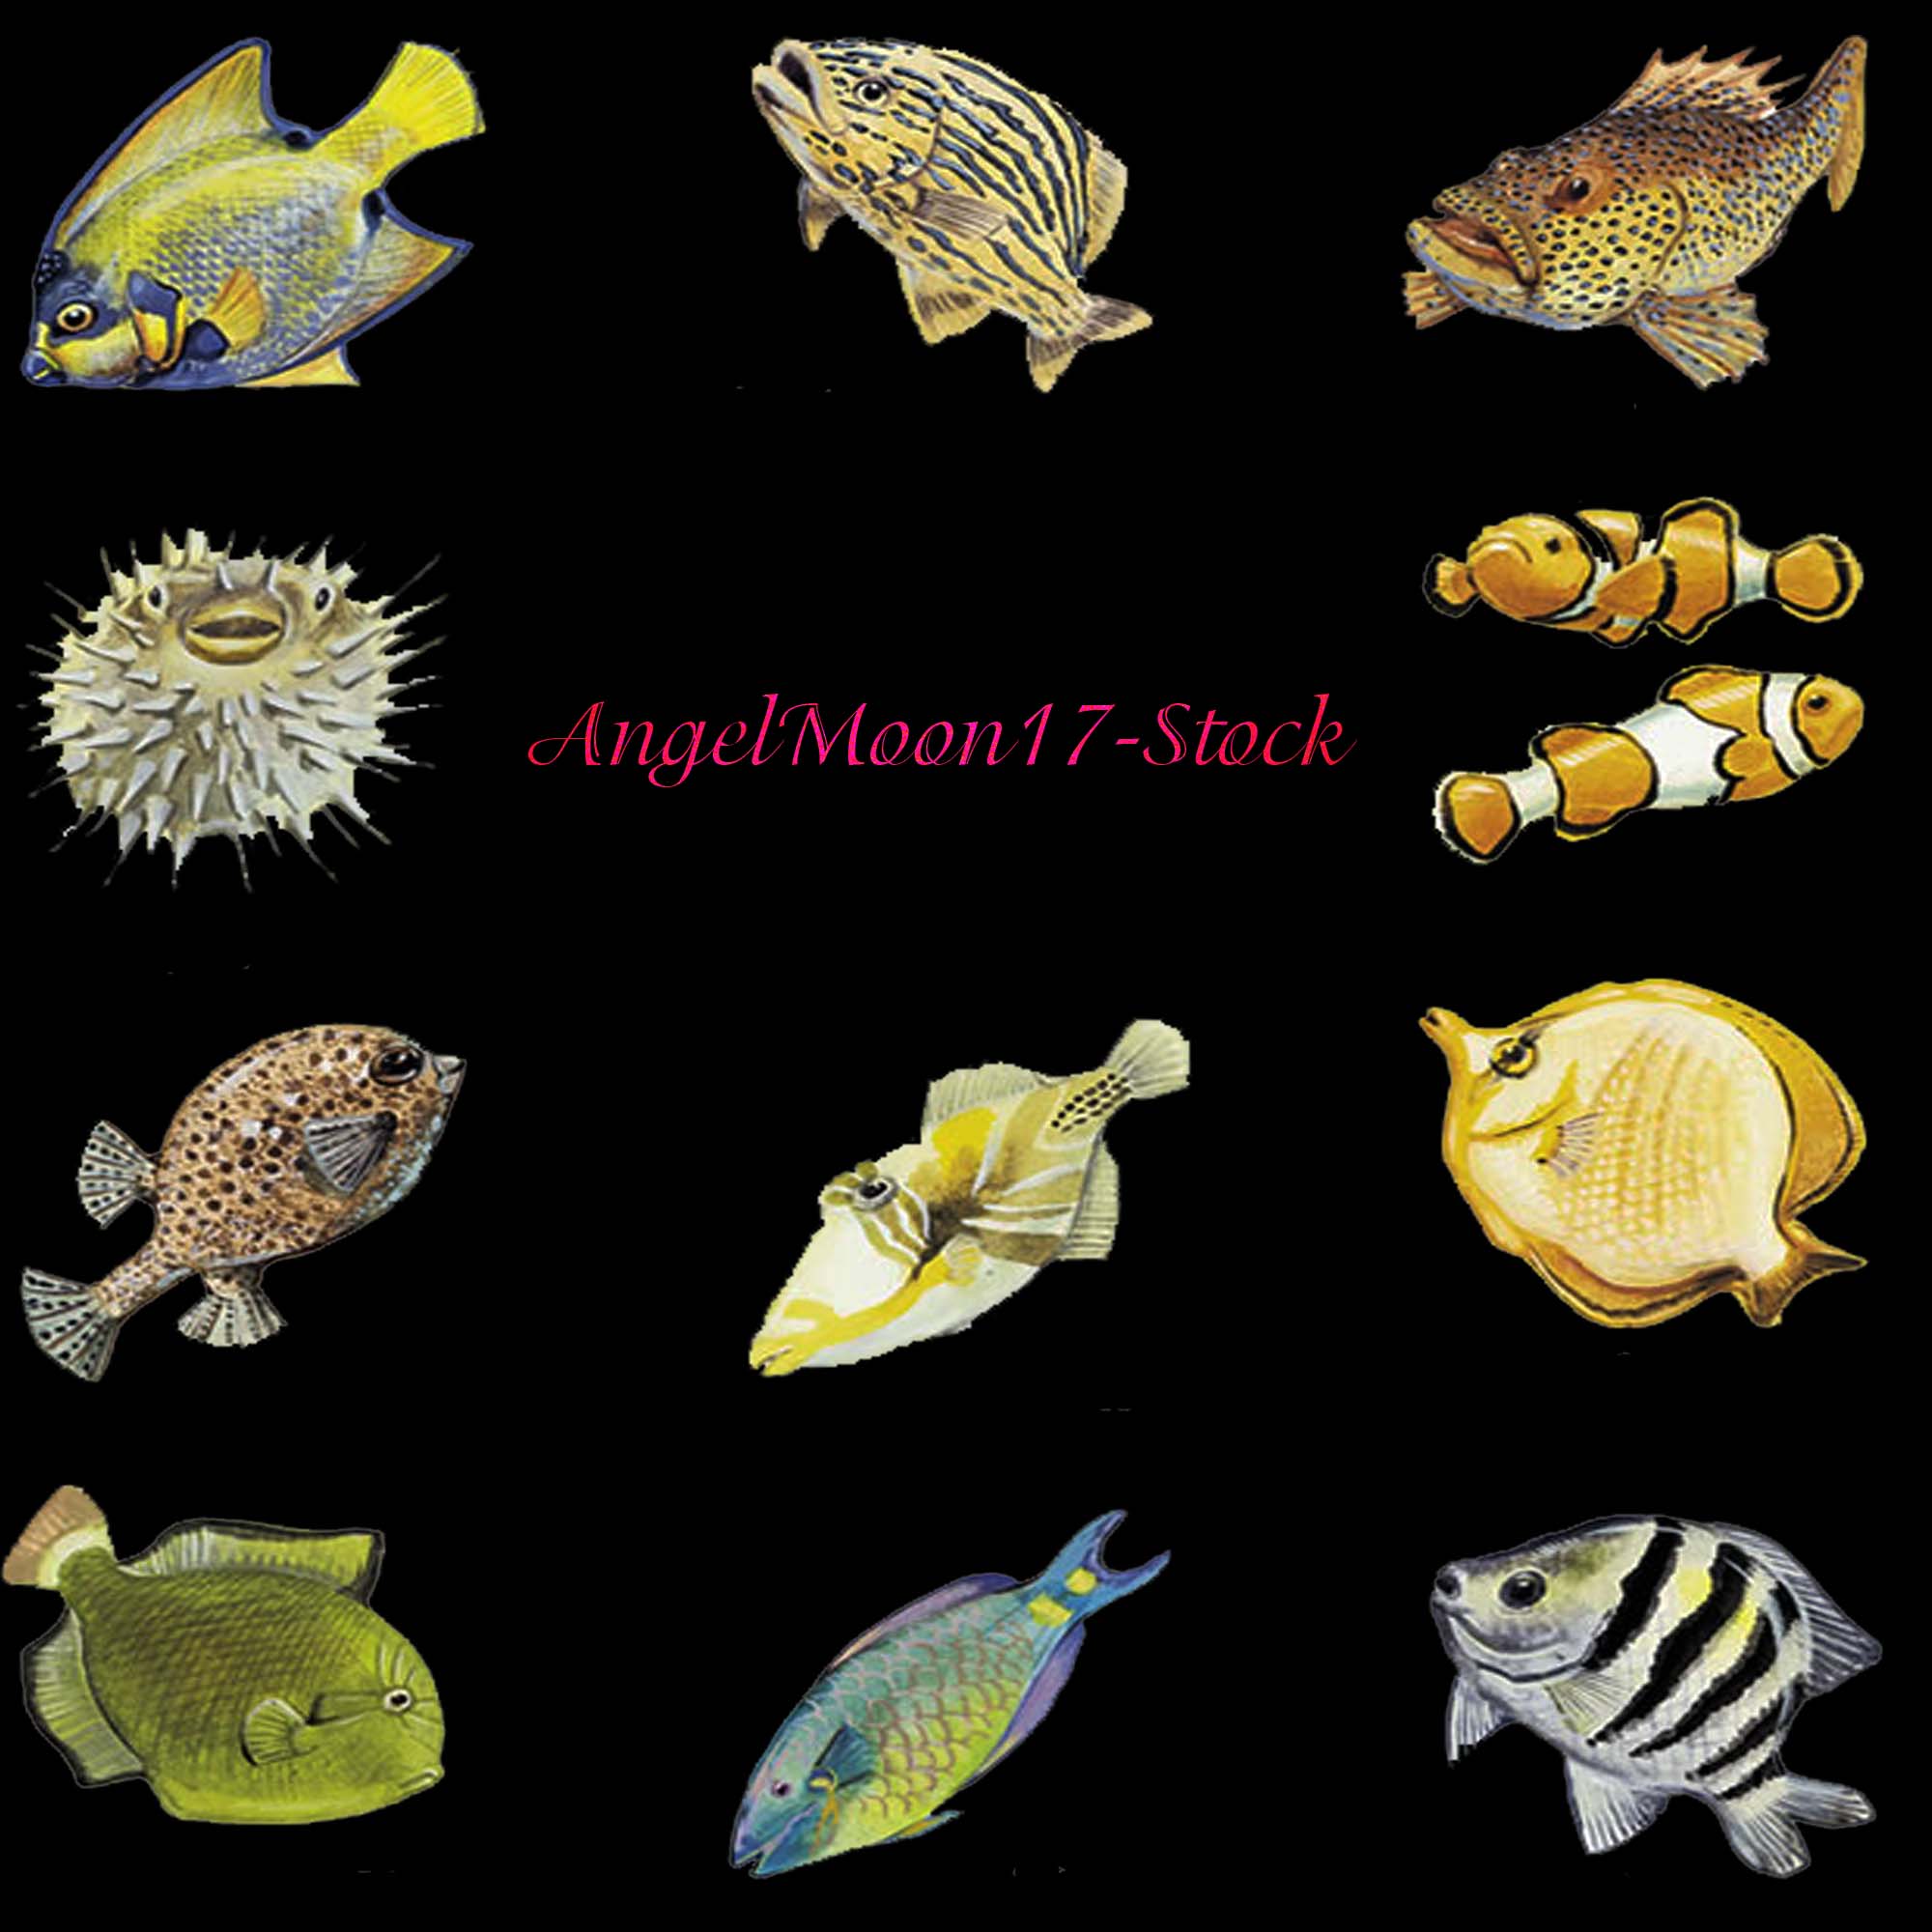
Step 59
Cut out fishes and place them as shown in the image below and use blend modes to blend them inside the underwater. I have used 7 layer to arrange them with different blend mode and opacity.

Step 60
Group all fish layer and name this group ‘Fish’. Add a Hue/Saturation to this group as shown in the image below.
Step 61
Load the Bubbles brush in Photoshop. Paint some bubble as shown in the image below.

Step 62
We need to paint some more lights on island. To do this, create a new layer and pick the brush tool with 30% opacity and flow. Change your foreground color to #634b11 and paint as shown in the image below.
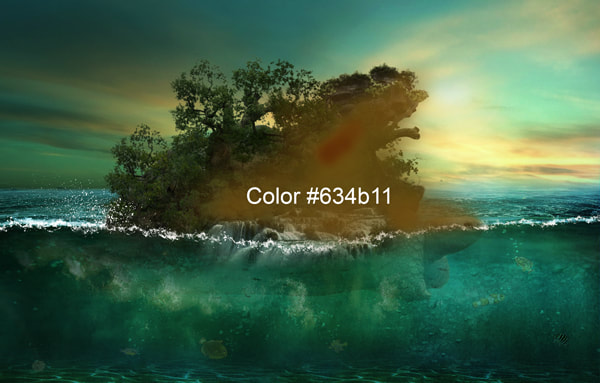
Change the blend mode to Color Dodge. Here are the results.
Step 63
We are almost done but still short of Final Adjustments. Add a Gradient Map adjustment layer to the scene and set the setting as shown in the image below.
Change the blend mode of Gradient Map to soft light and reduce the opacity to 60%. Here are the results.
Step 64
On the layer mask of Gradient Map I hided the selected effect as shown in the image below.
Here are the results.
Step 65
Now, add a Color Balance adjustment layer and set the setting as indicated below.
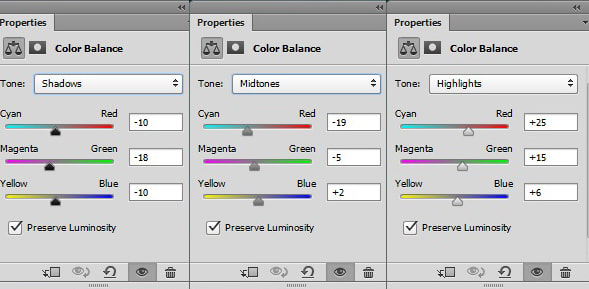
Here are the results.
Step 66
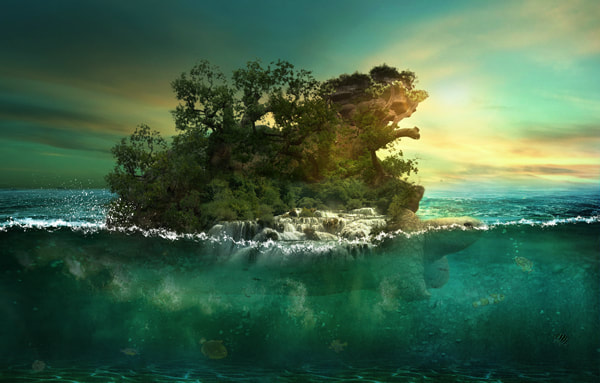
Add a Brightness/Contrast adjustment layer.
Here are the results.