Culminating Activity - Movie Poster
Well this is it! Here you will find the last assignment of this course - The Movie Poster worth 30% of your mark. Please ensure you read all the steps carefully and that you include all that is required. Here we go...
With so much riding on a film’s success, marketing one is a massive opportunity for creative designers.
Posters provide a logical and cost-effective way of communicating to a particular target market. When placed correctly, attractive posters can lure nearby people into a specific event and alert them of an upcoming product or service. Posters have the ability to stick in viewers' minds and can be a great tool for small- to medium-sized businesses to use to increase brand awareness.


Setting Up the Master Canvas in Photoshop
You are ready to set-up your final canvas in PhotoShop with the following specs:
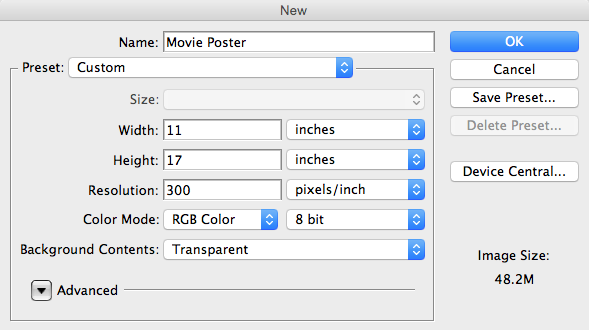
Step 1
Now that you have your master canvas set-up its time to drag in your background and any other supporting photos (use Large photos in your search). Make sure you don't stretch or distort it when making it bigger to fill your canvas!
Step 2
- Use a lighting technique! Depending on your movie poster you have chosen you will need to shoot your model using an appropriate lighting technique that will suite your theme. Select from: Split, Loop, Rembrandt, Butterfly, Broad & Short.
- Open your chosen final image in PhotoShop from the multitude of the ones you've shot.
- Now is the time to adjust the levels to make sure your lights, midtones and darks are correct -> image, adjustments, levels.
- Look over your model (zoom in) to see if there are any glaring mistakes you will need to correct using the clone stamp tool.
- Once your adjusting of your image is complete you are ready to bring in your model to the final canvas. You may use the tool of your choice but I would still recommend the polygonal lasso tool. This will give you the most control in any situation. Once you have your model fully selected, copy and paste it into your master canvas.
Refining your Model
Depending on you final mood of your image, you will need to decipher which tutorial will give you the desired look you are after...
Applying Type
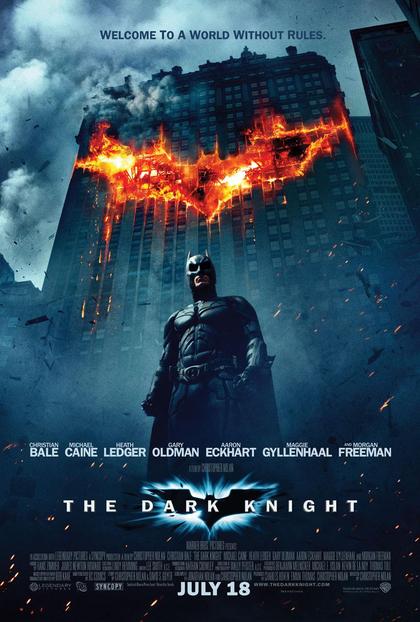
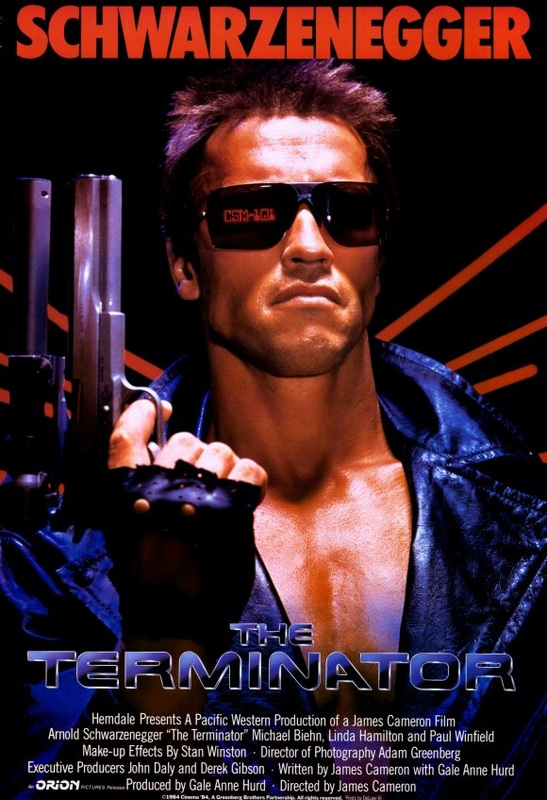
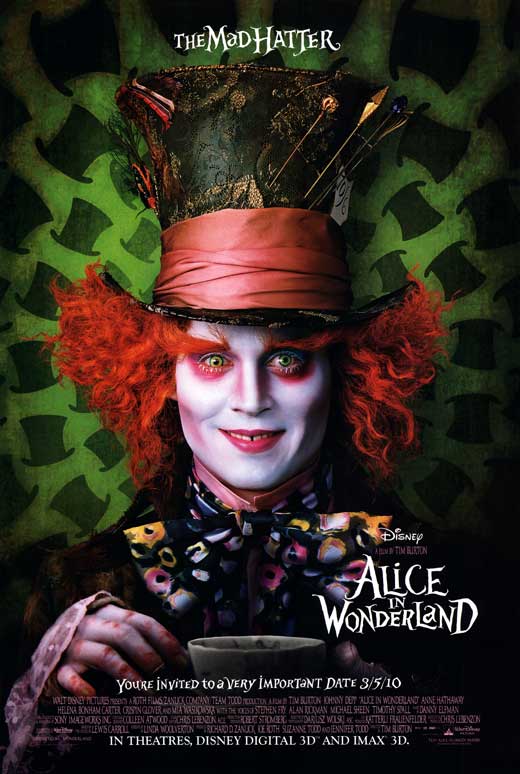
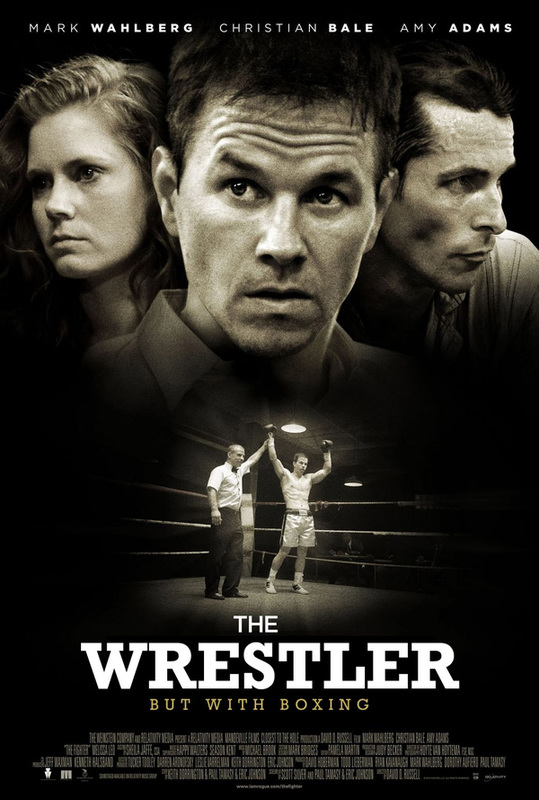
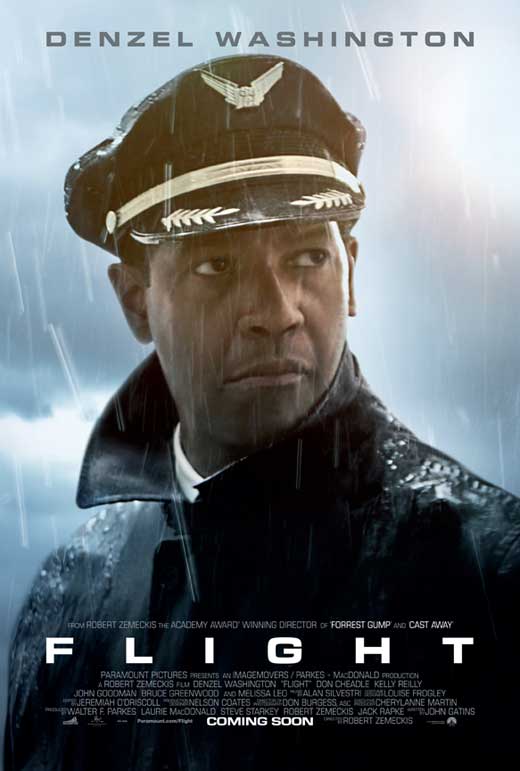
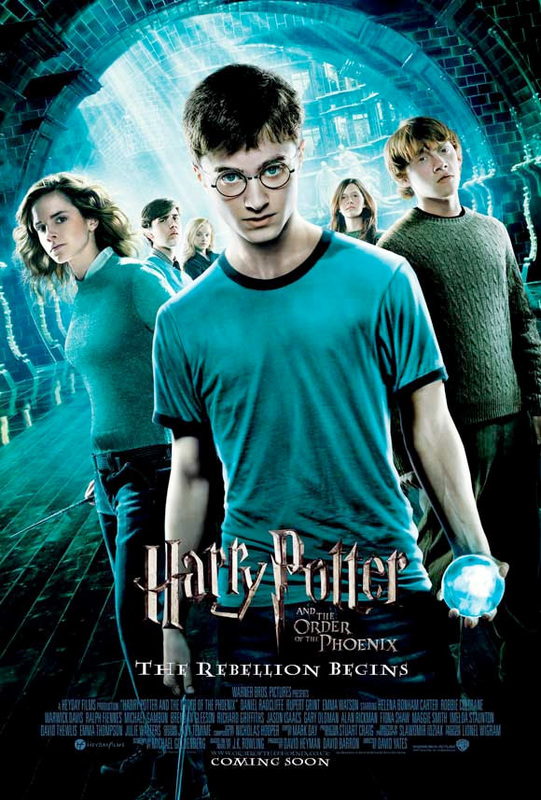
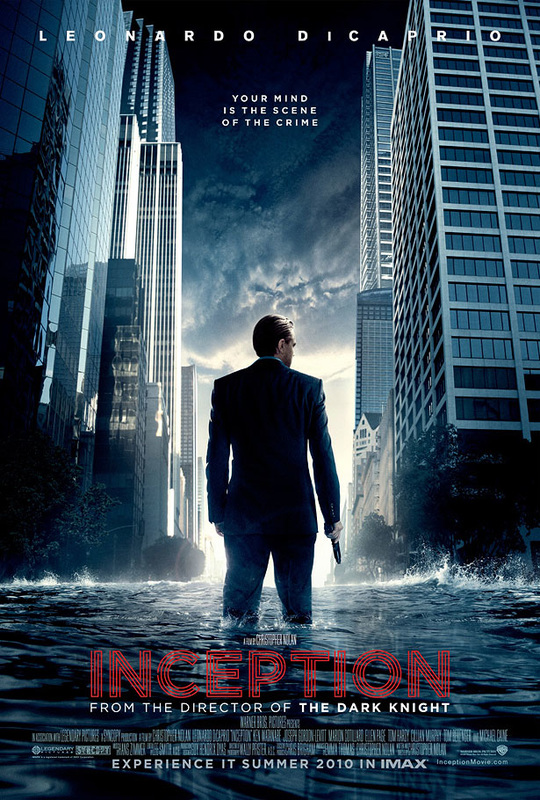
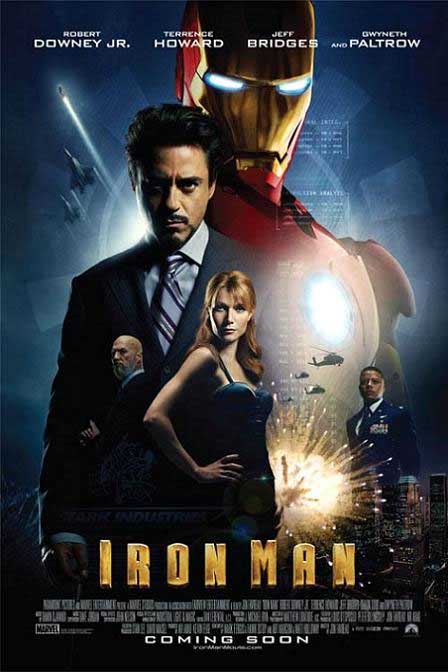
When you have completed your editing of your background and model; it is time to focus on your type. It's best to research different types of posters (see above above gallery) to see how they handle the movie poster title, actors names and the credits (along the bottom).
In your poster; please include the following:
In your poster; please include the following:
- A Headline for your movie
- At least 3 Actors names (these could be your group members names)
- 3 lines of credits (see below template for you to use)
- Multiple PhotoShop filters and adjustment layers
- A photo of your model with a lighting technique that matches your movie theme
- A release date
Movie Poster Credits
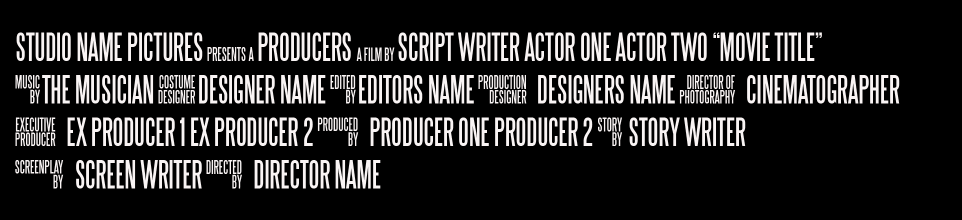
The credits go on the bottom of your poster. Download the 2 files below in order for you to create this. Movie_credits.psd is the photoshop file that houses the text. Steeltongs.ttf is the font that you will need to install (see me) before you open the movie_credits file.
| movie_credits.psd |
Final Image
When you are completed your editing save your file as (Your Name) Final.jpg.
Rubric