Culminating Activity
Well this is it! Below you will find instructions on a day to day basis. Ensure that you work diligently so that you don't fall behind. If you find that you are moving well through the period and you have extra time - move onto the next day. Don't wait to start the next day - use your time wisely!
Day 1 - Shoot Day
Get in groups of 3. There are 7 tables with 1 light and 1 reflector on each. One student to pose in a seat on one side; one be the photographer on the other side and one manipulate the light.
The first model will pose facing the camera; arms on the table.
The second person will setup the light with a light on one side and the reflector on the other. There should be lots of light on the model.
The third person will be the Photographer.
You will be using the light to cast subtle shadows on the model...Keep the light far enough away so that it stays soft and not too harsh.
Rotate as Photographer. Photographer poses the model doing head shots (shoulder and head). Each person should have at least 5 posed positions where the subject turns the body in the seat and the head mostly faces the camera (you may tilt the head on some but it is important that you have most of the face facing the camera for the “Glamour” exercise.).
Download the shots in a folder called Culminating and a folder within called: Glamour. Rename the best image as: Glamour.jpg ready for editing.
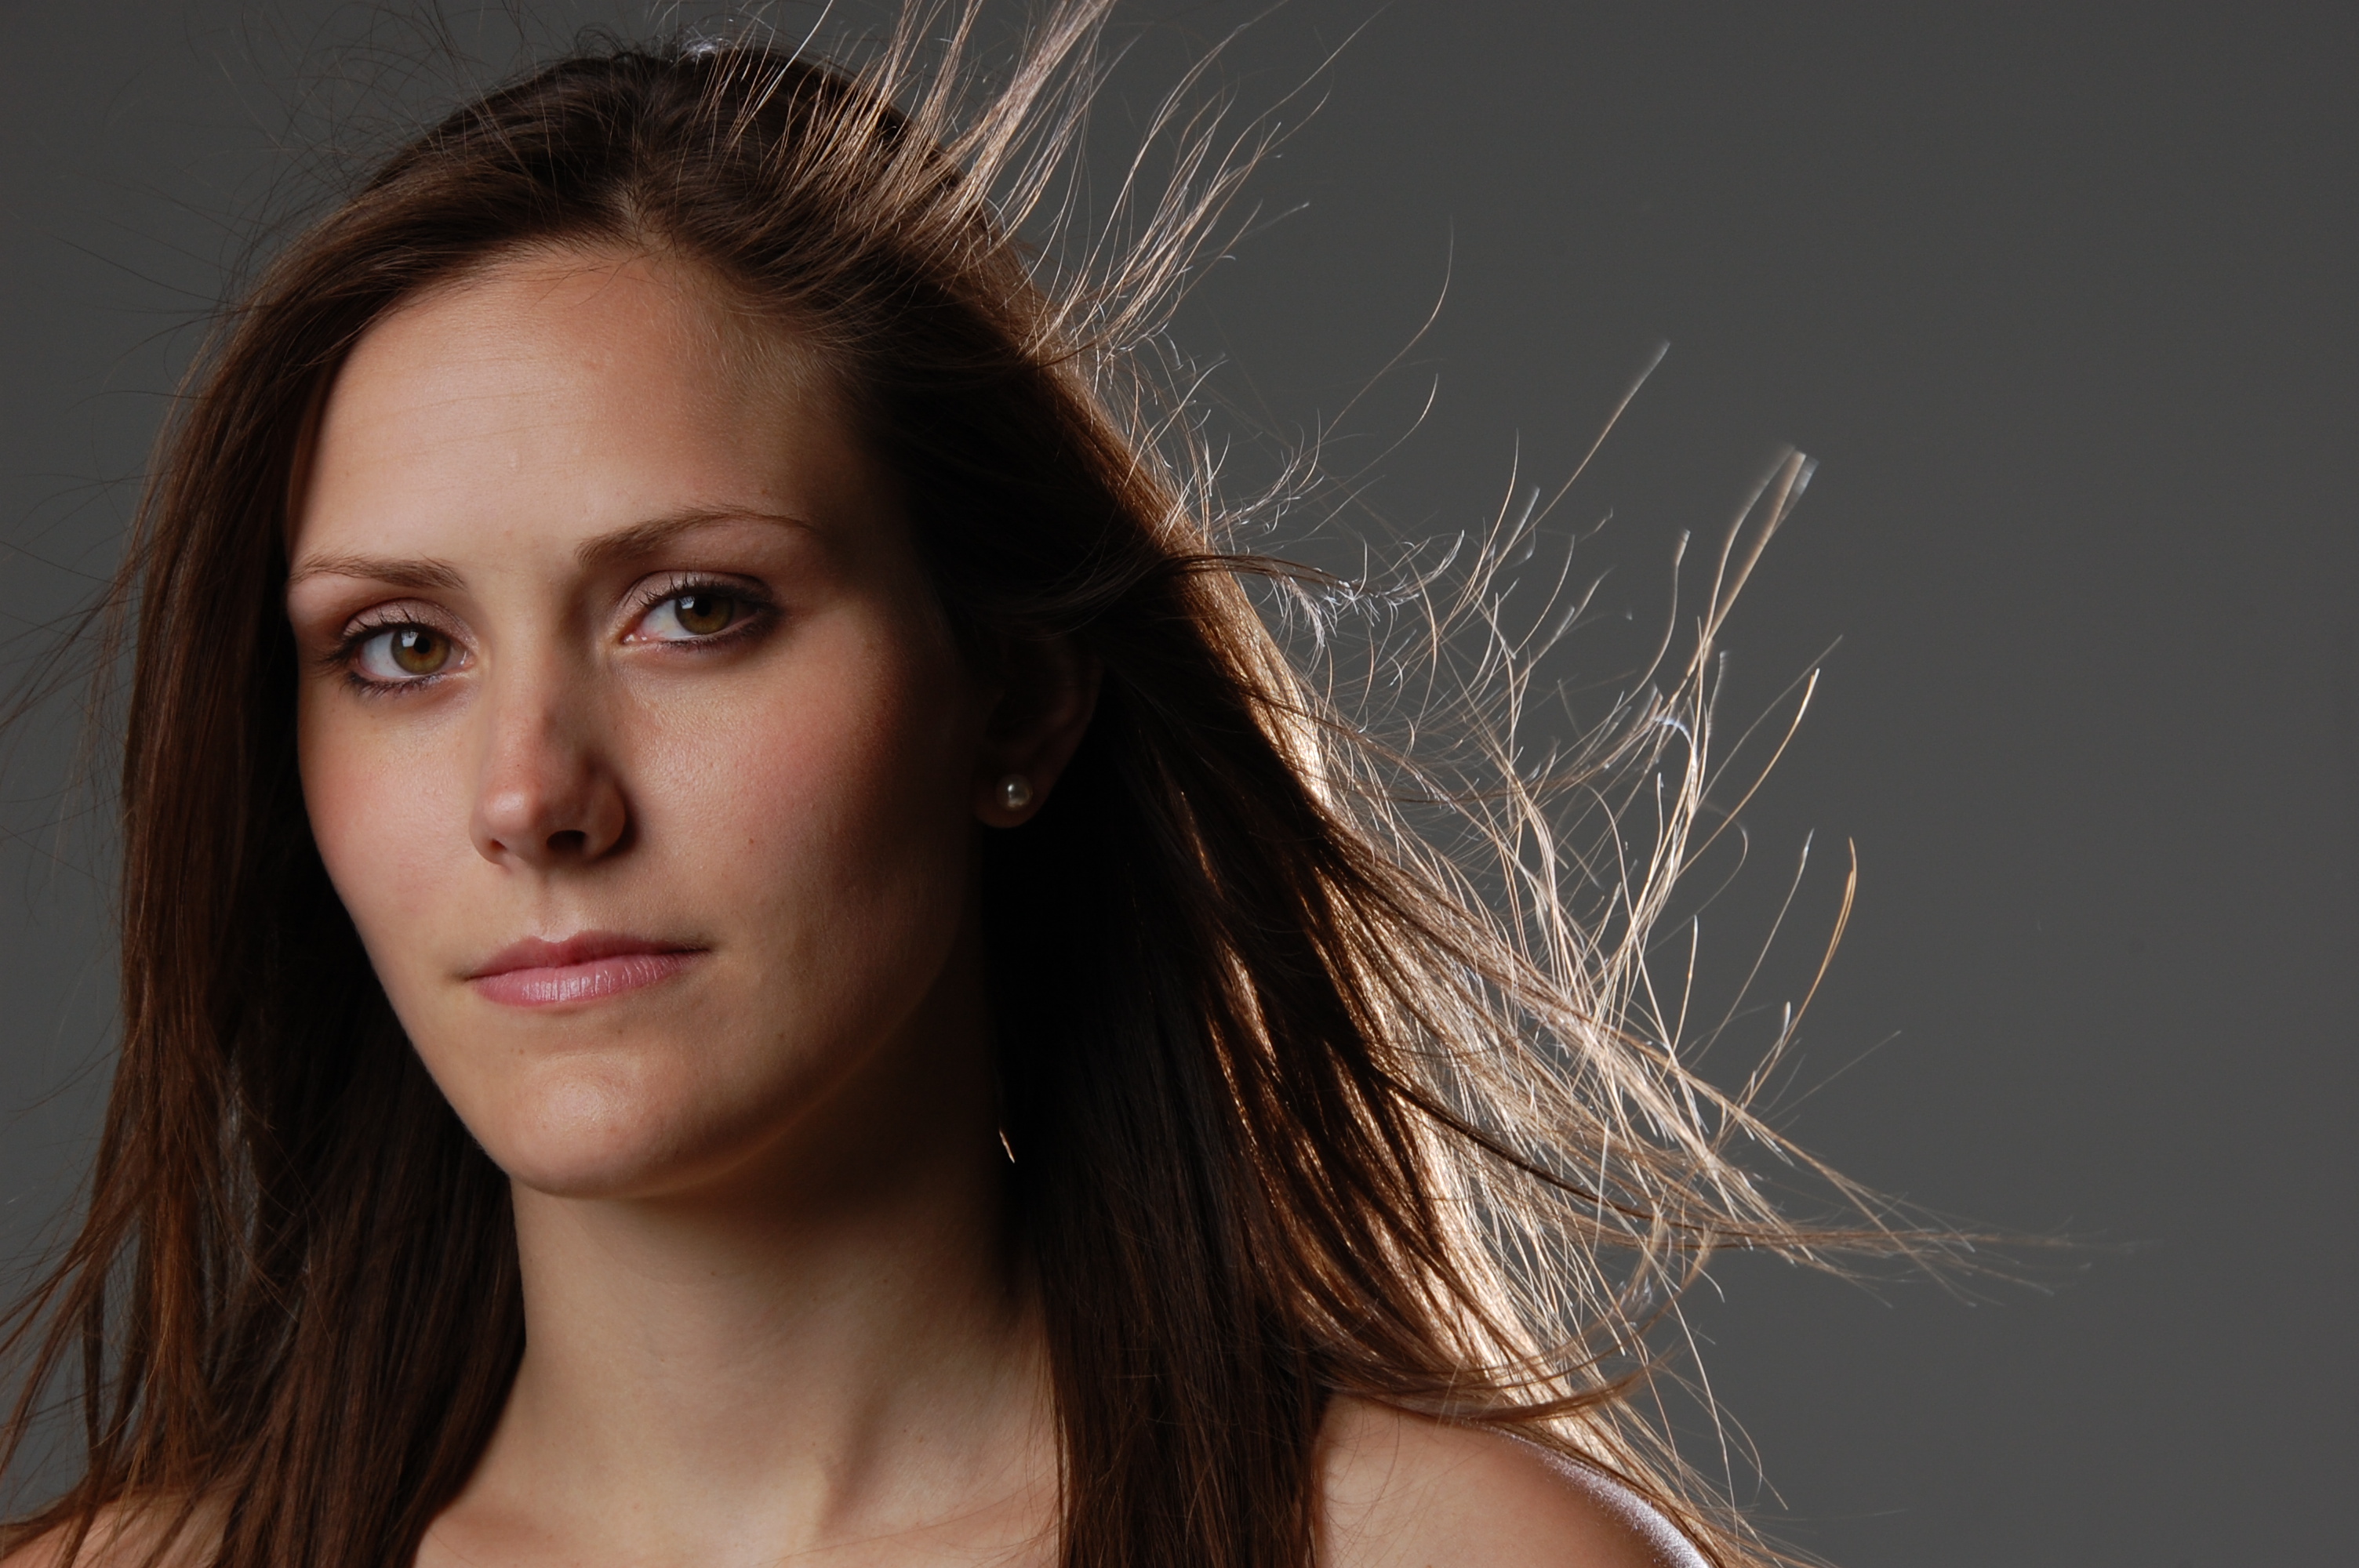
Day 2 - Glamour Tutorial
| beauty_portrait_original.jpg |
When Complete: Save your file as: glamour_tutorial.psd AS WELL AS: glamour_tutorial.jpg in the Day 2 Folder
** Very Important: students to bring a hoody, hat or veil for the next day shoot.
Day 3 - Shoot Day
Stay in your groups of 3. There are 7 tables with 1 light on each. One student pose in seat on one side; one be the photographer on the other side and one manipulate the light.
The posing model will wear a hoodie, hat or veil (something over the head).
The third person will hold the light around the model in different positions to create mood. Rotate as Photographer. Photographer poses the subject doing head shots (shoulder and head). Each person should have at least 5 posed positions.
Download all images and save in a folder within your Culminating folder called: Sharpen, pick your best out of the 5 change the name to Sharpen.jpg
You will need to download the image below to use with this tutorial. You may follow along with the video or use the document that follows below the video. Please use earphones while listening to the tutorial.
Day 4 - Sharpen
| hooded_guy.jpg |
| lesson_1di_sharpen.pdf |
Complete the below tutorial. First download file hooded_guy and use this for the tutorial.
In your culminating folder make a new folder called Sharpen.
Save the Final as: Tut_Sharpen.jpg in your Sharpen Folder
In your culminating folder make a new folder called Sharpen.
Save the Final as: Tut_Sharpen.jpg in your Sharpen Folder
Day 5 - Your Own Glamour Edit
Using your Glamour.jpg from Day 1. Edit using the tutorial from Day 2. Make sure when completed to save as: Glamour.jpg in the Presentation folder.
Day 6 - Your Own Sharpen
Open Photoshop and import Sharpen.jpg. Edit using the tutorial from Day 4.
Save this final as: Sharpen 2.jpg in the Presentation folder.
Save this final as: Sharpen 2.jpg in the Presentation folder.
Day 7 - Grading Day
Grading Day: I will look at the following images in your Presentation folder and will base your Grade on Participation and Completion.
In your Presentation folder please include:
Grading Rubric:
In your Presentation folder please include:
- Day 1 Pictures (best 5) --> place in folder called "Day1"
- Day 2 pictures (best 5) --> place in folder called "Day2"
- Supplied glamour_tutorial.jpg and Tut_Sharpen.jpg
- Your Glamour.jpg and Sharpen 2.jpg
Grading Rubric:
- 7.0 if you have worked to standard
- Less than 7.0 if your work is not to standard
- Less than 5.0 if your work is incomplete
- 8.0 if you work is all complete and of reasonable quality
- 9.0 to 10 if your work seems exceptional.
Day 7 - Grading Day Continued
If required we will extend the grading of your projects today.
Day 8 - Clean up
Clean-up. Download your images for home if you wish to keep a Portfolio. All work from this day on will be wiped clean!!