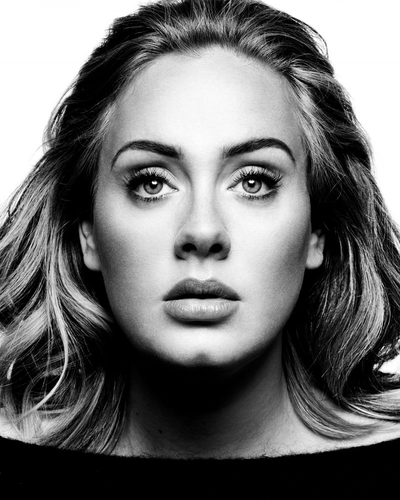
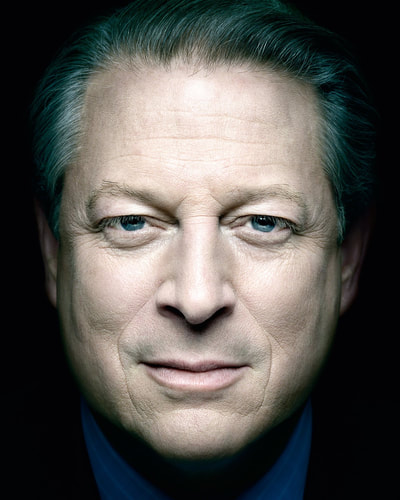
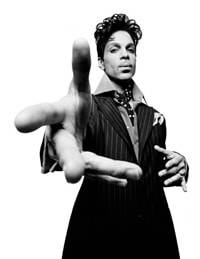
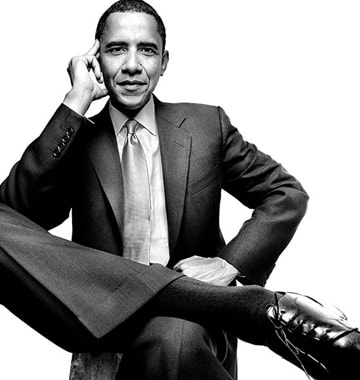
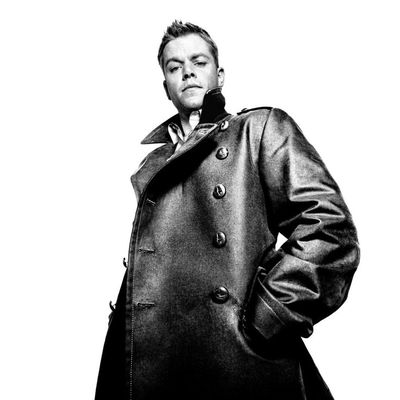
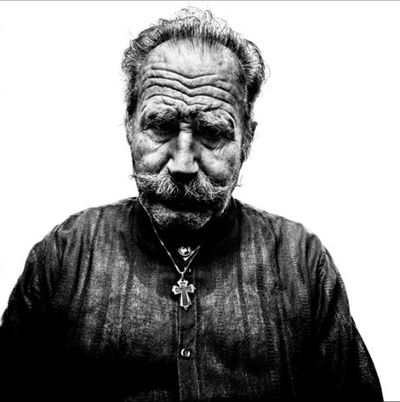
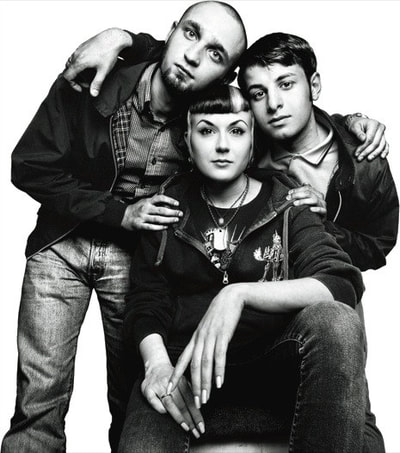
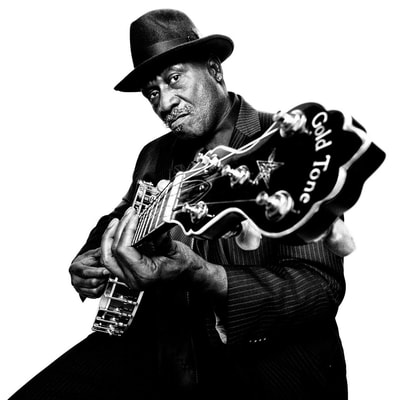
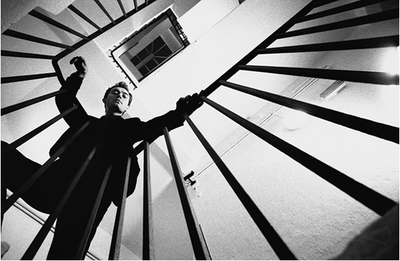
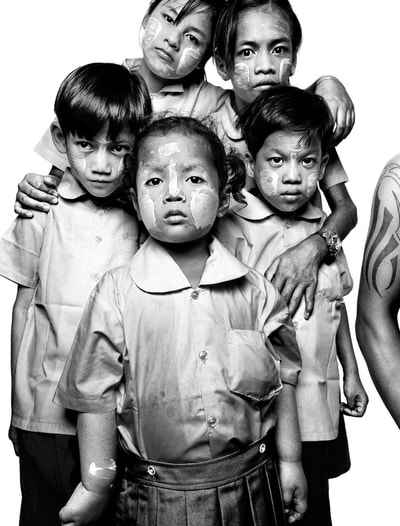
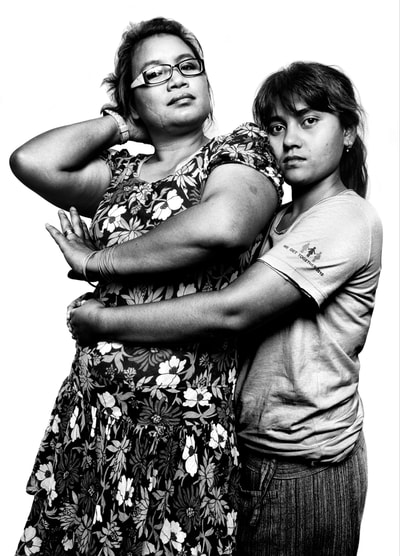
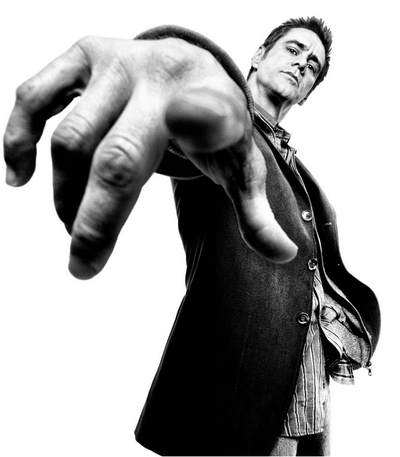
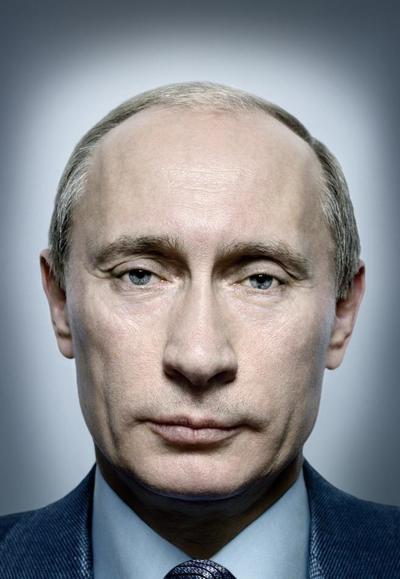
Abstract: Platon AntoniouPlaton (born Platon Antoniou; born 20 April 1968) is a British photographer who has taken portraits of many presidents and well known world figures. His photo of Vladimir Putin was on the cover of Time Magazine in 2007.
Born in London in 1968, he was raised in Greece by his English mother and Greek father. He attended Saint Martin's School of Art, and the Royal College of Art, where one of his professors and mentors was John Hinde (photographer). His book Platon's Republic was published in 2004. In 2009 he was on the staff of the New Yorker. |
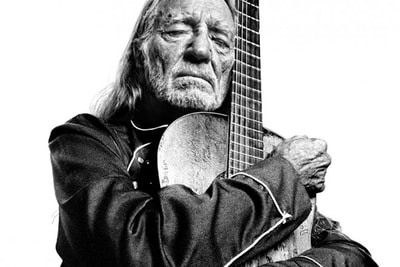
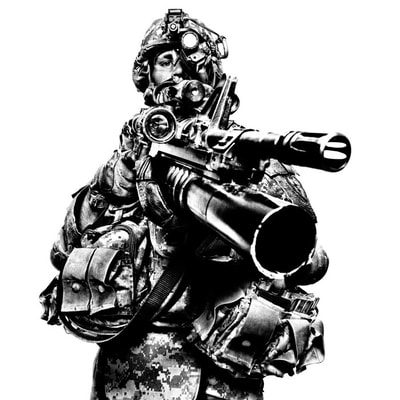
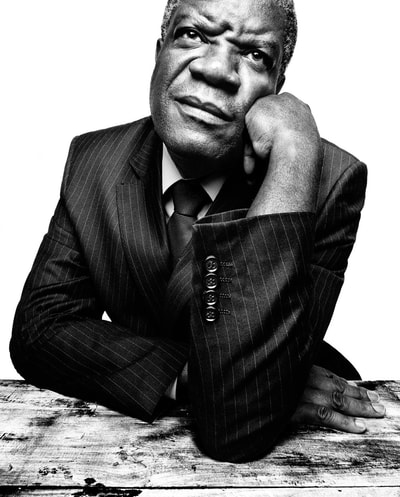
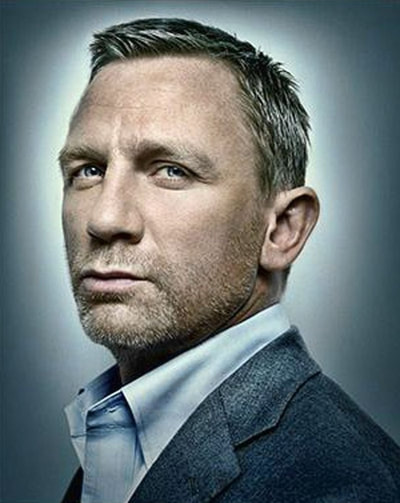
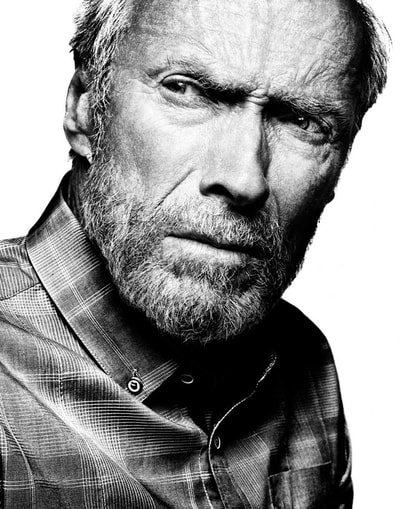
Some of his work:
Your Task
Part 1
In class watch the Abstract: The Art of Design
Season 1 - Episode 7: Platon Photography
Answer the following questions in sentence structure, print off and hand in:
1. What's the difference between snapping a picture and developing a composition?
2. Does Platon use film or does he shoot in digital? How do you know?
3. How/what did Platon do/use to overcome his obstacle of Dyslexia?
4. What lighting technique does Platon enjoy using for his portrait photography?
How to shoot like Platon...
Part 2
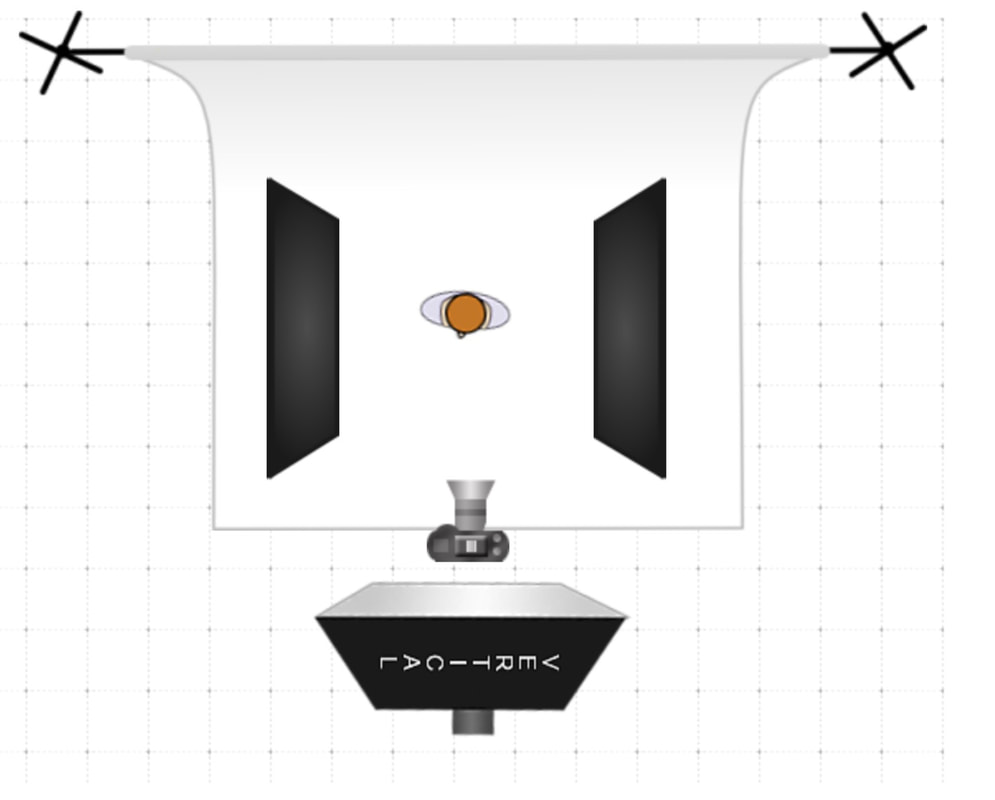
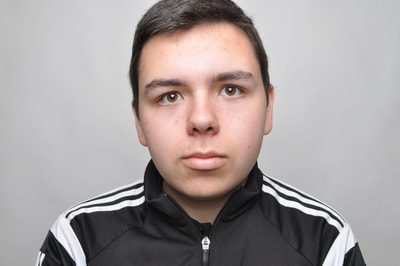
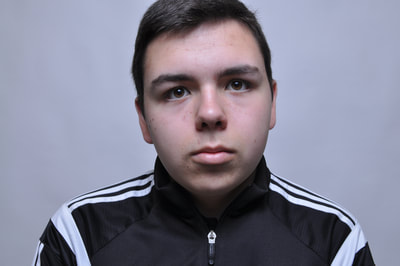
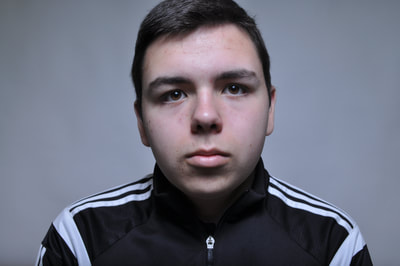
Platon mostly utilizes a simple lighting setup consisting of one strobe with a strong diffusion that he places in front and slightly overhead of the subject. Since you are working in groups, you could use two black panels left and right of the subject, to get a deeper shadow-gradient on the face. Make sure to capture a catch light in the subject's eyes!
Platon mostly utilizes a simple lighting setup consisting of one strobe with a strong diffusion that he places in front and slightly overhead of the subject. Since you are working in groups, you could use two black panels left and right of the subject, to get a deeper shadow-gradient on the face. Make sure to capture a catch light in the subject's eyes!
The setup is straightforward, now it is on you to capture the right moment. Take your time and demonstrate some consideration with this, taking into account your height of your camera, the emotion you want to capture and story you want to tell. As well, Platon likes to shoot his portraits using a wide angled look - this means you should be REALLY close to your subject, just like Platon!
Once you are done, let's move on to Photoshop.
Once you are done, let's move on to Photoshop.
Examples
Look at the photos above and analyze the differences between the photos - not just in the lighting of the subject's face, but also in the background, the intensity of the light as well as the shadows and where they are falling to achieve the desired effect.
Pretty clear to see what happens when we use a large light source in comparison to a smaller light source.
Pretty clear to see what happens when we use a large light source in comparison to a smaller light source.
Post-Processing
There are three main aspects to the edit that we are about to do: High contrast, low-Key torso, and broad highlights.
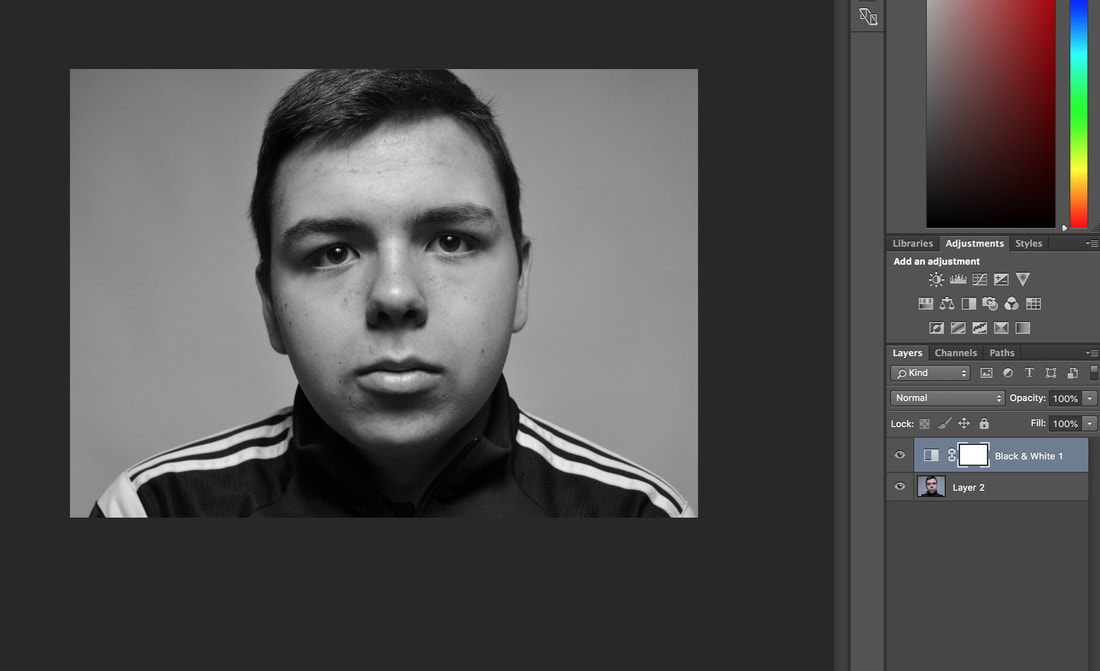
I used the Umbrella Collapsed image in my examples below
STEP 1
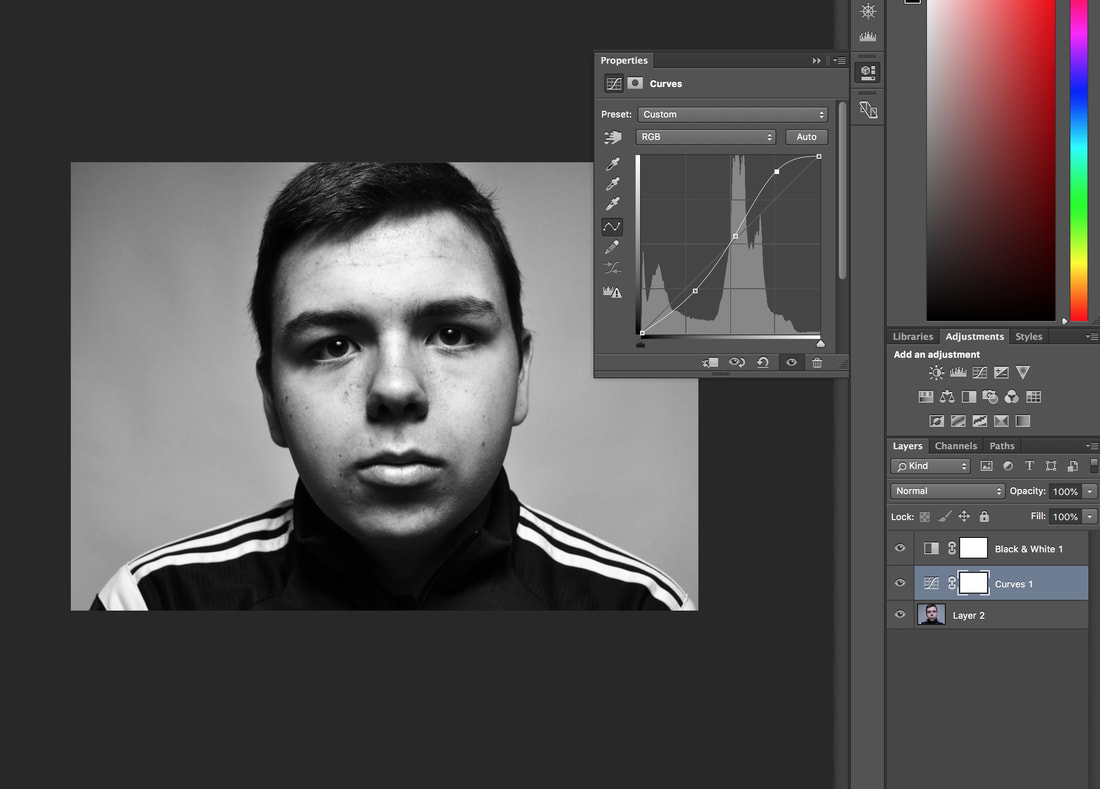
First, add a black and white adjustment layer.
I used the Umbrella Collapsed image in my examples below
STEP 1
First, add a black and white adjustment layer.
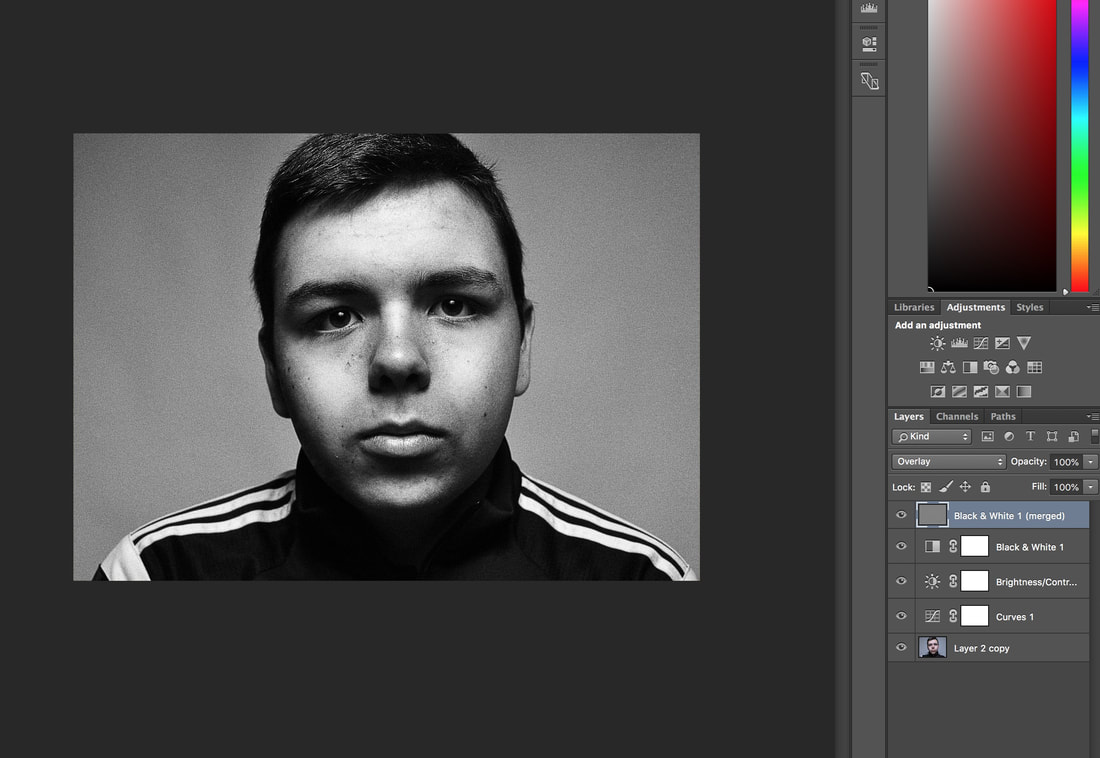
Next, create a curves adjustment layer and give it a distinct s-shape for contrast.
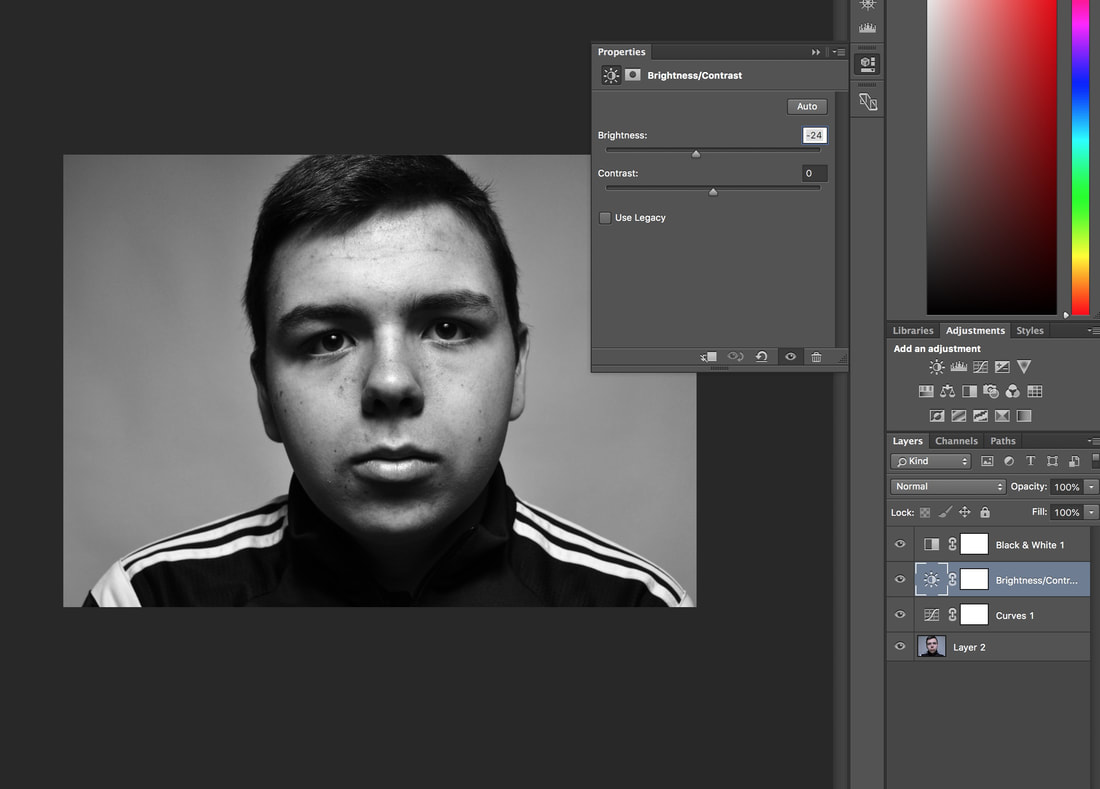
In order to guide the focus towards the subject's expression, add a brightness and contrast adjustment layer to darken the image a bit.
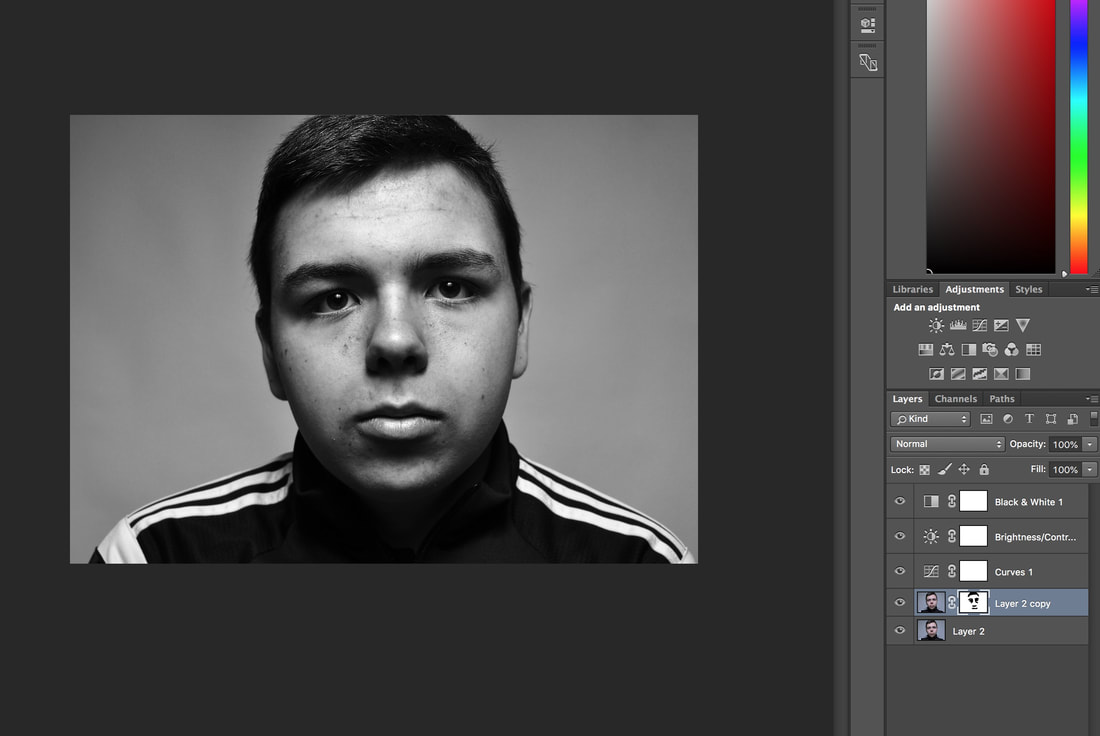
For subtle details and highlights in the hair, eyes, and brows, add clarity by duplicating our image. To our original model layer add Filter -> Sharpen -> Unsharp Mask (200% and 1.0 Pixels for the radius is a good spot to be) which should be beneath our image copy we just made. Then, add a layer mask to our image copy and paint with black using the brush tool (soft brush, opacity 25%) on elements of the face that need to be sharpened such as eyes, eyebrows, hair, mouth, etc.
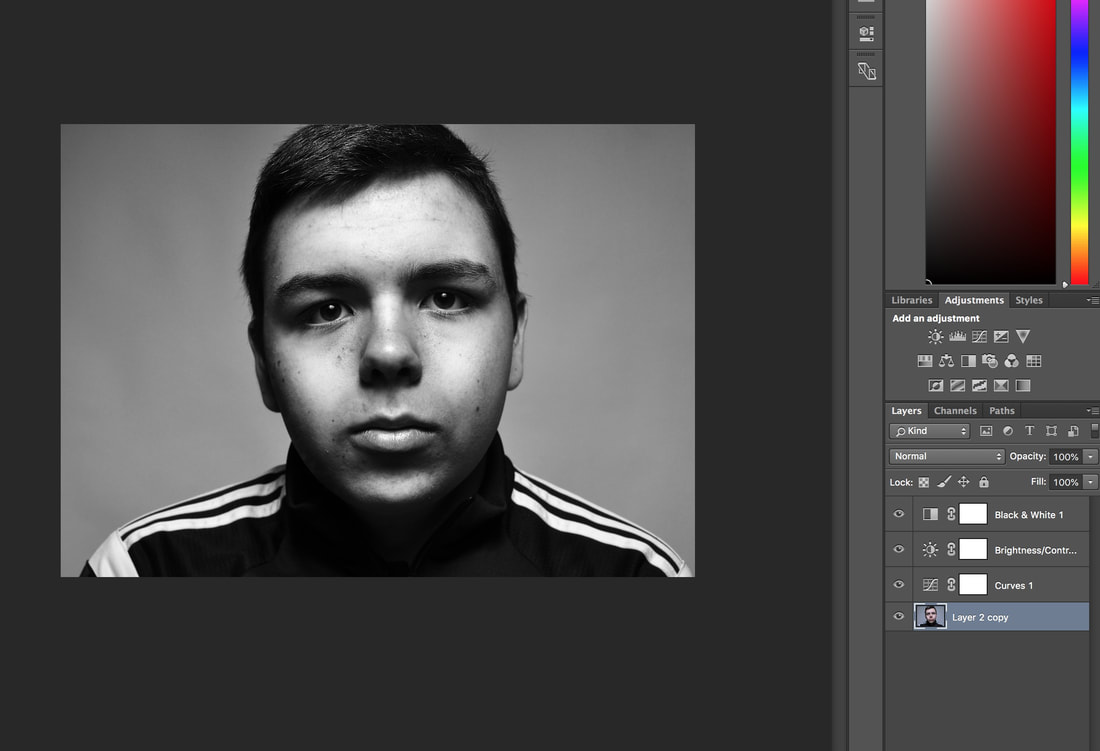
Next, Merge both of our image layers so we can then use the Burn tool on the outer areas of the face to intensify the shadows. You can also use the Dodge tool on this step to lighten the brighter areas of the face to your liking as well.
To re-create the film grain effect Platon uses - I introduced some noise into the image by using Filter -> Noise -> Add Noise and set the parameters to 9%, Uniform is selected and set Monochromatic to OFF.
For a finishing touch, stamp your layers and select the new layer and go to Filter > Other > High Pass and set the slider, so the outlines of facial details are barely visible. Set the blending mode of the new layer to Overlay to create a slightly shiny and bronze appeal.
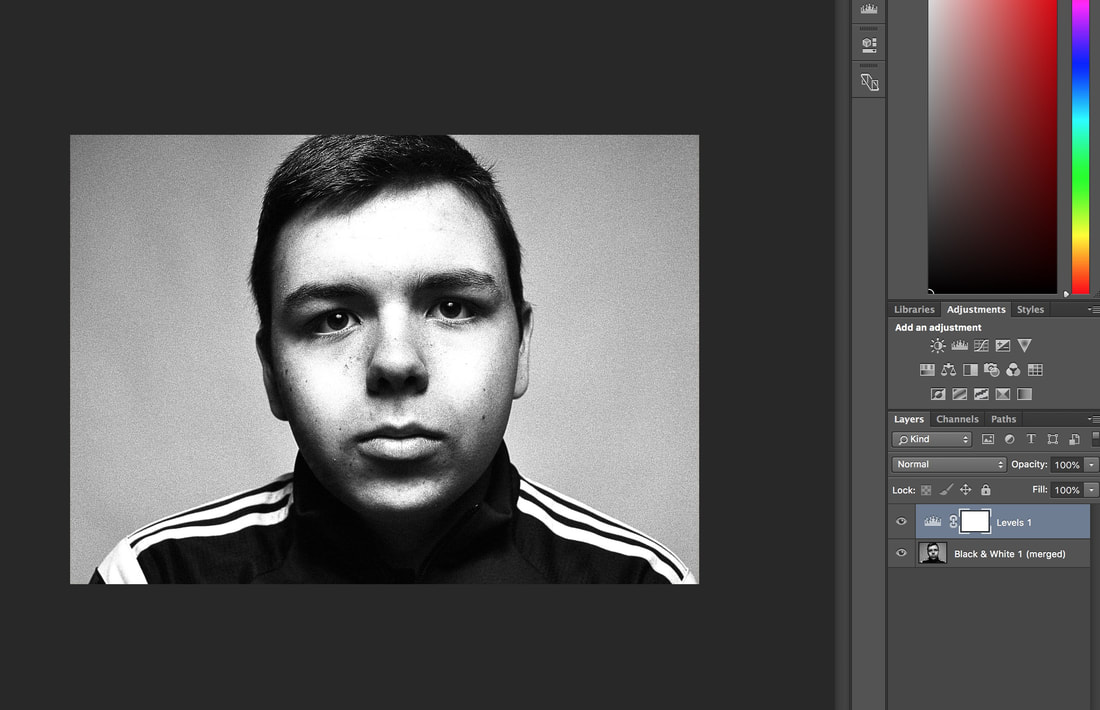
Then above your stamp layer add one last adjustment layer. I added a Levels adjustment and increased the whites to make the image a little brighter and increase the film grain effect. Set the whites (far right) adjustment slider to: 245.
That's it! This is about as close as we can come to recreating one of the iconic images from Platon - the fact that he achieves this tone and feel in his images using very little editing is incredible!
That's it! This is about as close as we can come to recreating one of the iconic images from Platon - the fact that he achieves this tone and feel in his images using very little editing is incredible!


