Tilt Shift Tutorial
|
There's something about tiny things that is just inherently fascinating. Tilt-shift photography is a great example of how making large, real-life objects look miniature can create beautiful art.
Tilt-shift is a kind of photography that manipulates focus and depth-of-field to yield photos that have selective focus, often mimicking a miniature model. The effect can be achieved with special tilt-shift lenses, but you can also fake the effect in post-production via Photoshop. |
| |||
Applying Tilt-Shift Effect
To create an advanced tilt-shift effect:
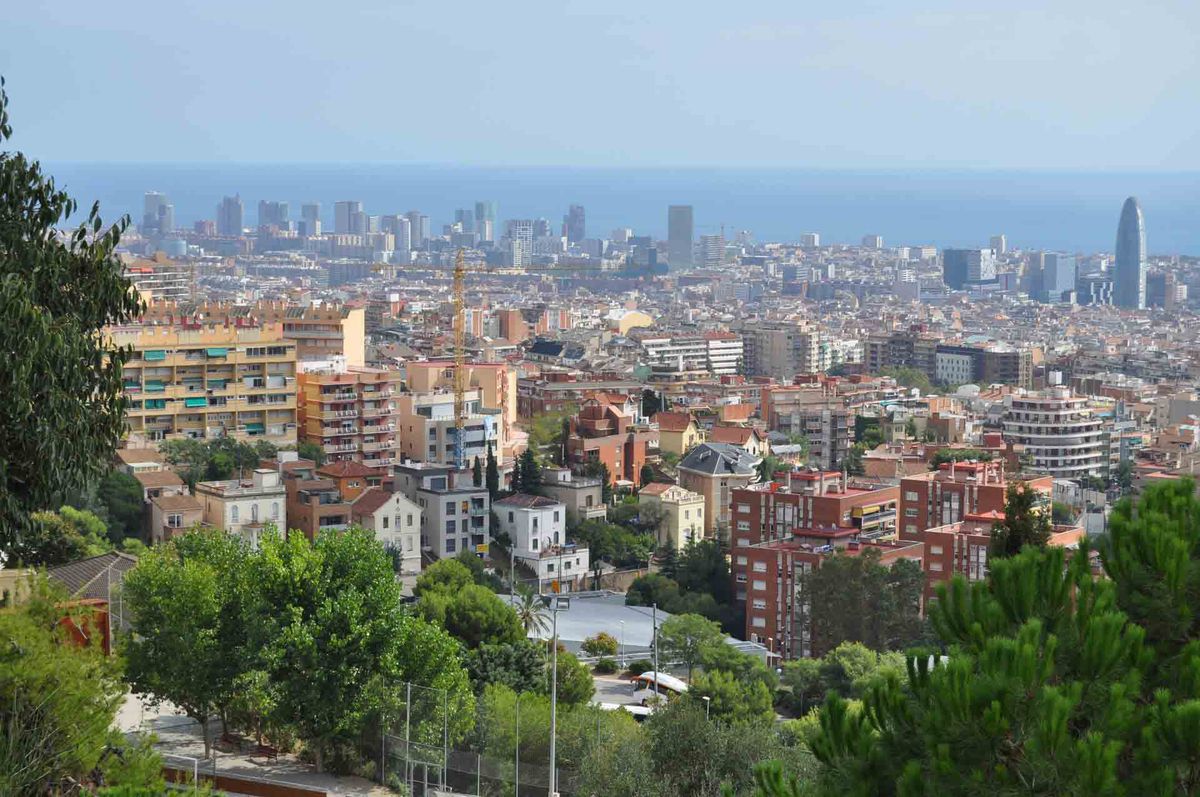
Open your Image
Switch to Quick Mask modeSince our photo already has a fair number of colors and looks close enough to a miniature model, we'll forgo the Camera Raw step.
Open up your photo in Photoshop and switch to Quick Mask mode. You can do this by either hitting the Q key on your keyboard or clicking on the Quick Mask mode button at the bottom of your tool box menu. This will basically "mask" your selected areas from whatever effects you apply next.

Make a Reflected Gradient
Select the Gradient tool, which looks like a rectangle with a gradient across it. You can also just hit G on your keyboard.
Select the Gradient tool, which looks like a rectangle with a gradient across it. You can also just hit G on your keyboard.

Draw Your Gradient
Using the Gradient tool, draw a vertical, perpendicular line. This is a tricky step. You want to start the line in an area that you want to be in focus, and then end the line in an area that you want to be out of focus.
For best effects, your in-focus area should be something closer to you, rather than farther. In the photo below, we've outlined in red the line we drew. Note how it starts with the in-focus and closer white house and ends where the buildings are less distinct and out of focus.

In your options bar, make sure you have the fourth choice selected, which is the Reflected Gradient. This will make a gradient that has a mirror-effect.

After you draw your line, there should be a red bar over the area that will be in focus. It usually takes a few tries to get this exactly the way you want it, so play around with the gradient until you're satisfied.

Exit Quick Mask mode.Click on the Quick Mask mode button again to return to Standard Mode, or simply hit the Q button on your keyboard again. Now, you should see a series of marching ants selecting the area that you don't want to be in focus.
Remember, the Quick Mask mode puts a "mask" over the effects you're about to add next, and we want to put a lens blur on the selected area. If you aren't satisfied with your selection, undo and repeat the last step until you've picked the perfect area to be in focus.
Remember, the Quick Mask mode puts a "mask" over the effects you're about to add next, and we want to put a lens blur on the selected area. If you aren't satisfied with your selection, undo and repeat the last step until you've picked the perfect area to be in focus.

Apply a Lens Blur
Once you're satisfied with your selection, go to Filter > Blur > Lens Blur to put a lens blur effect on the area you've selected.
Once you're satisfied with your selection, go to Filter > Blur > Lens Blur to put a lens blur effect on the area you've selected.

A new window will open, and here you can preview your effect before applying it. You can adjust how blurry you want the background to be, but just be careful to not make it look too fake by making a sudden jump from in-focus to out of focus.
Once you're satisfied with the effect, click OK to accept and exit the lens blur window.
Once you're satisfied with the effect, click OK to accept and exit the lens blur window.

Deselect your Image
Get rid of the marching ants by deselecting your selected parts under Select > Deselect or press Cntl + D
Get rid of the marching ants by deselecting your selected parts under Select > Deselect or press Cntl + D

Adjust the Colour
Now it's time to make the photo look more model-like by adjusting the color and contrast of the photo. To adjust saturation, go to Image > Adjustments > Hue/Saturation.
Now it's time to make the photo look more model-like by adjusting the color and contrast of the photo. To adjust saturation, go to Image > Adjustments > Hue/Saturation.

Slowly increase the saturation of the photo until it looks more toy-like. Again, the idea is to lay on the effect in an amount that tricks the eye, but not too much that it looks fake and unbelievable. Click OK when you're satisfied with the effect.

Adjust the Contrast
Adjust the contrast of the photo by accessing the Curves panel. Go to Image > Adjustments > Curves.
Adjust the contrast of the photo by accessing the Curves panel. Go to Image > Adjustments > Curves.

Making a slight S-curve will increase the contrast of your photo to make it look even more toy-like. Play around with curves until you have a desired effect, then click OK to accept the effect and exit the panel.

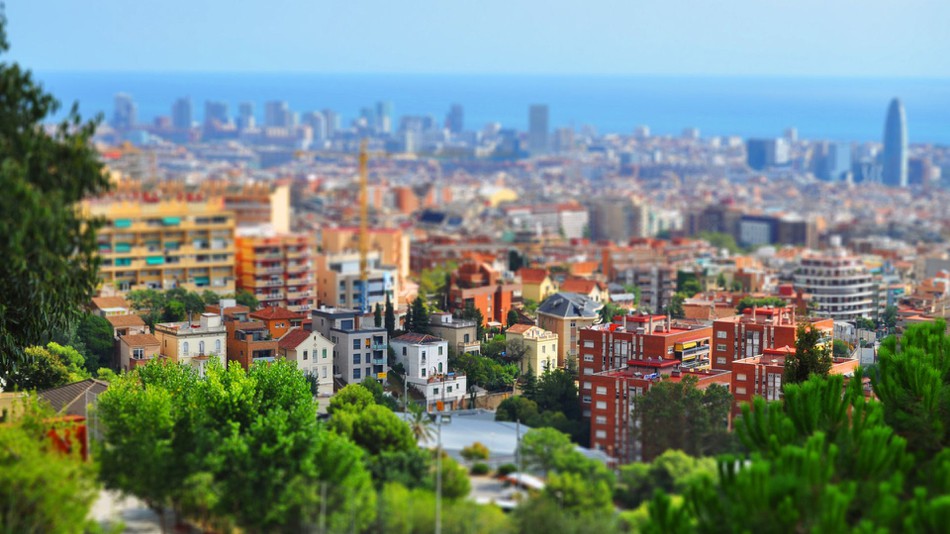
Finished!
This is the final product of a miniature Barcelona. Play around with the steps above and show us some of your own creations. Save your work as a .psd as well as a .jpg
This is the final product of a miniature Barcelona. Play around with the steps above and show us some of your own creations. Save your work as a .psd as well as a .jpg
